
$100 Room Challenge, Wk 5: My Kitchen- The REVEAL
/
G’nite or good morning- I guess it depends how you looks at it- Haha.
It’s 1:32am on February 4th, and my incredible hubby and I just painted the hallway and re-installed the kitchen cabinet doors and drawers. IT’S AMAZING!!! I’m so pumped up on adrenaline at this moment, so we’re having a little celebratory cocktail to help calm us down for a much needed night’s rest.
Full blog post coming soon!
Updated 5 days later
I have been staring at my kitchen in amazement for the last 5 days. Painting our cabinets is only Phase 1 of our kitchen redesign, but It’s amazing how much can be done for under $100! The power of color and the power of paint are two powerhouses not to take for granted.
With that being said, I still need to add hardware to the cabinets. In the end, I decided to hold off on installing hardware, because I didn’t want to sacrifice my original design intent with this limited budget. I spray painted our existing hinges to match the new hardware for a good step into the next phase. What a refresh! Every surface will be redone when we are finished, but for now I have some great progress shots to share with you. Since they’re not the beautiful after photos one expects to see at the end of a project, I think showing you a series of Before & Afters will demonstrate our $100 Room Challenge redesign with the biggest impact. Let’s go!

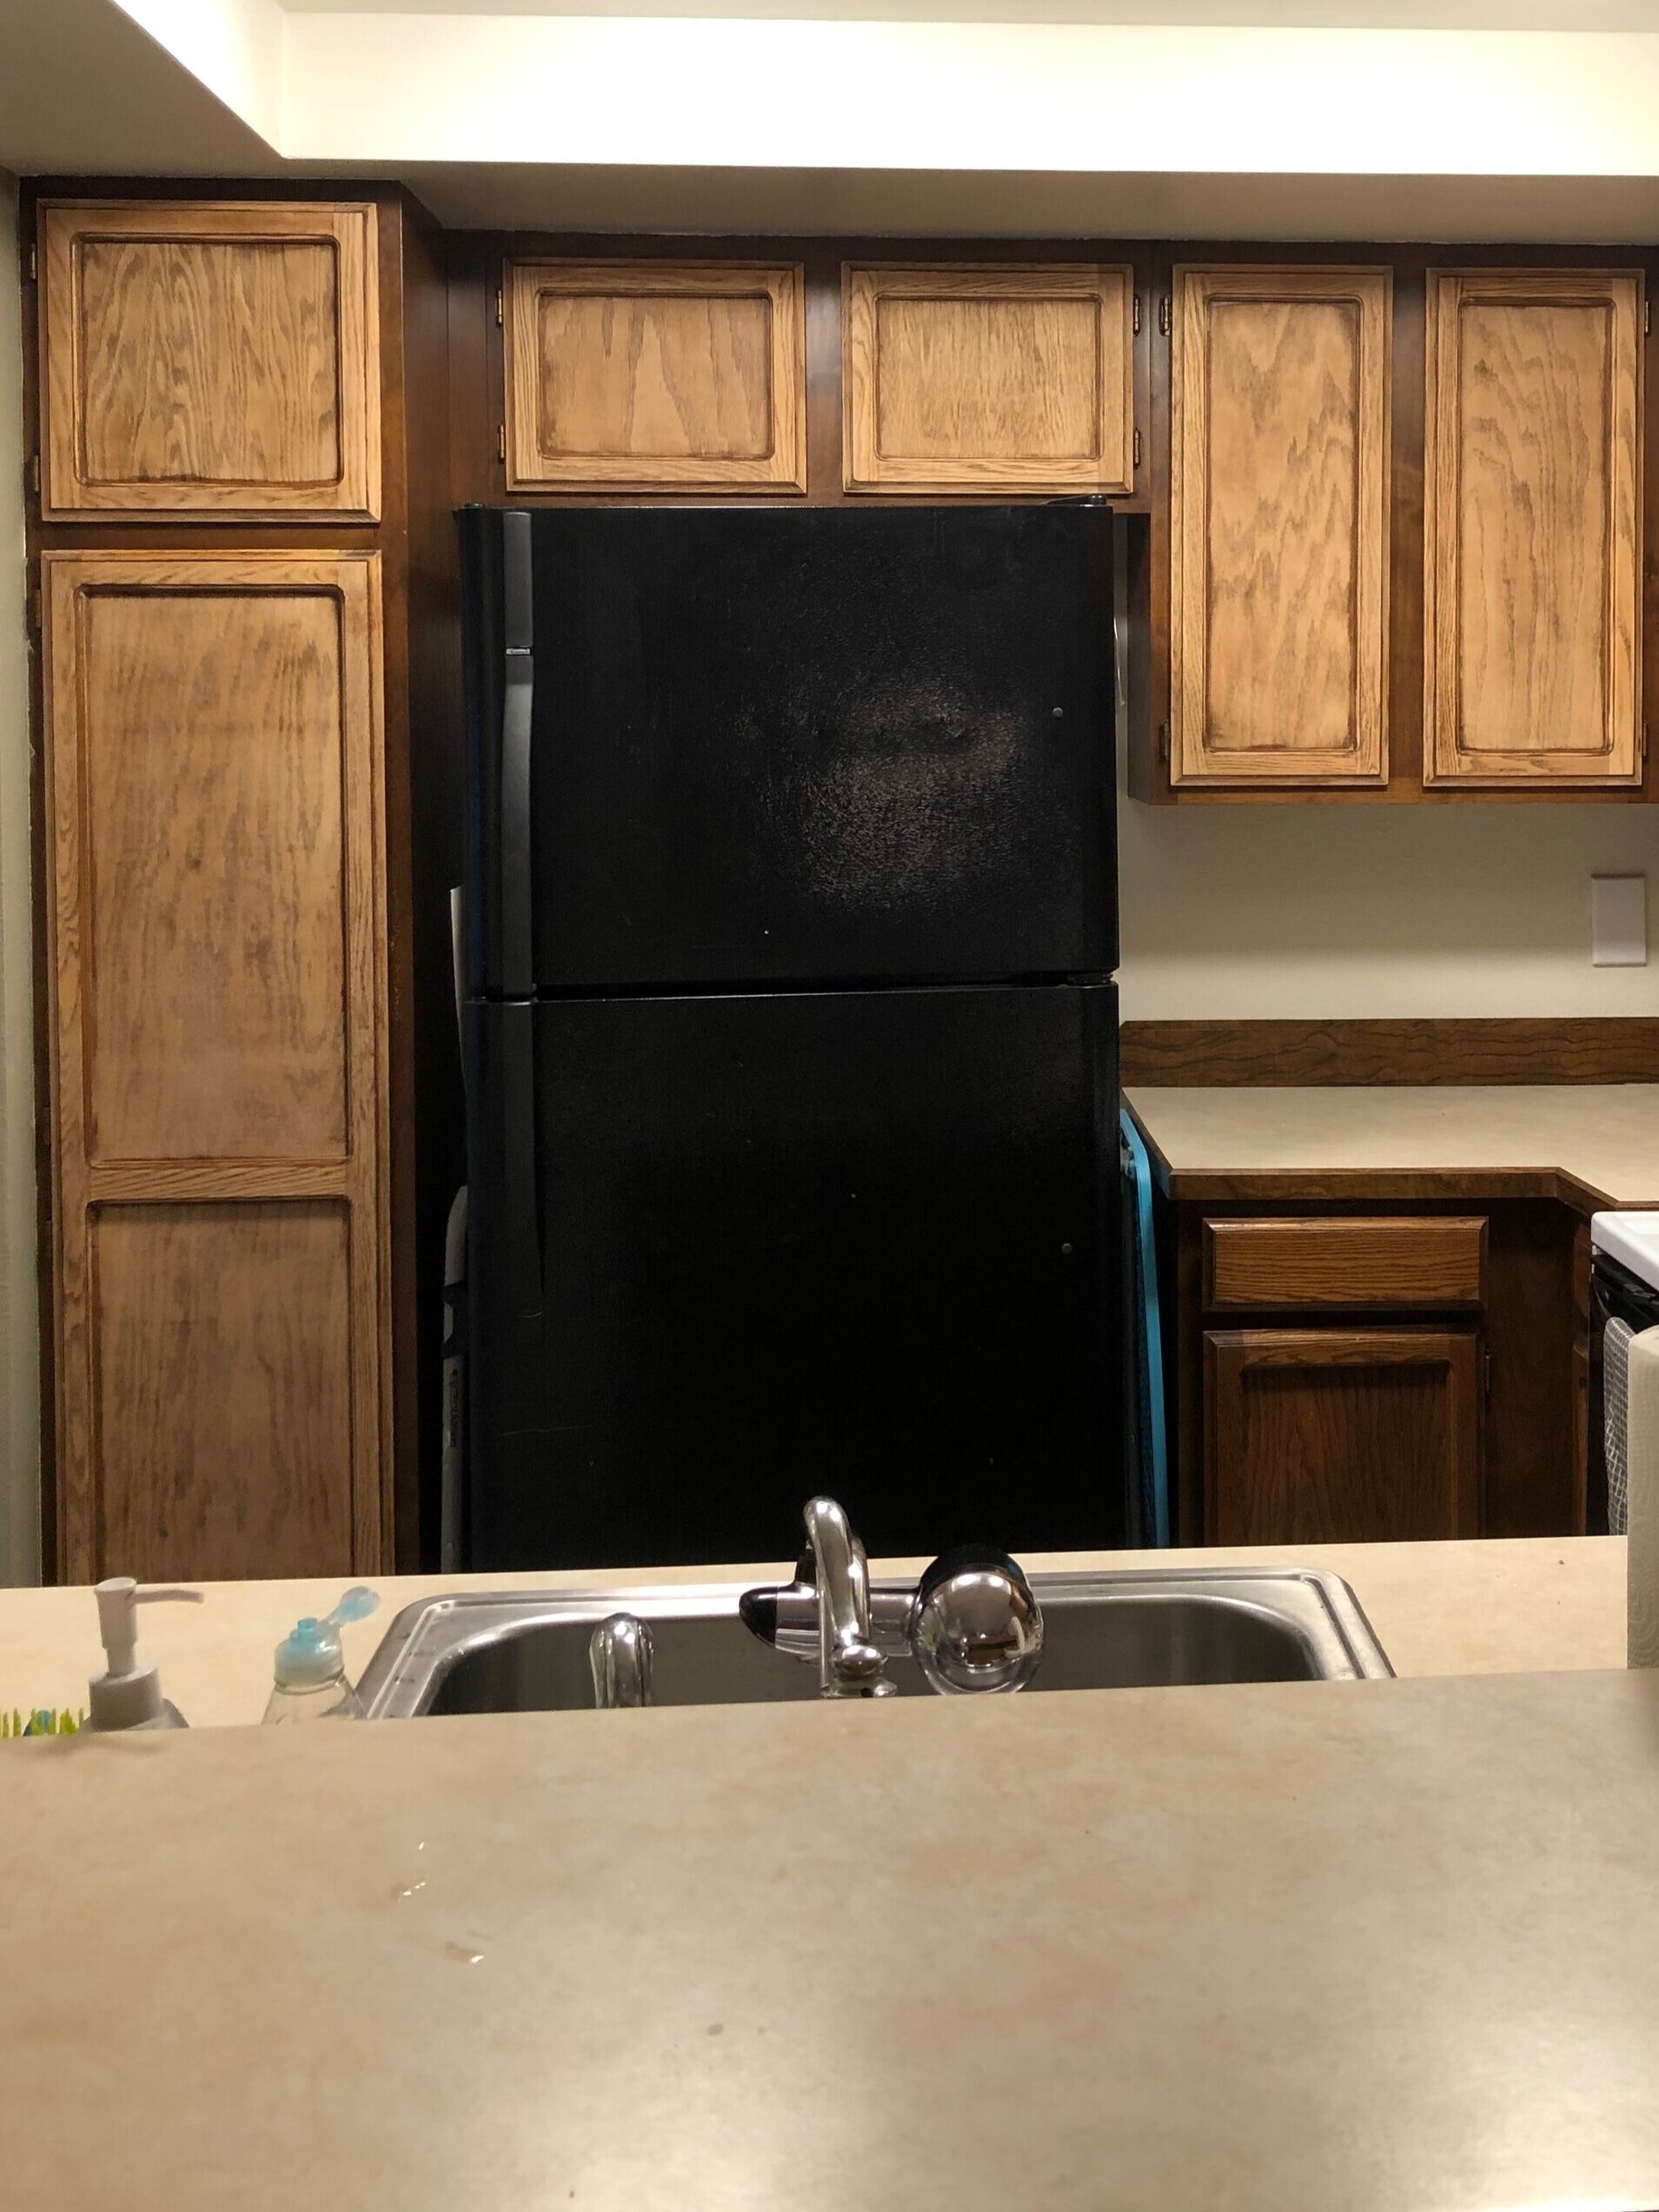
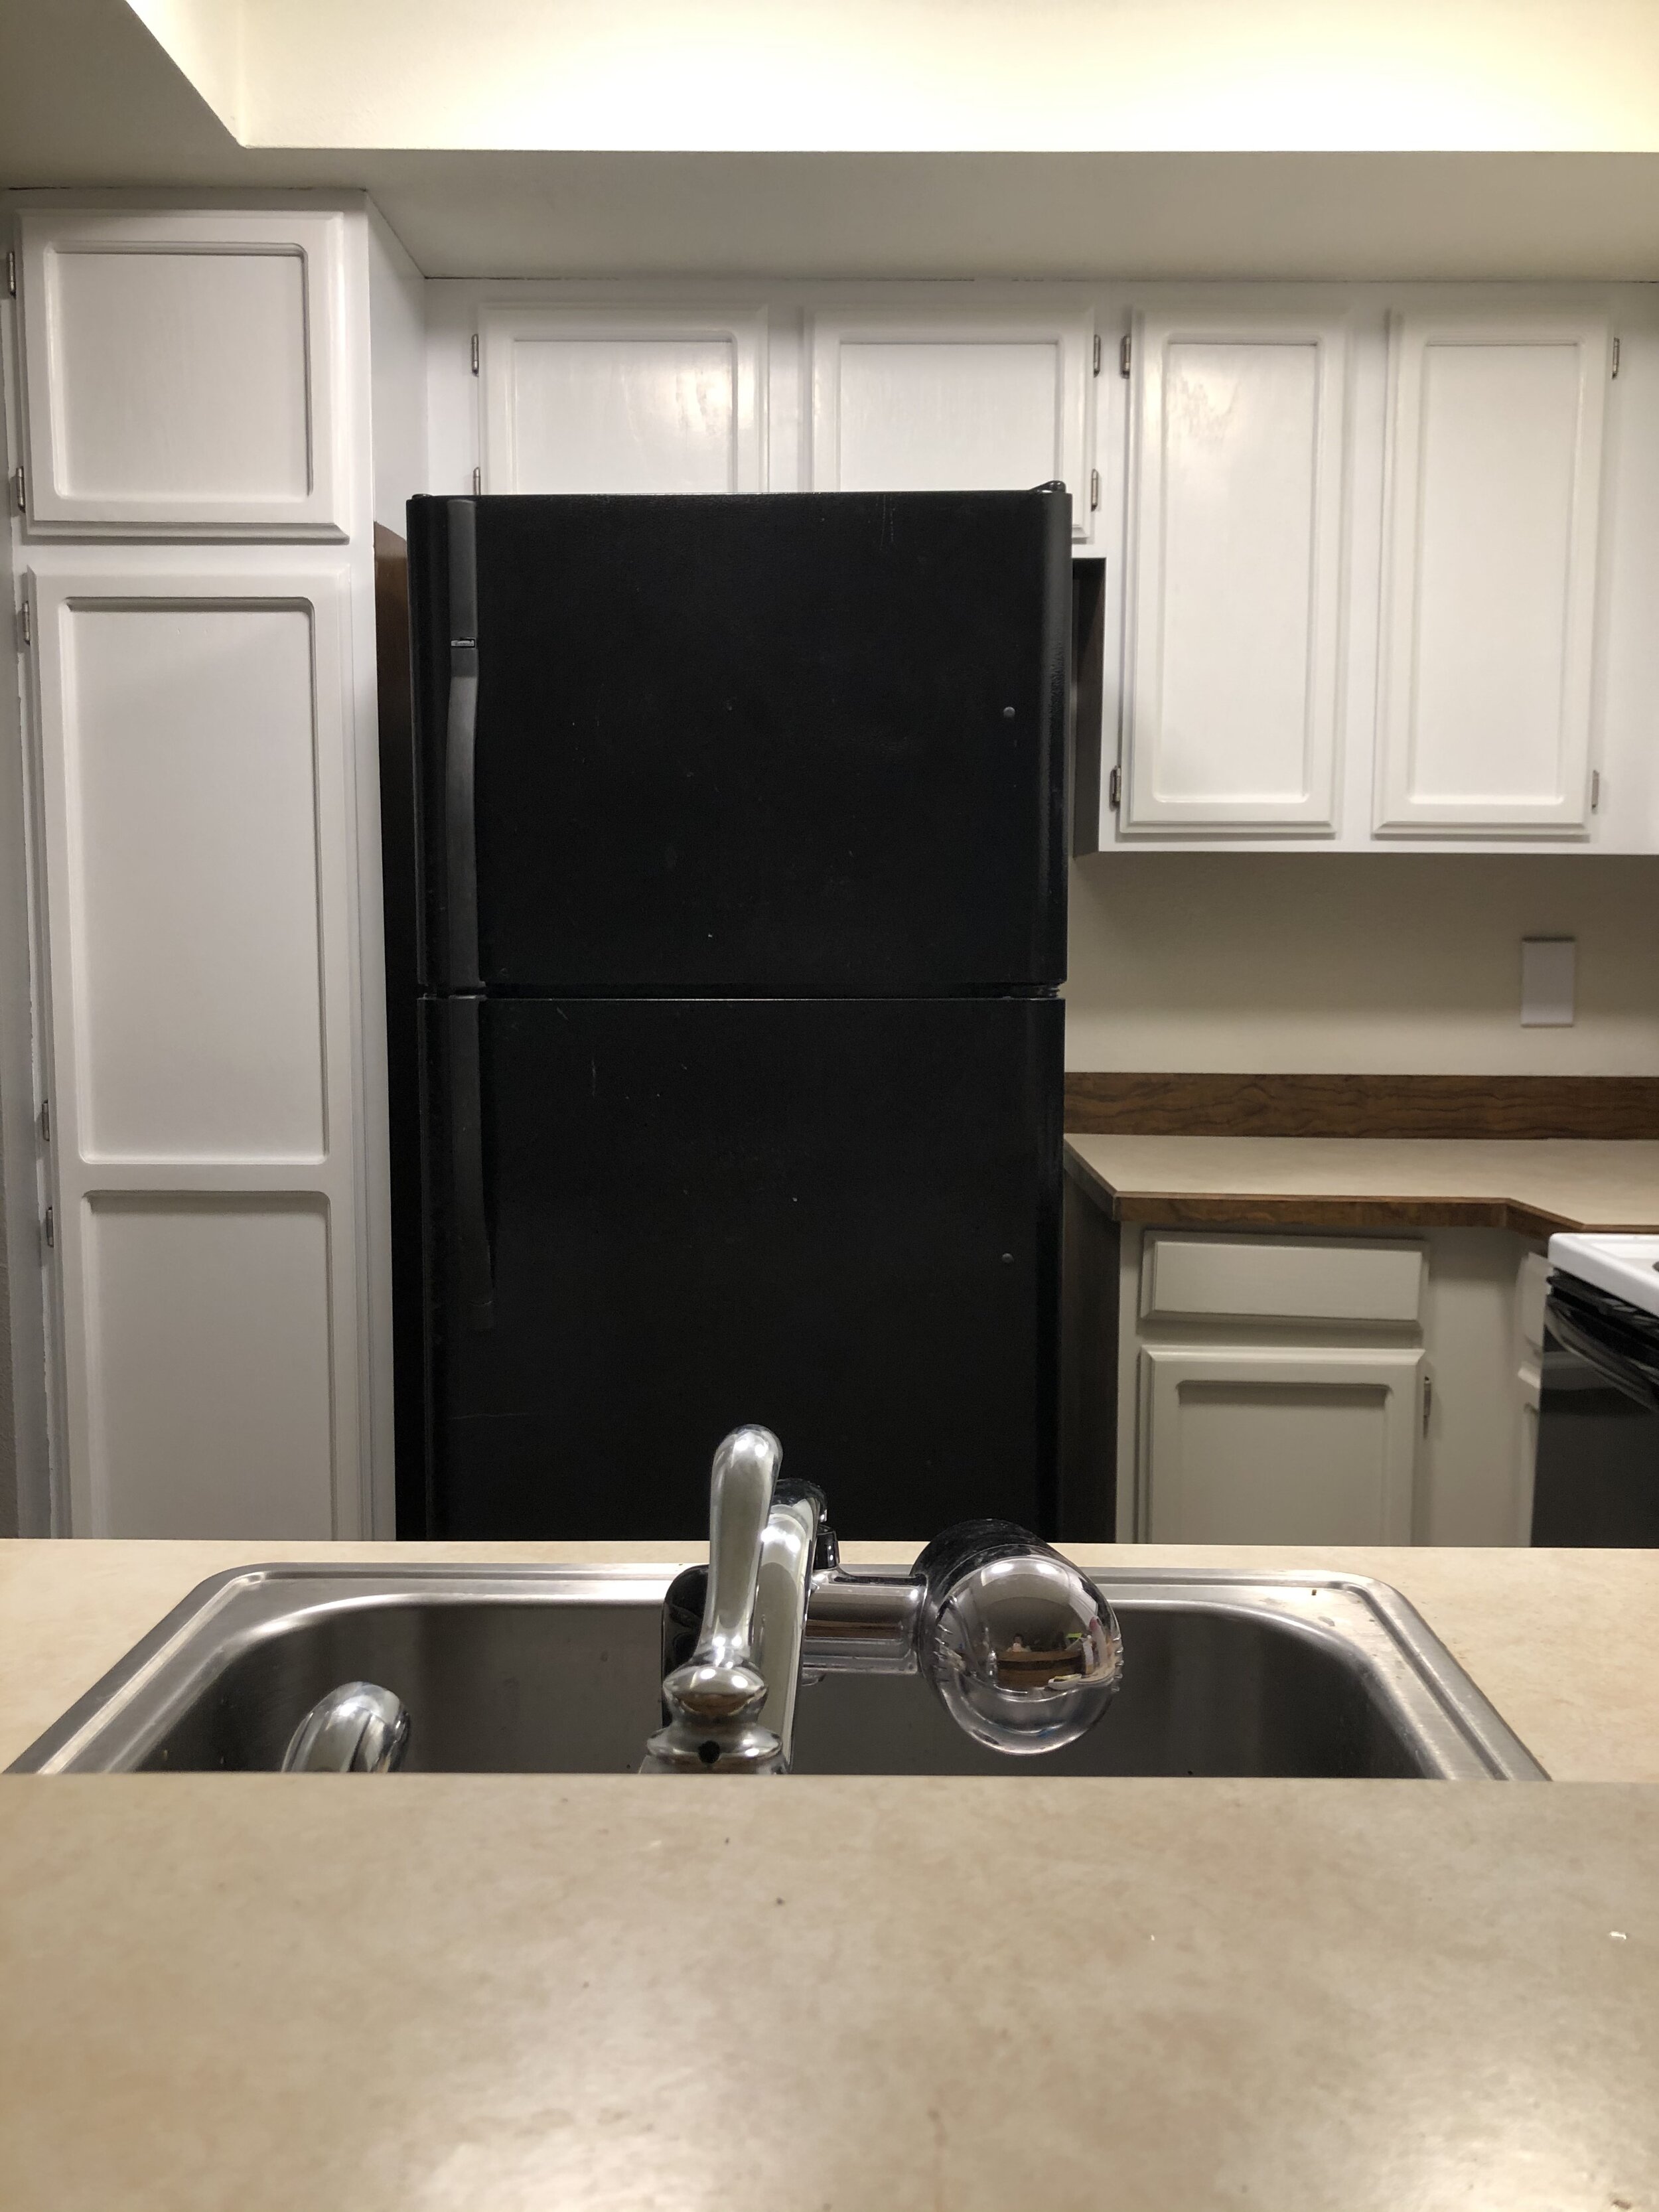
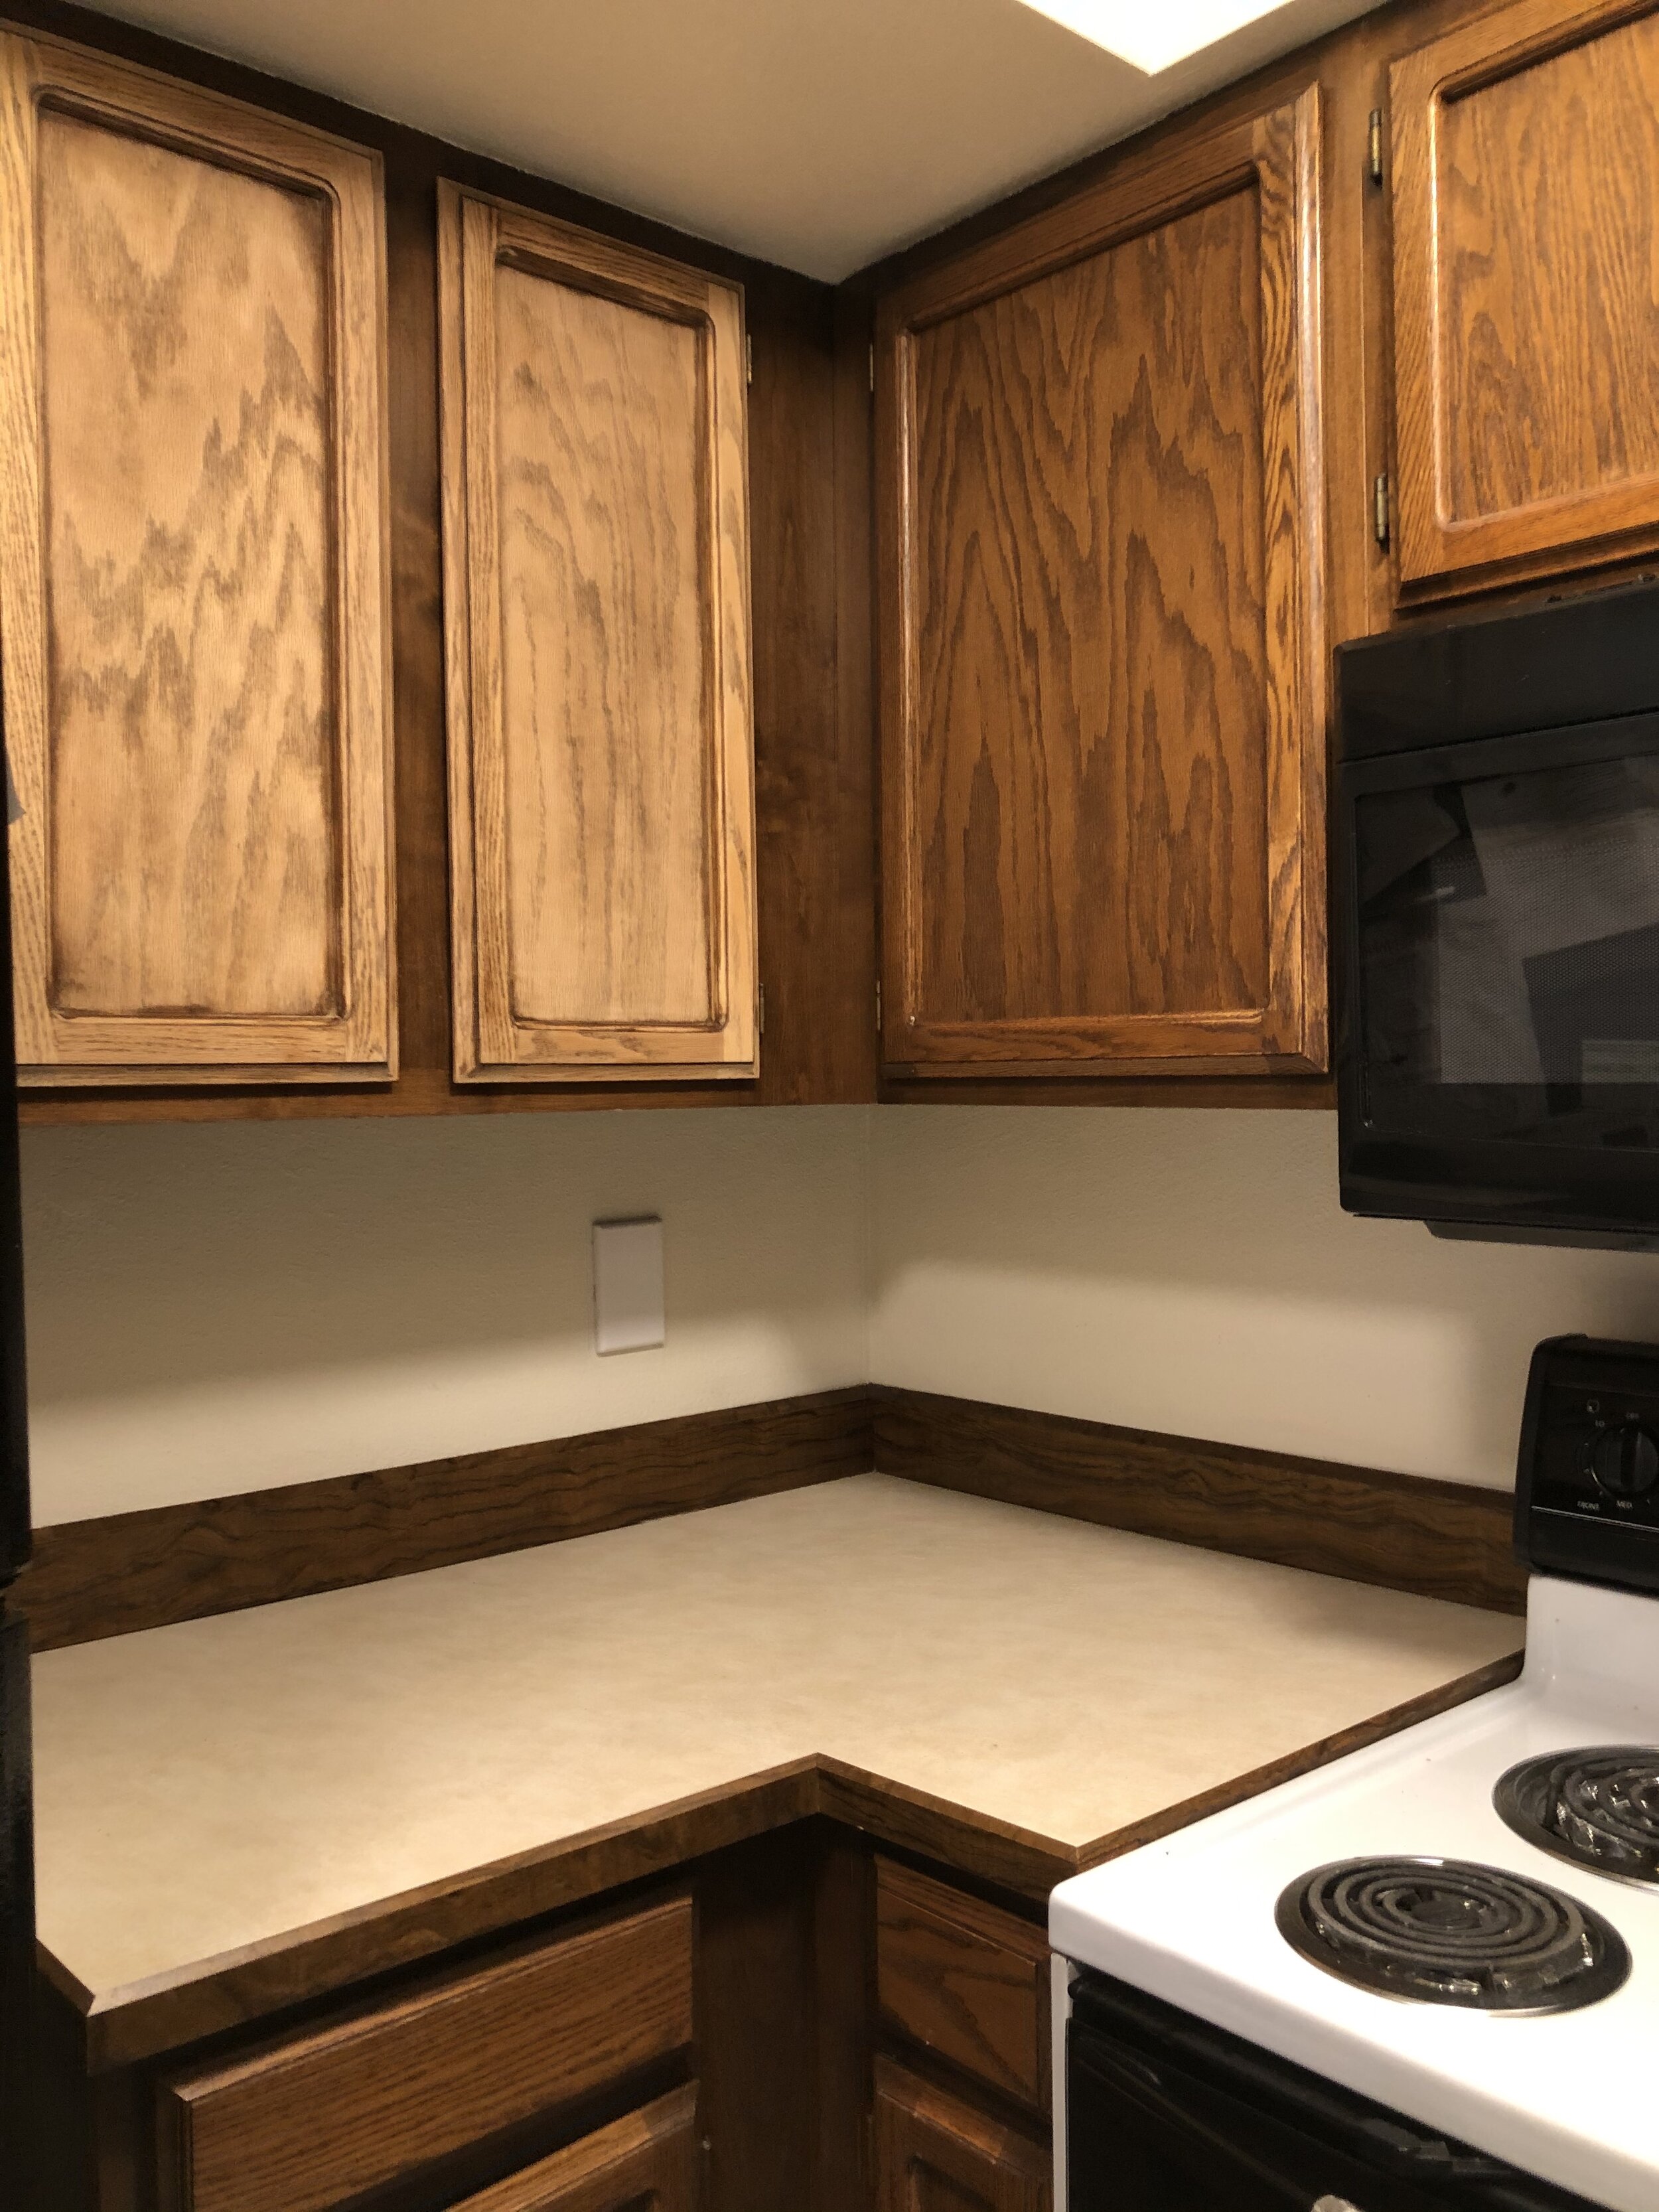
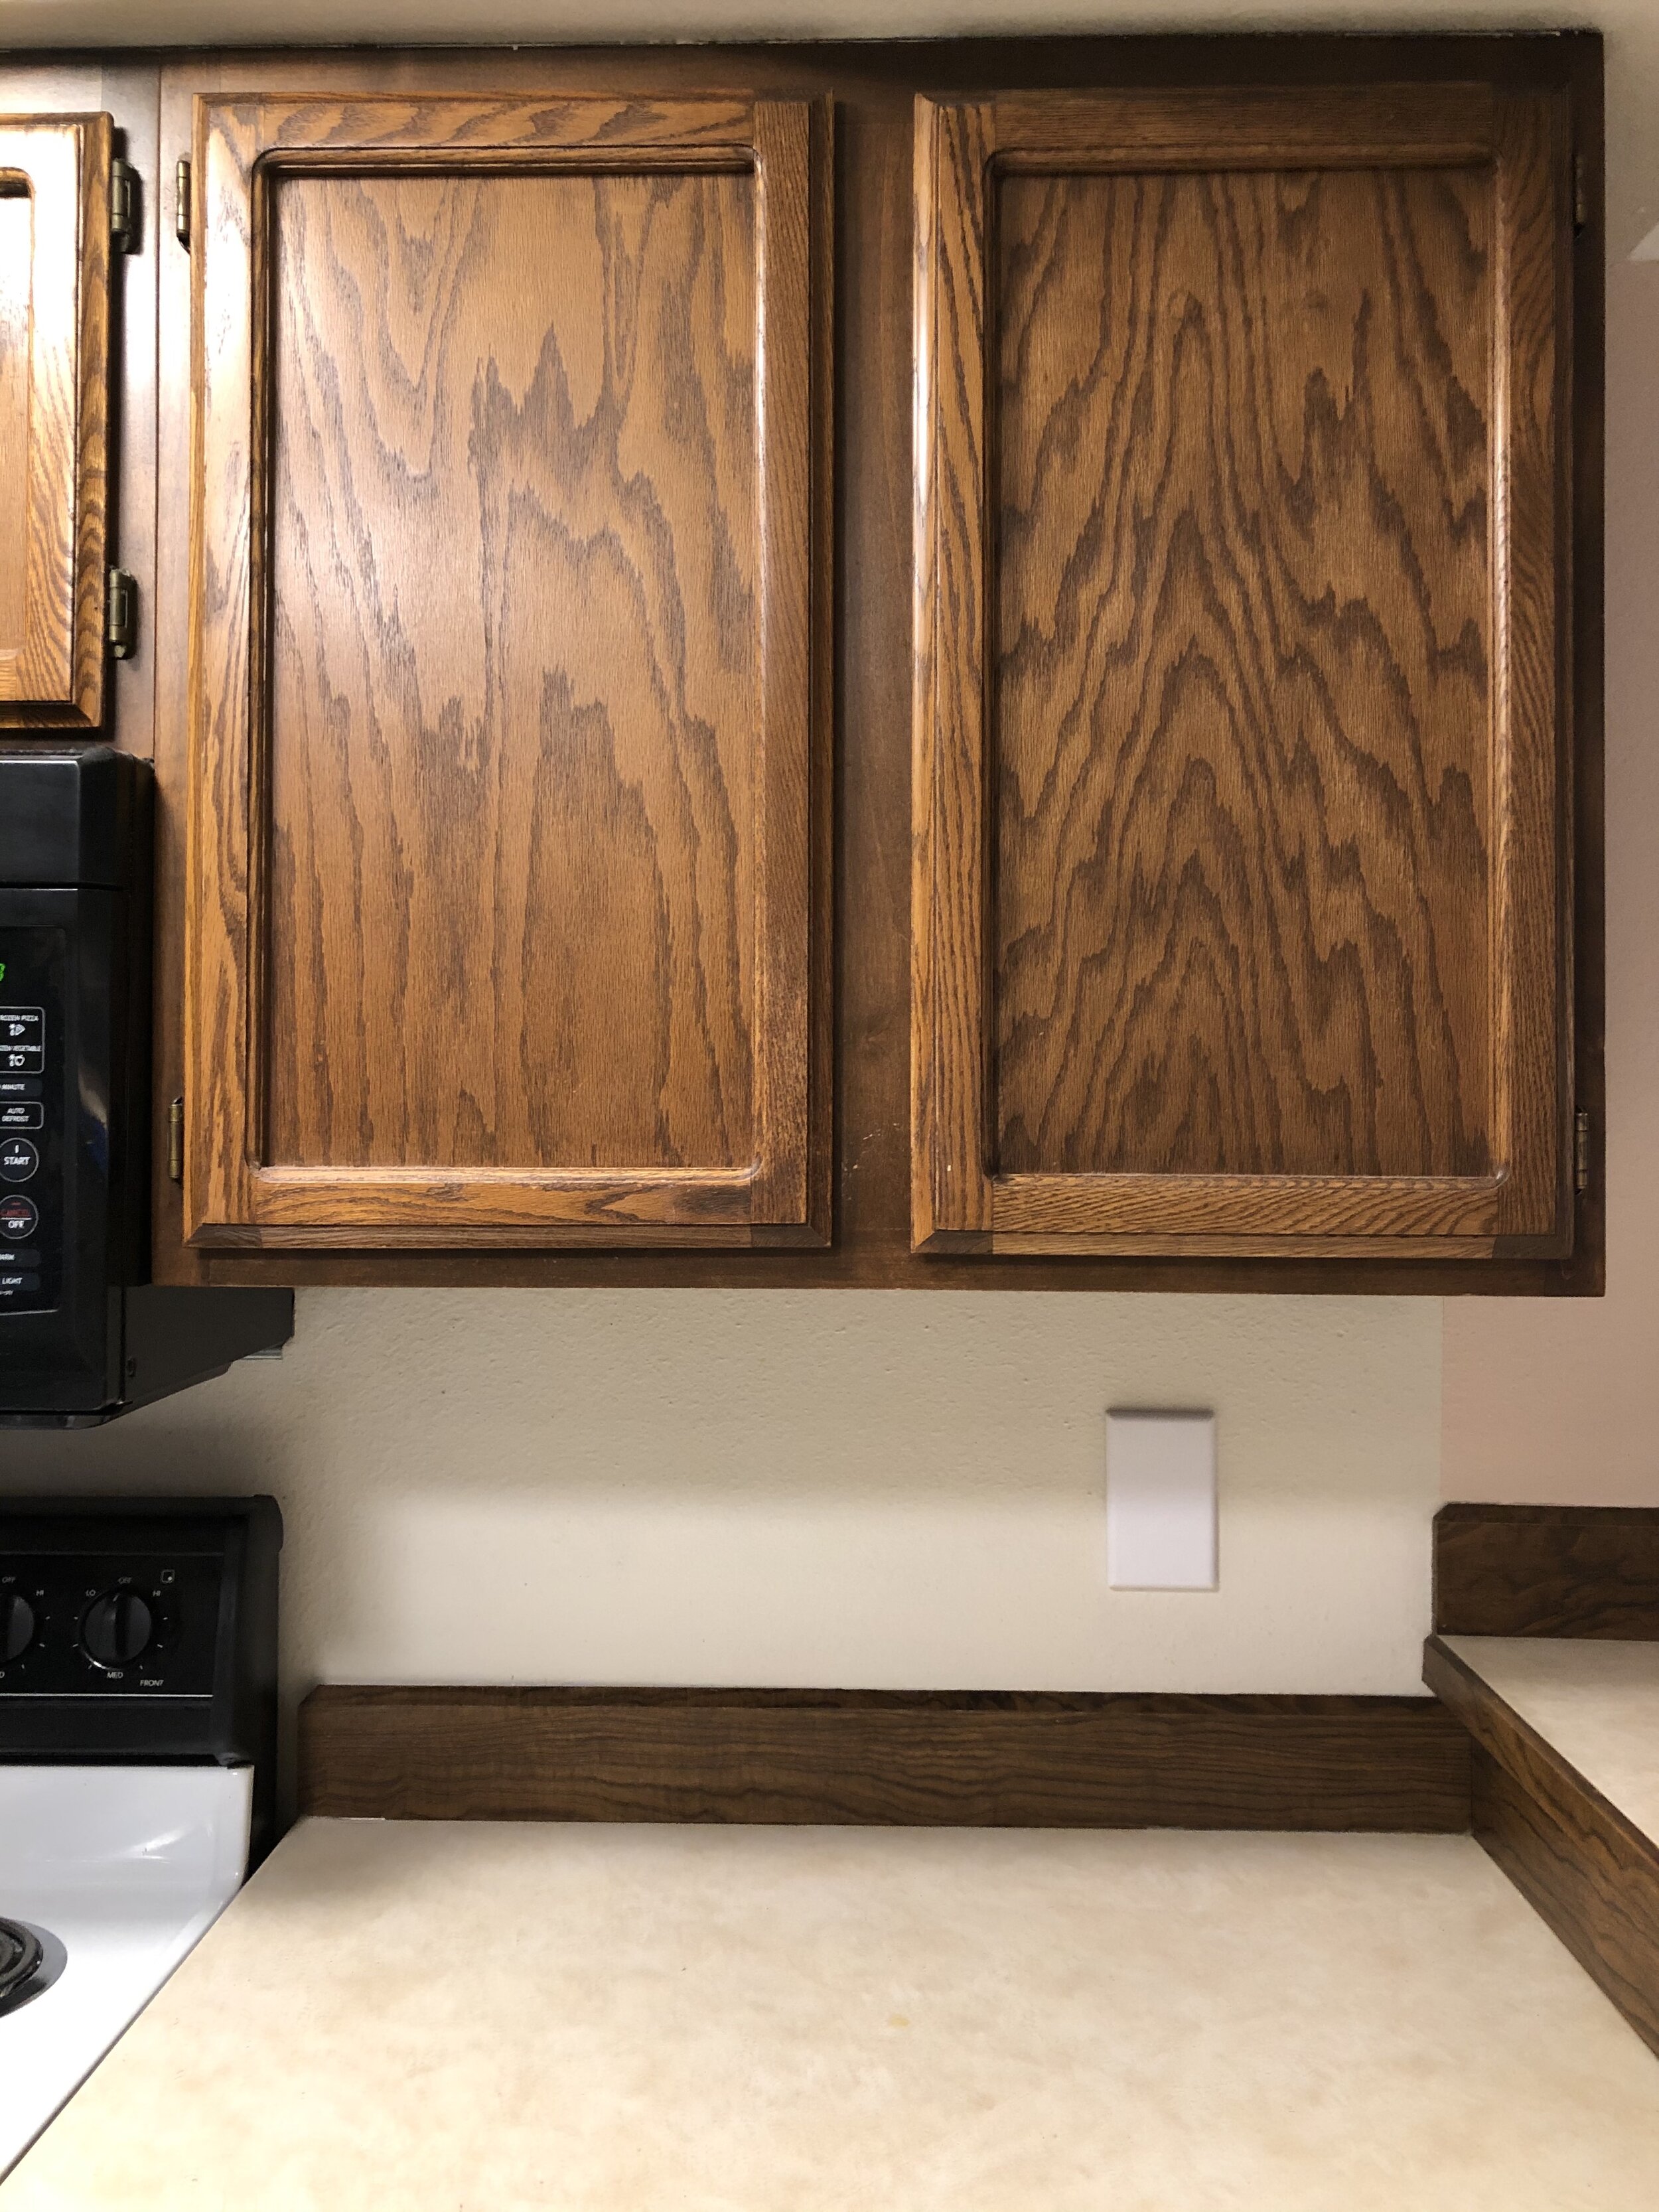
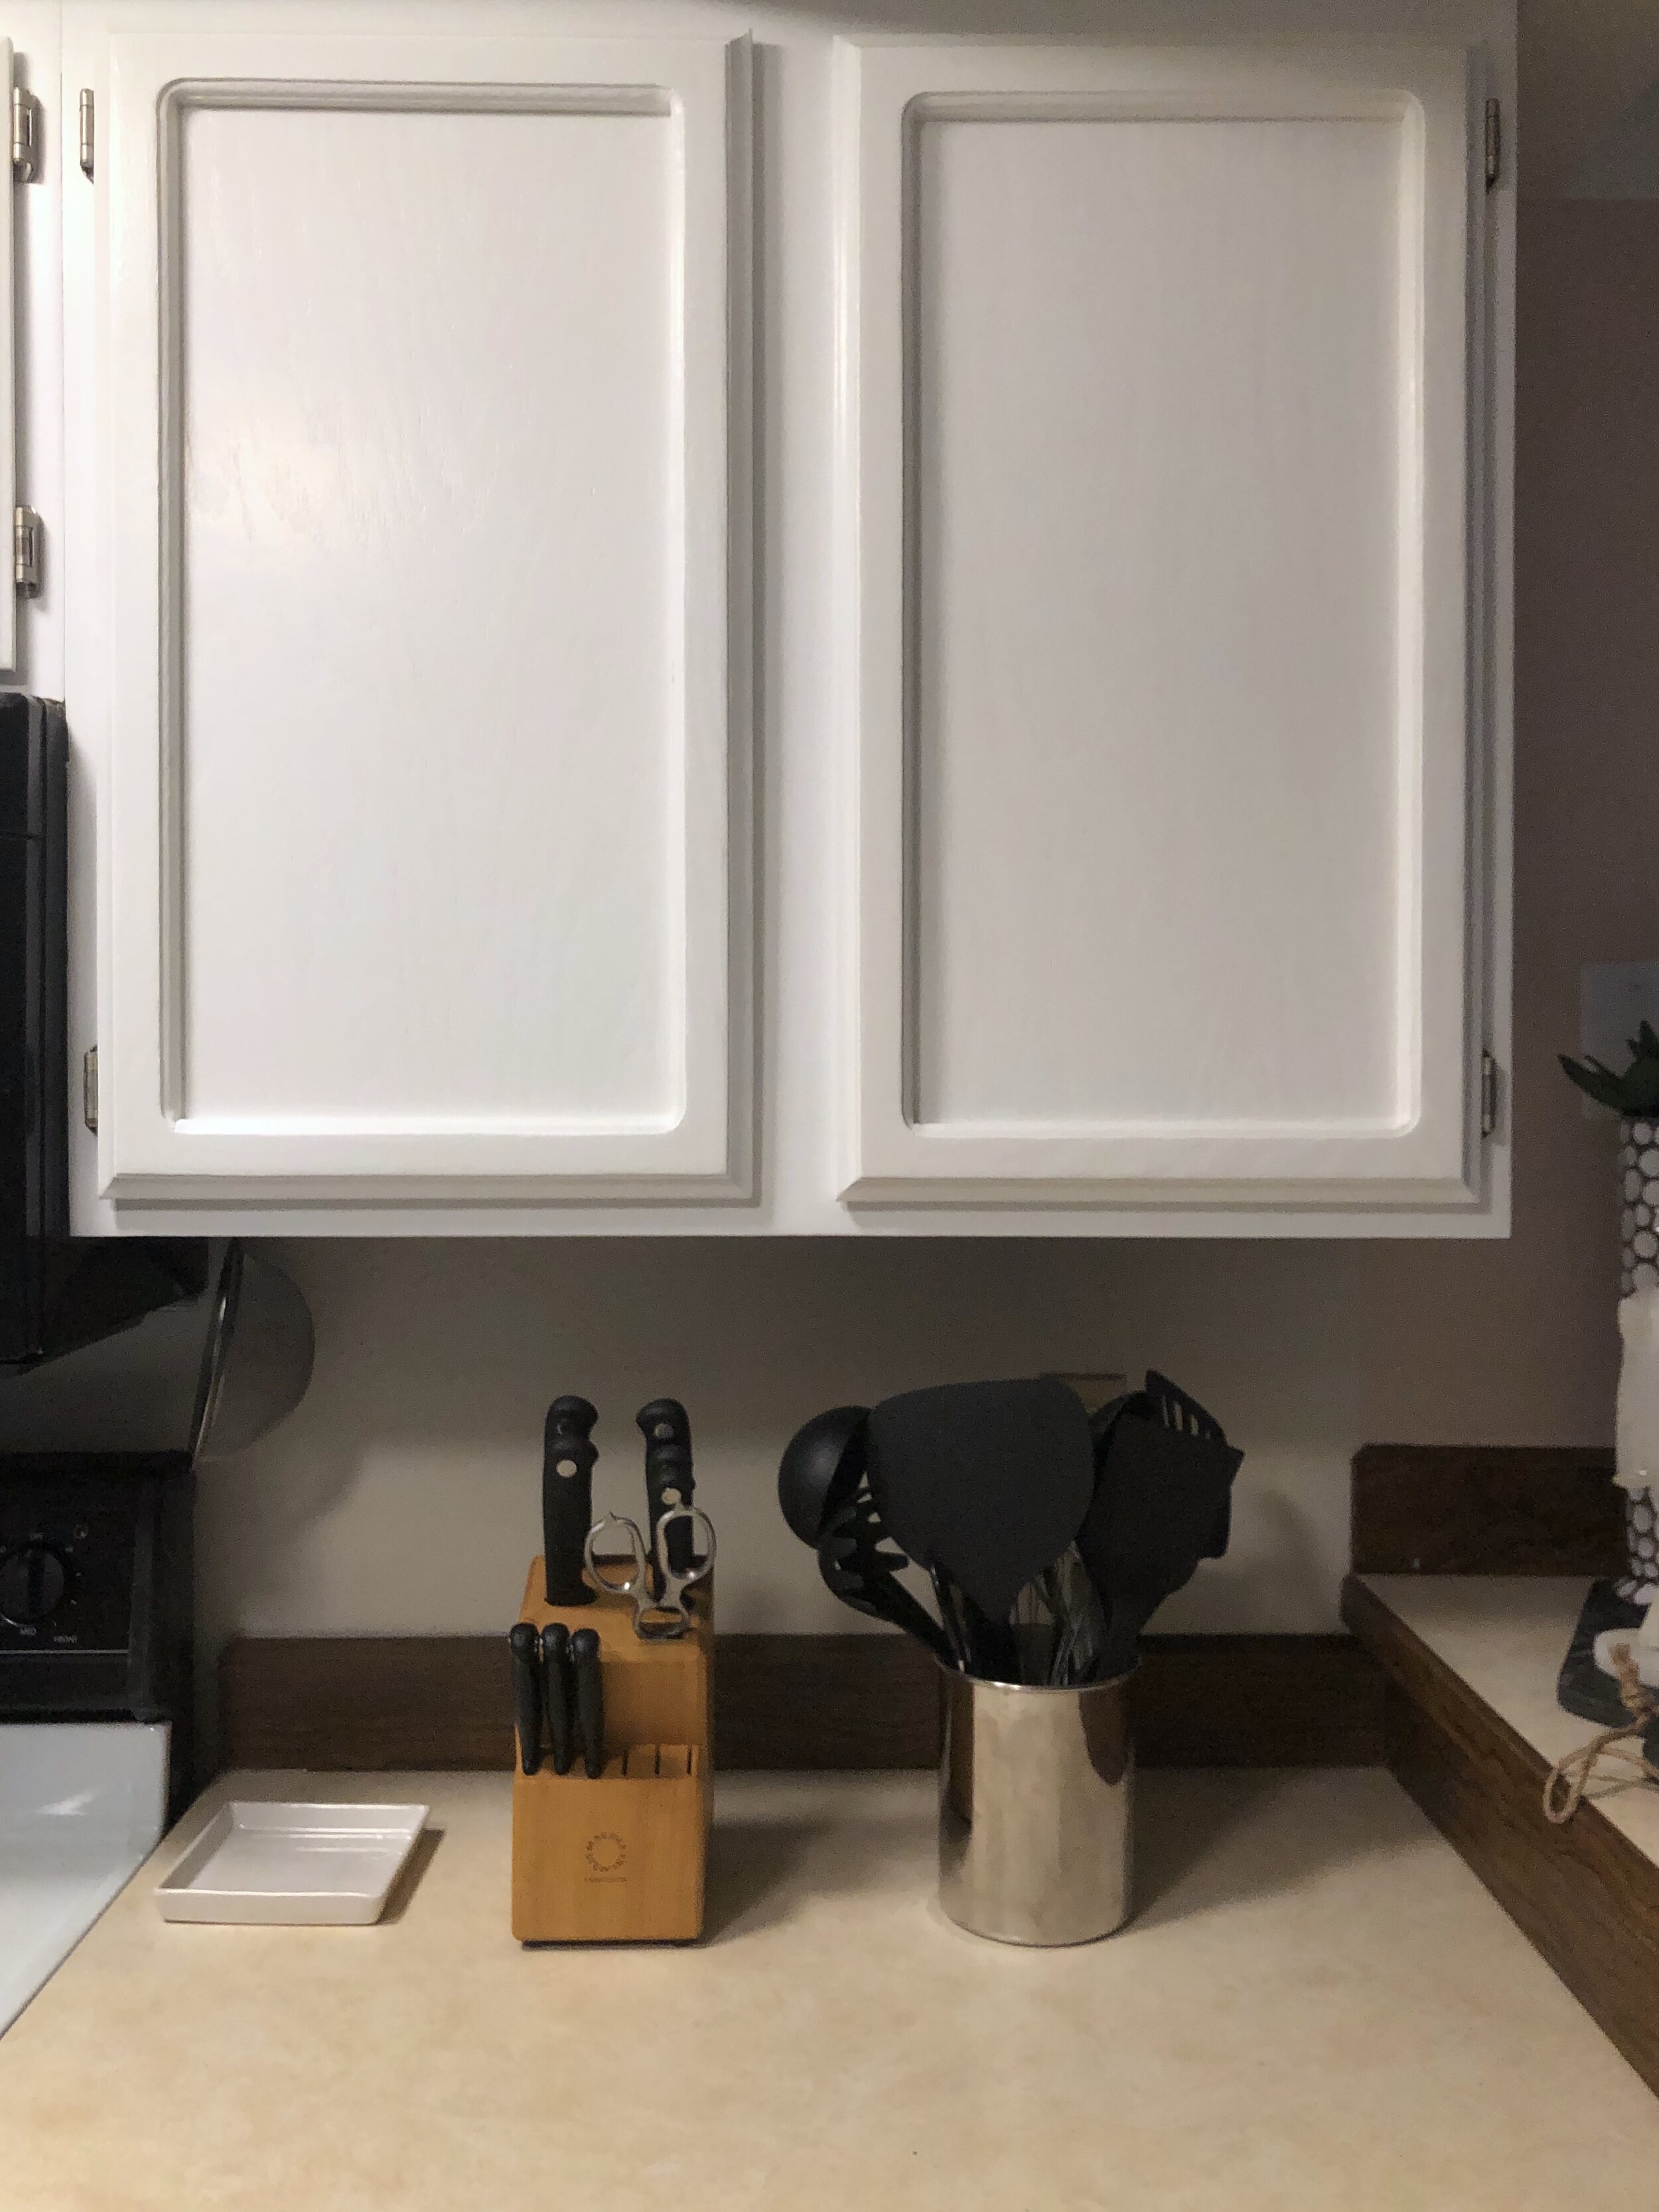
In wintertime in the PNW it’s hard to get good natural daylight, so I apologize for the less than ideal lighting and photo quality. This photo does not do it justice, but you can still see how it looks more modern in the second photo. Goodbye oak cabinets! (BTW- No offense to those who have oak cabinets, it’s just not my style for this design)
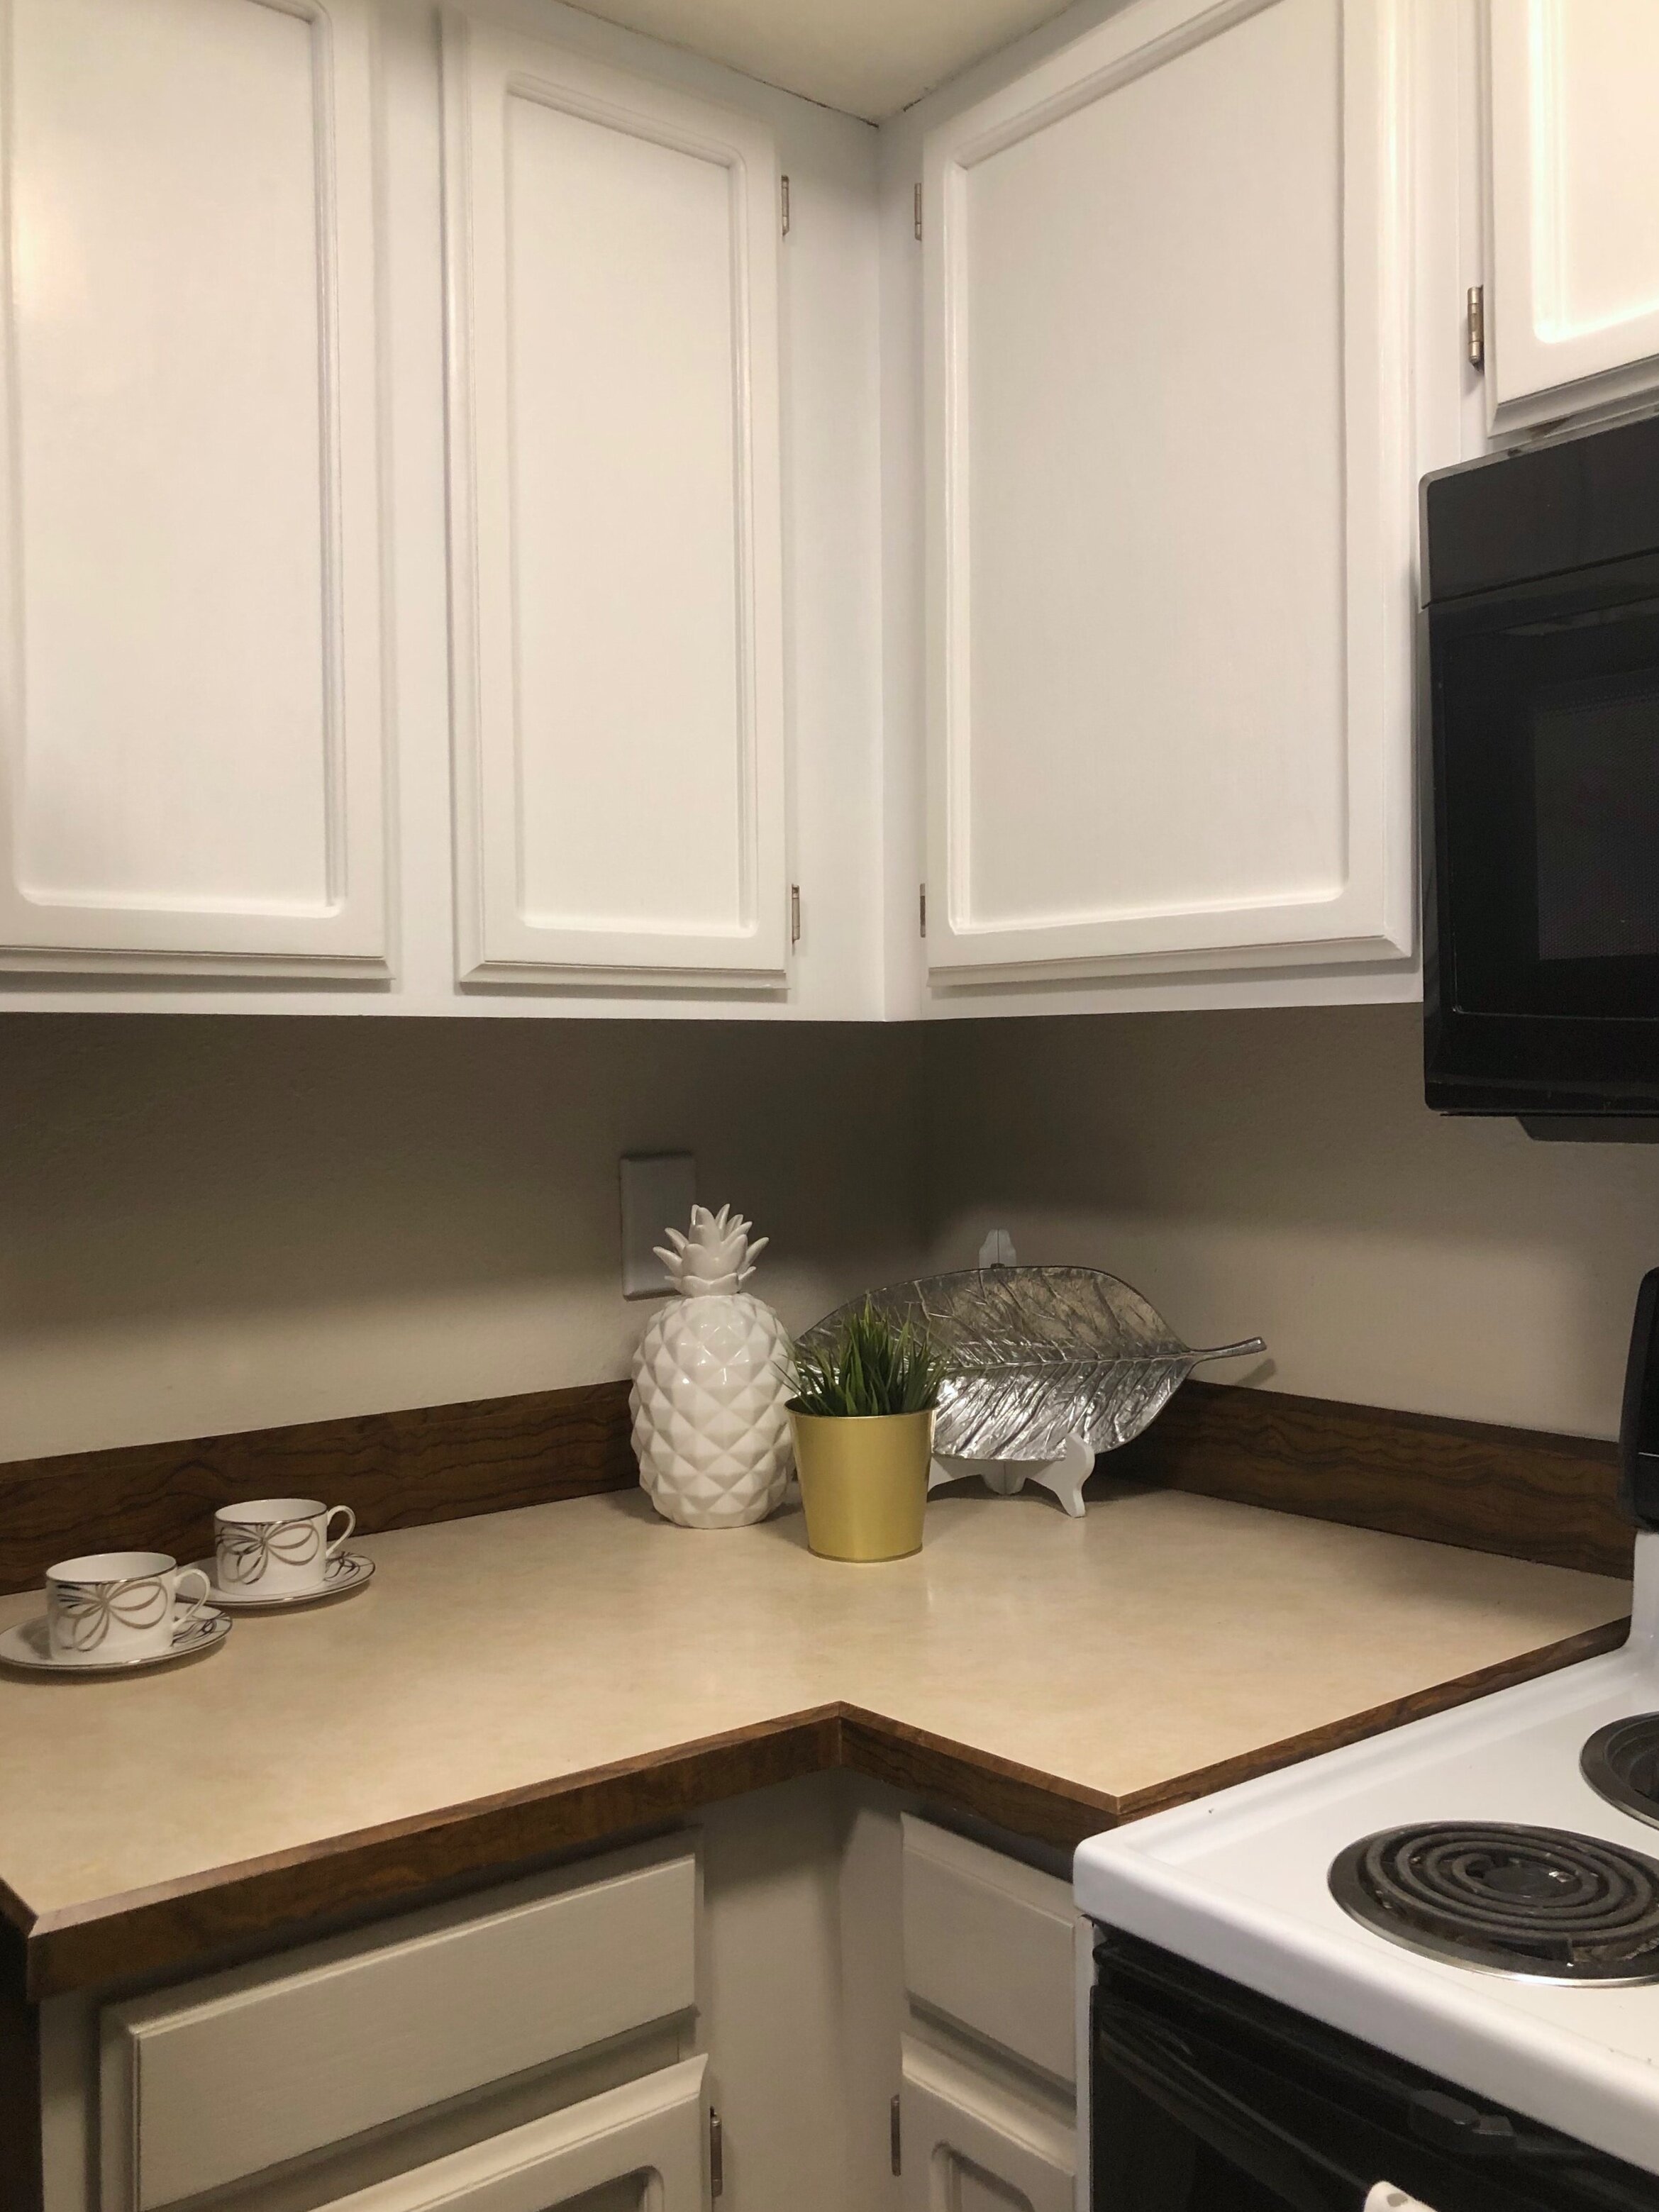
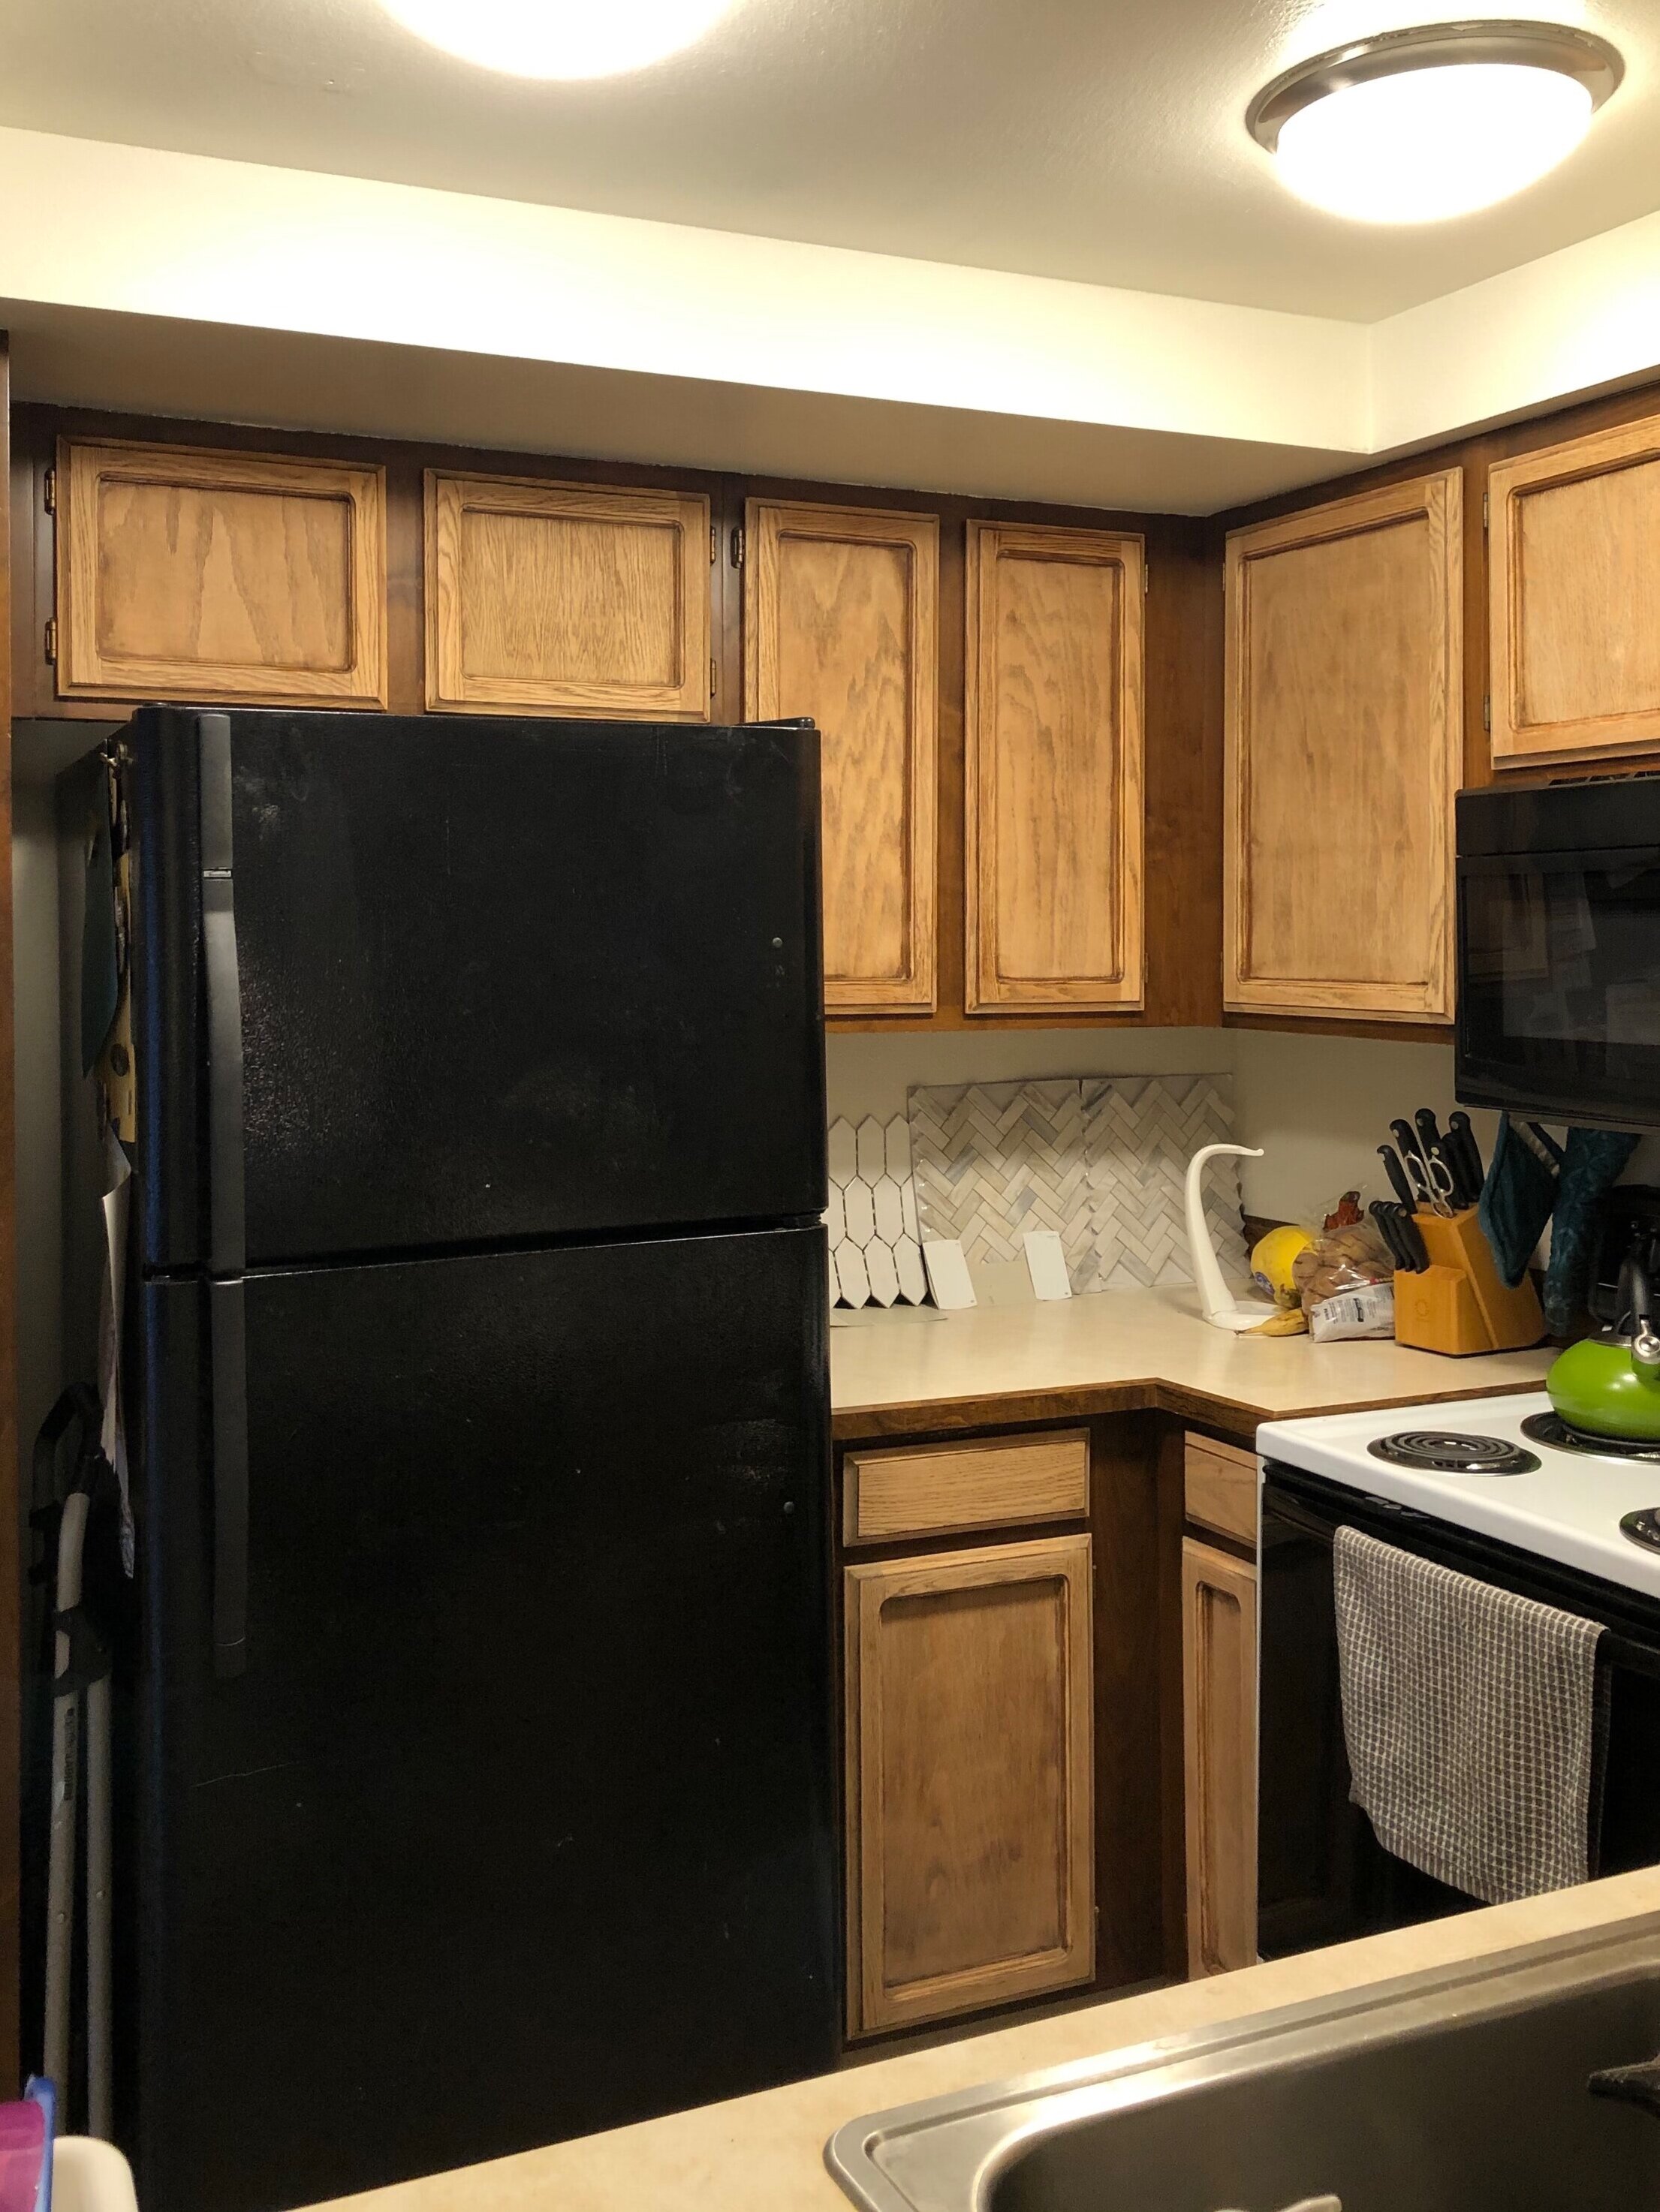
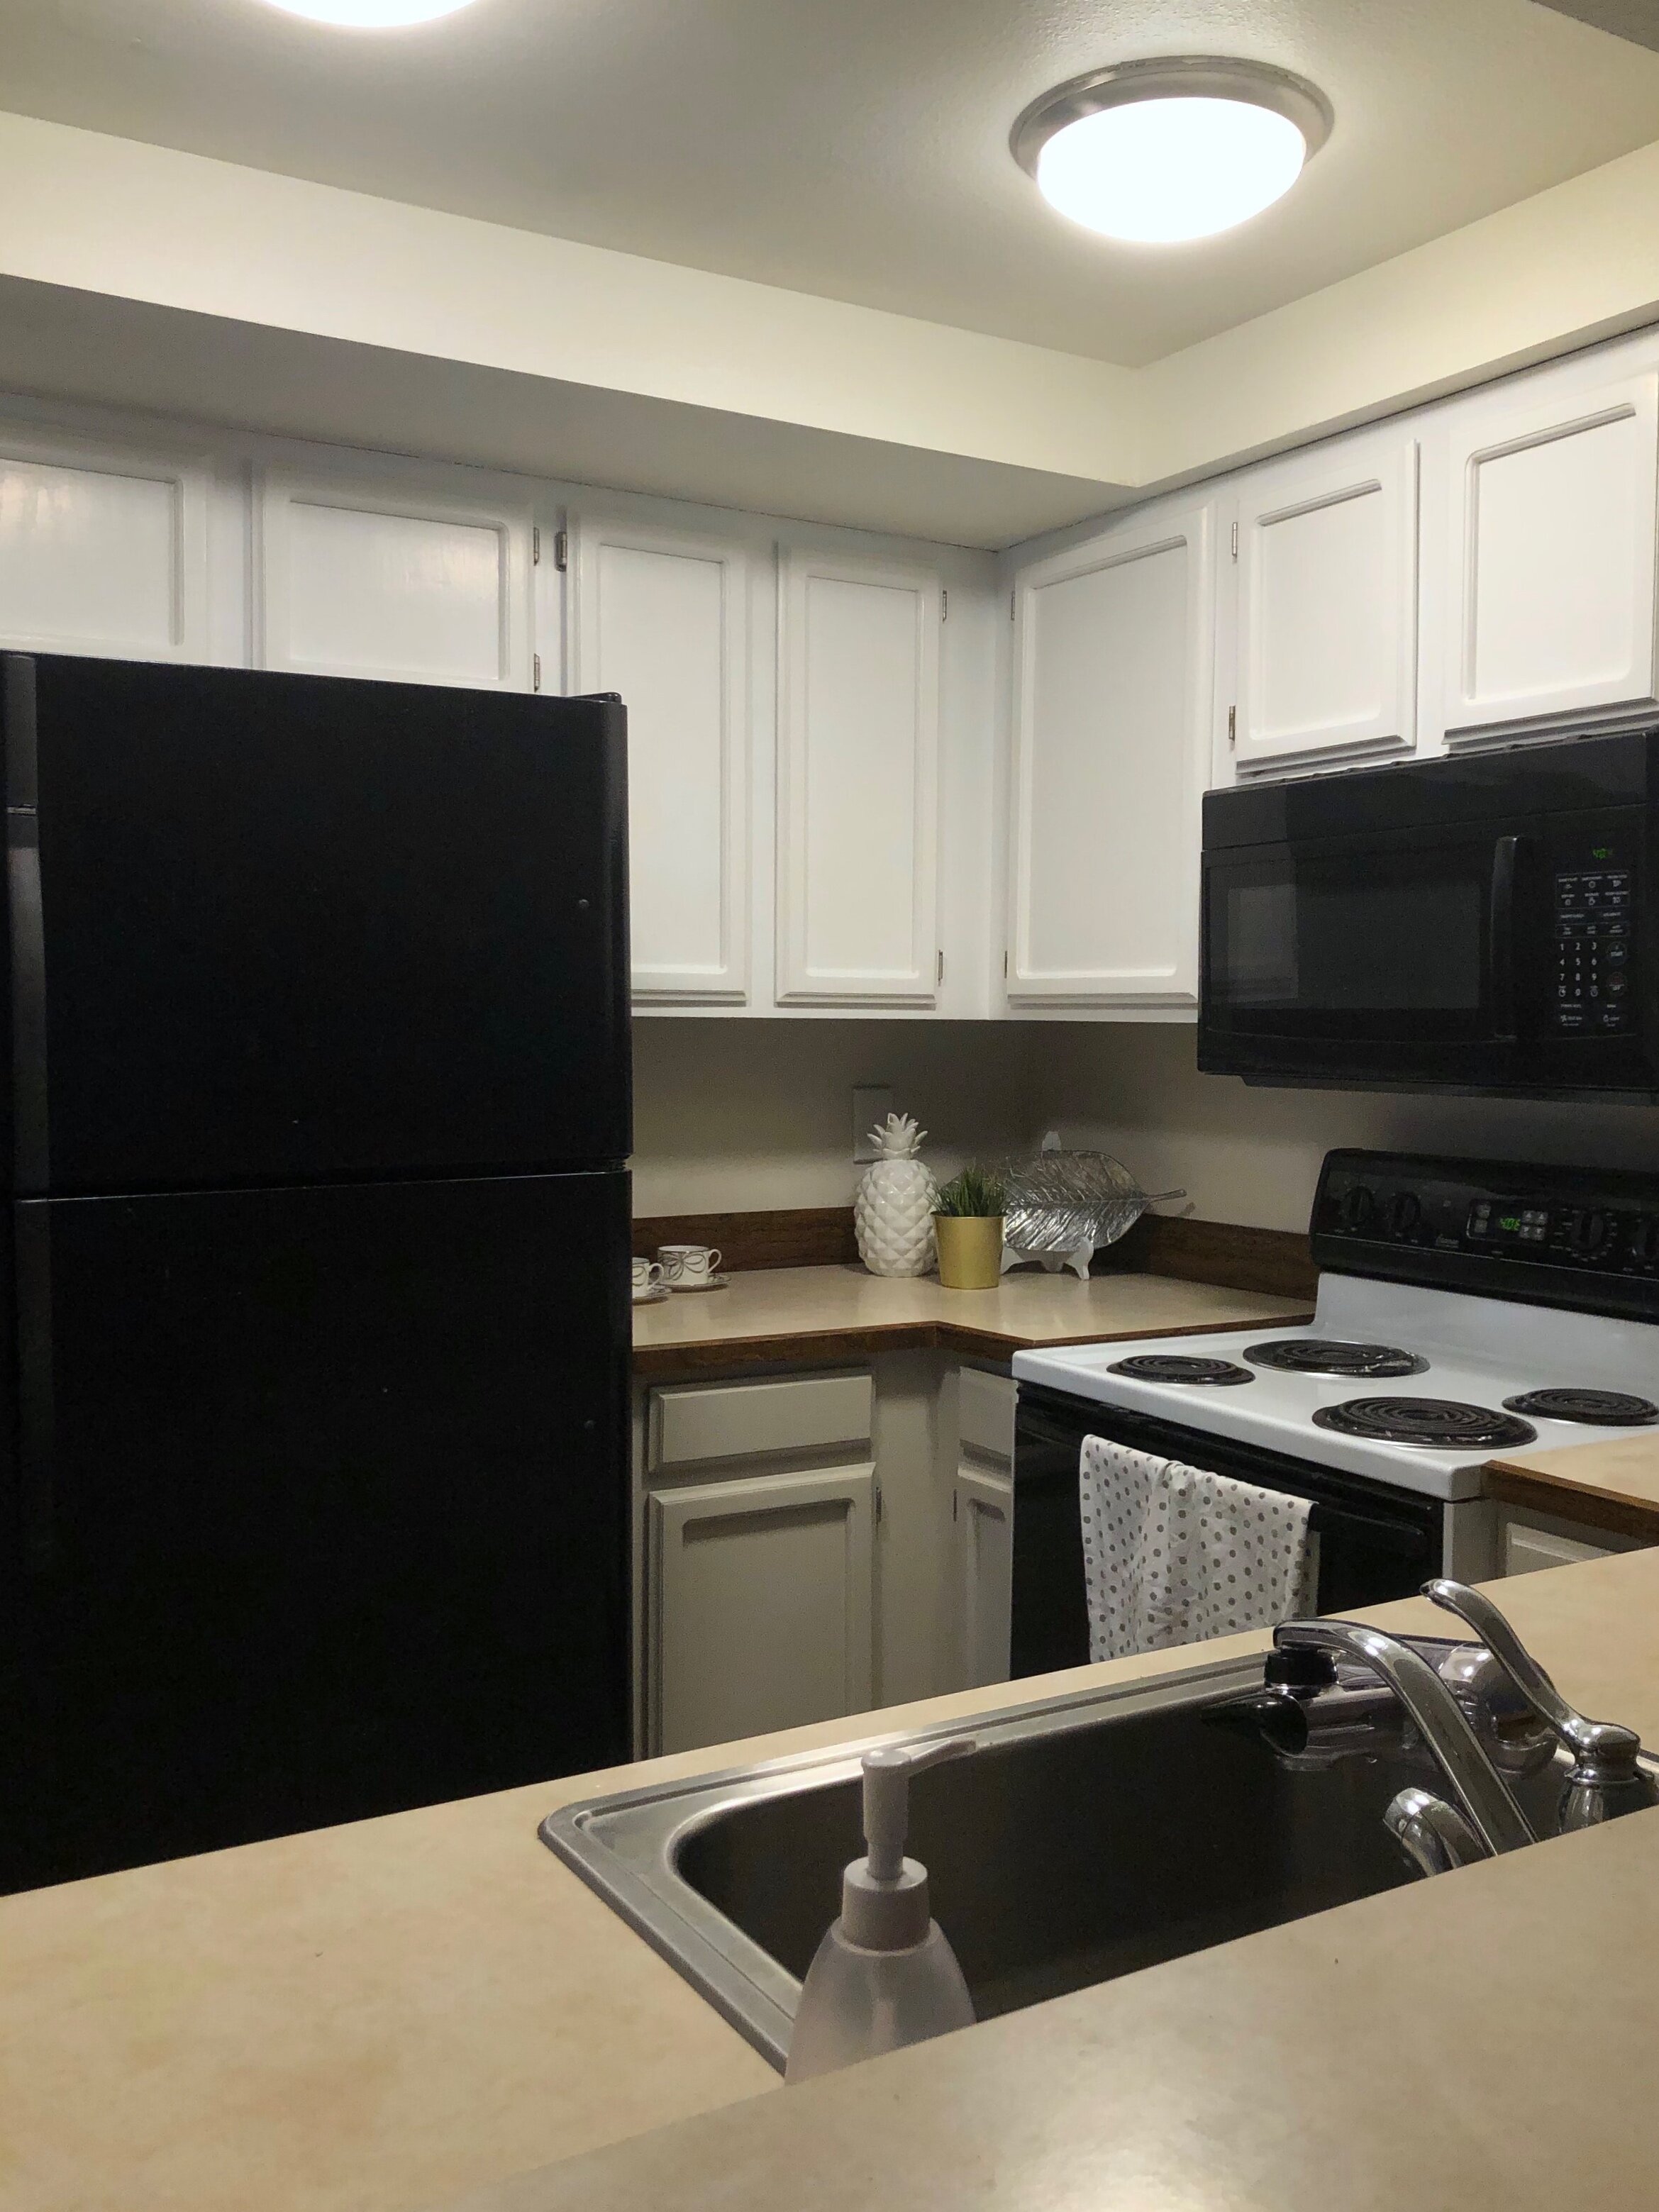
This corner vignette really shows how much brighter my kitchen has become. I used Behr- Frost on the upper cabinets and Behr- Sandstone on the base cabinets. These two colors create visual interest with low contrast, which creates more visual space in my small kitchen’s footprint.
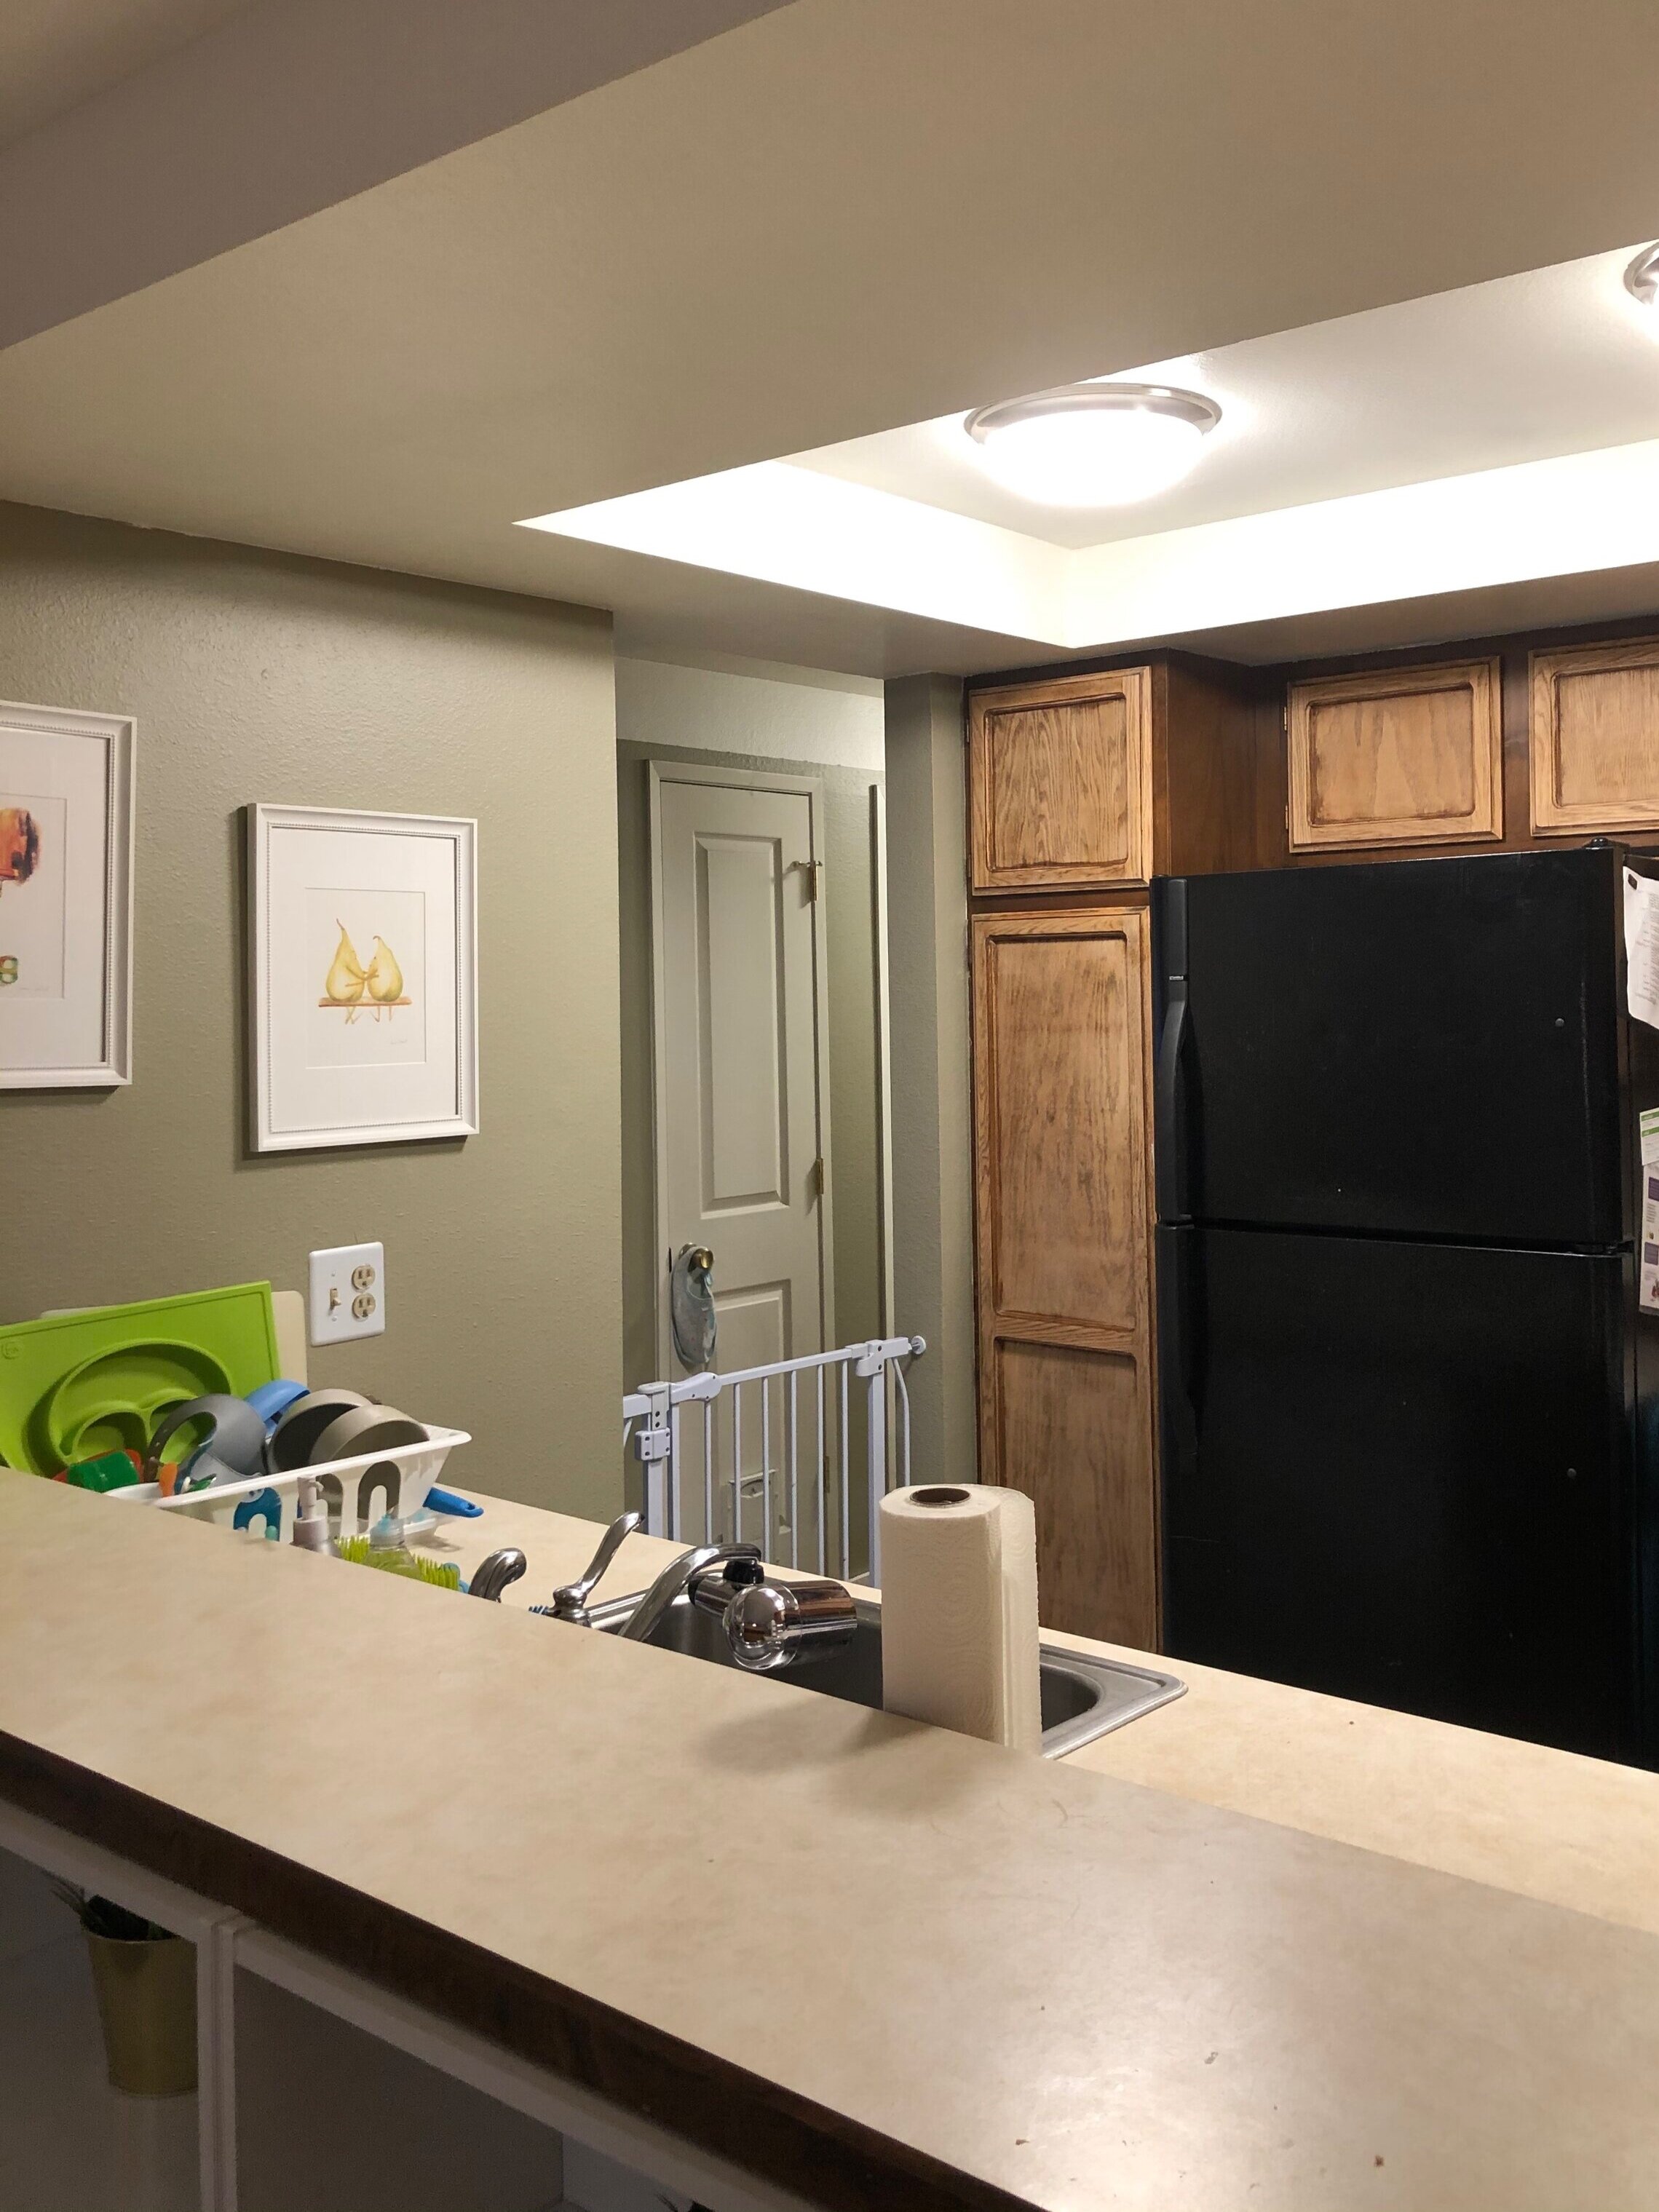
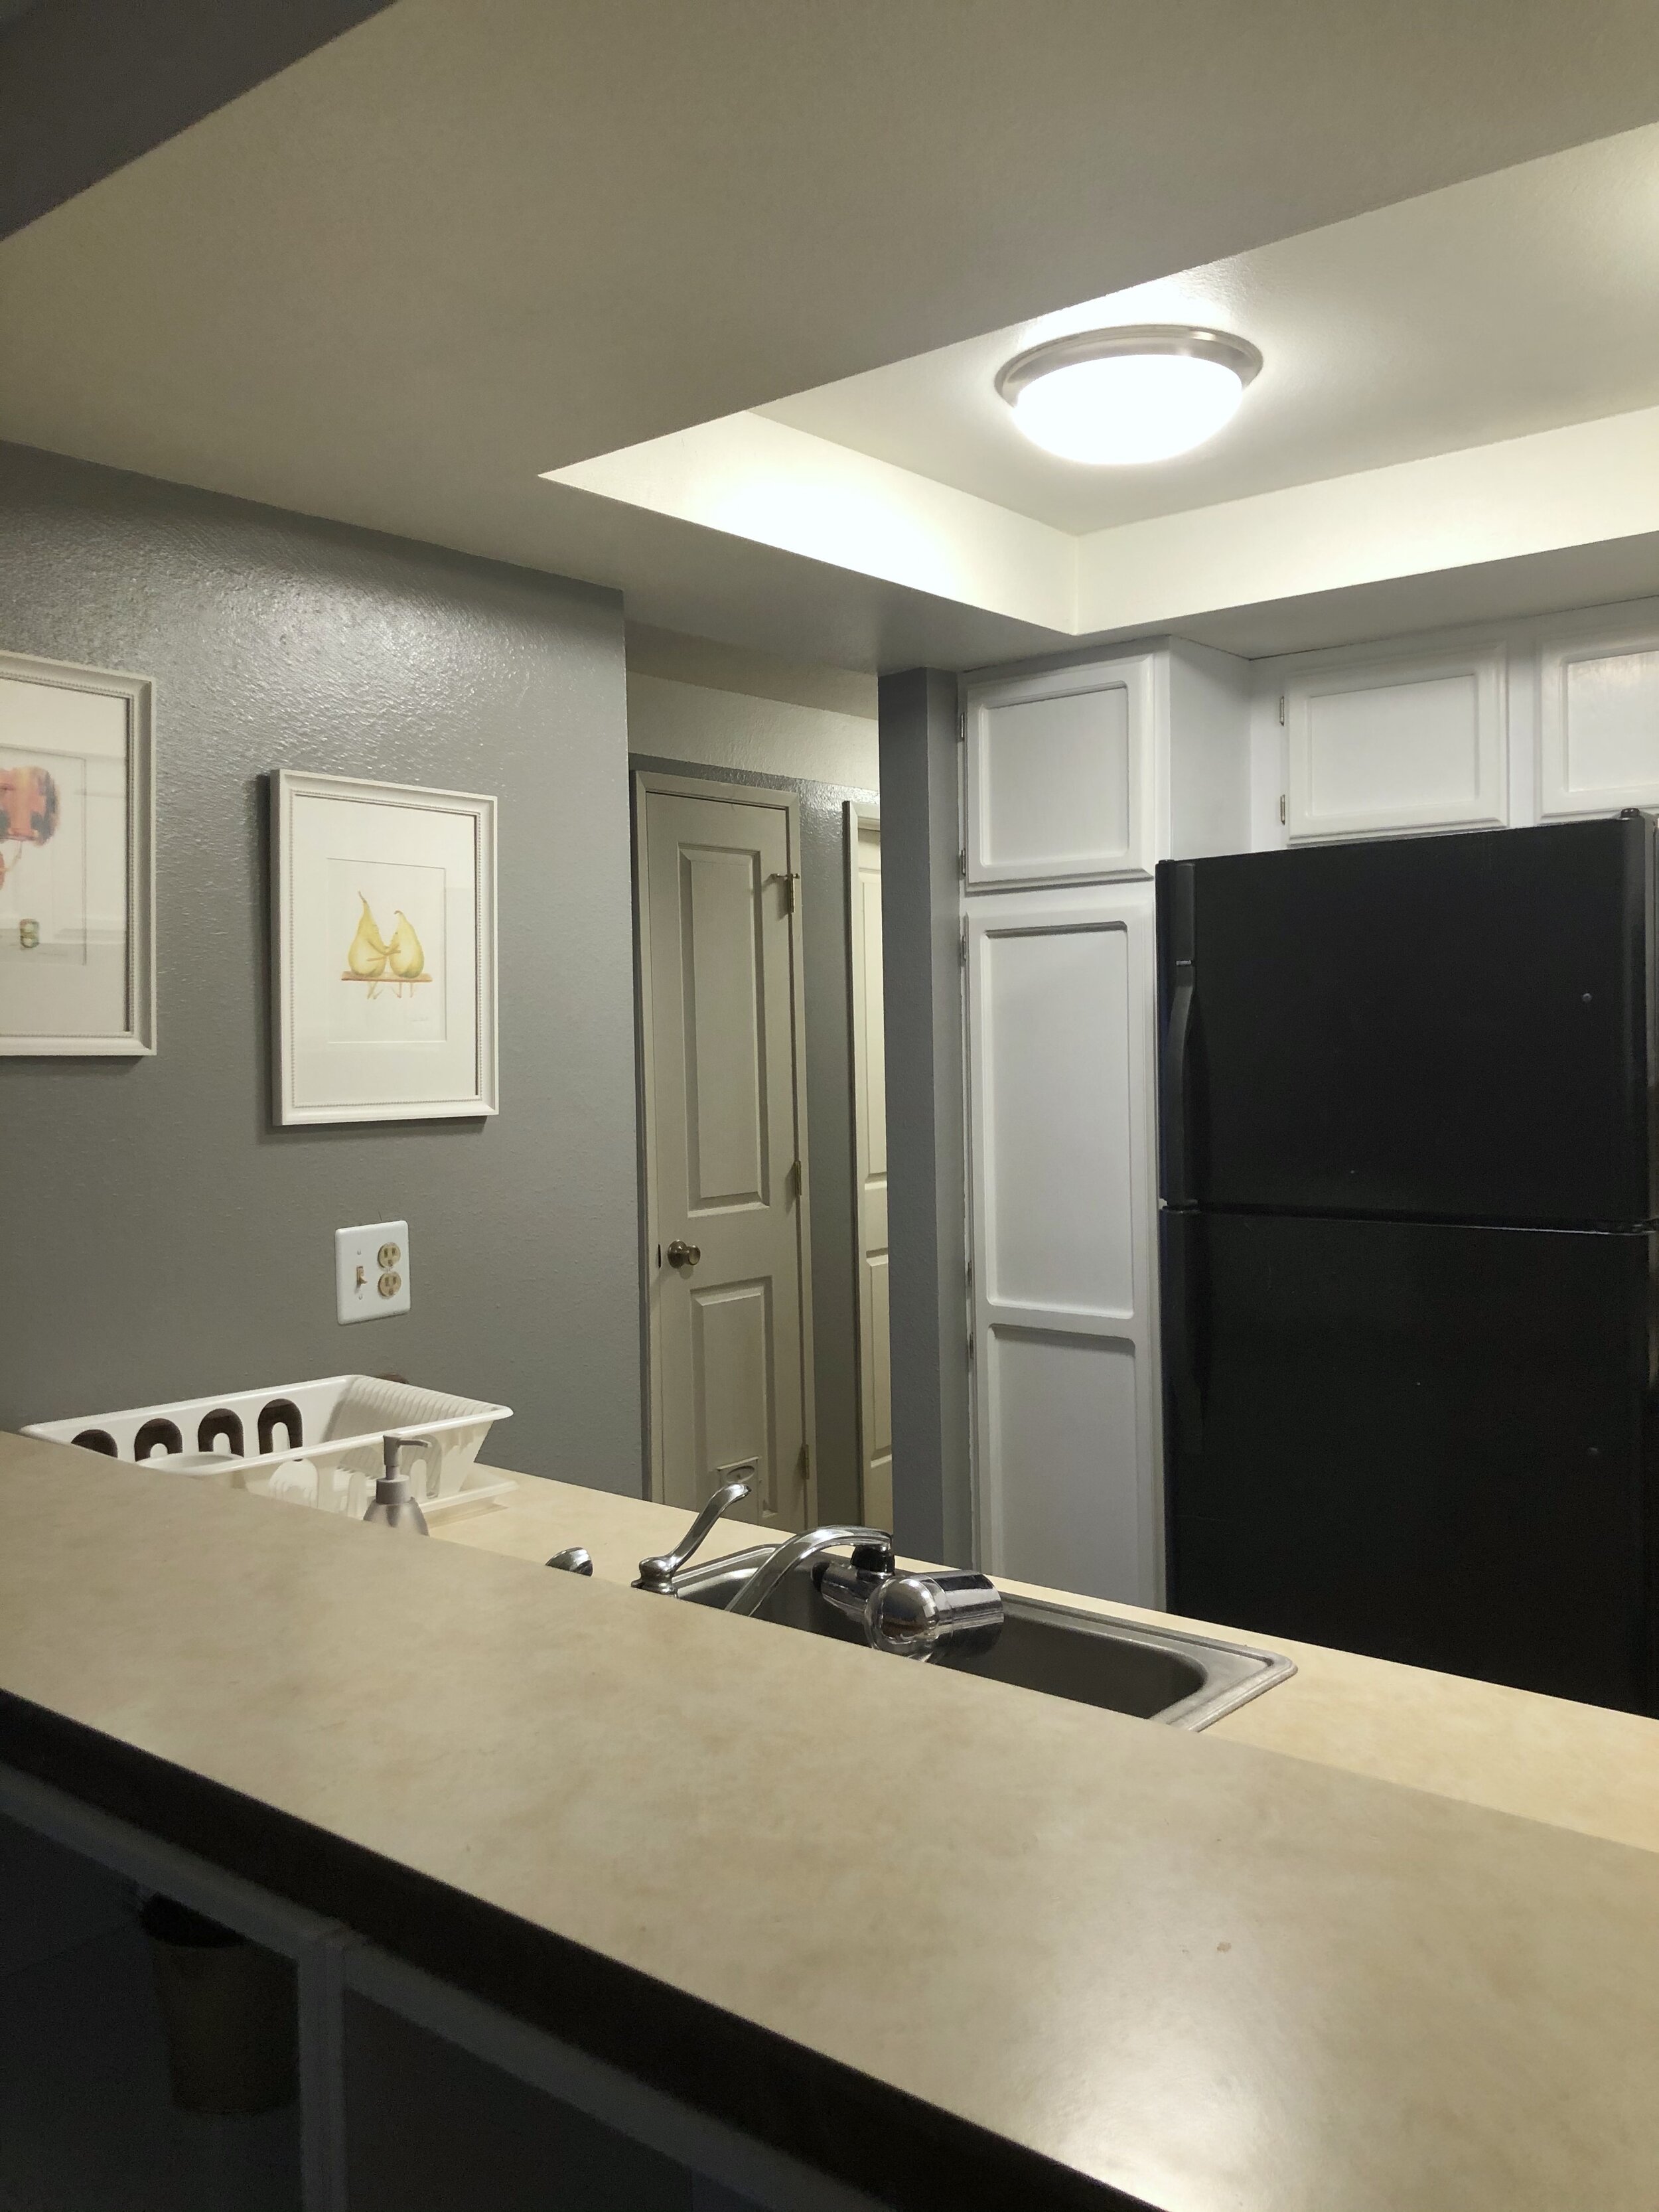
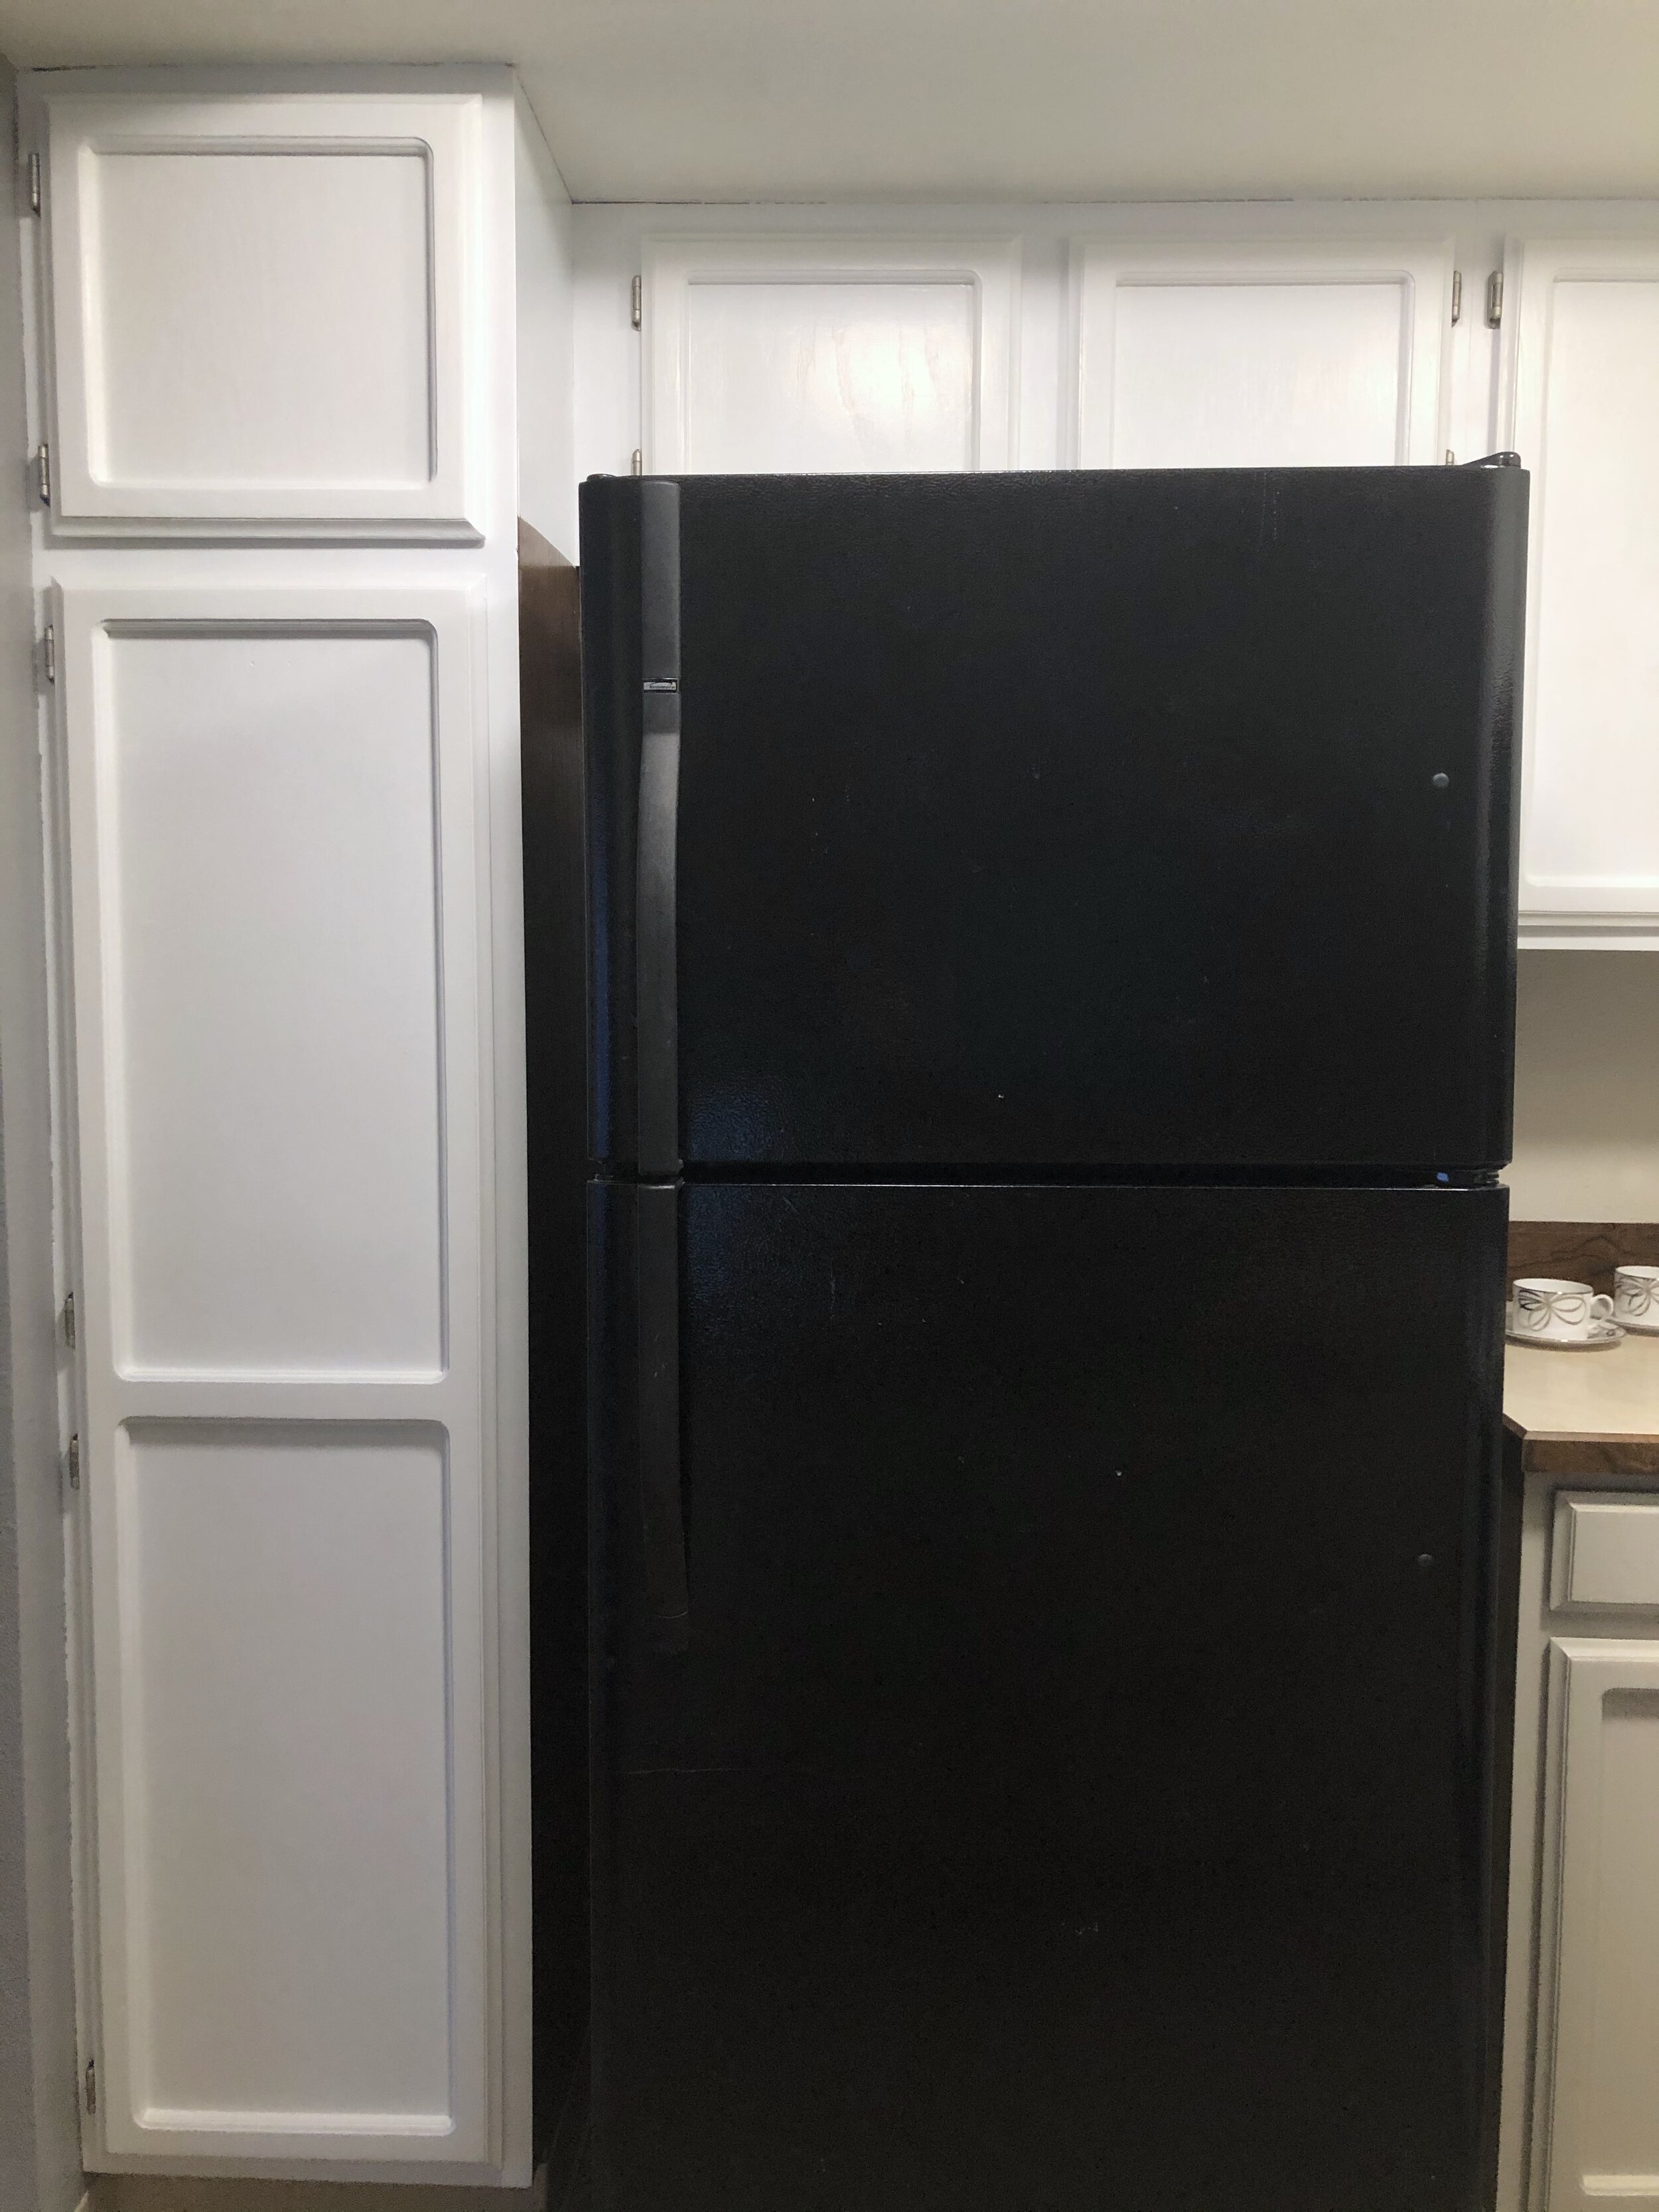
I remember painting that tall pantry door on my dining table, and seeing how fresh it looked. It looks even better up in my kitchen. It just shines against the black refrigerator, which will be leaving the kitchen eventually.

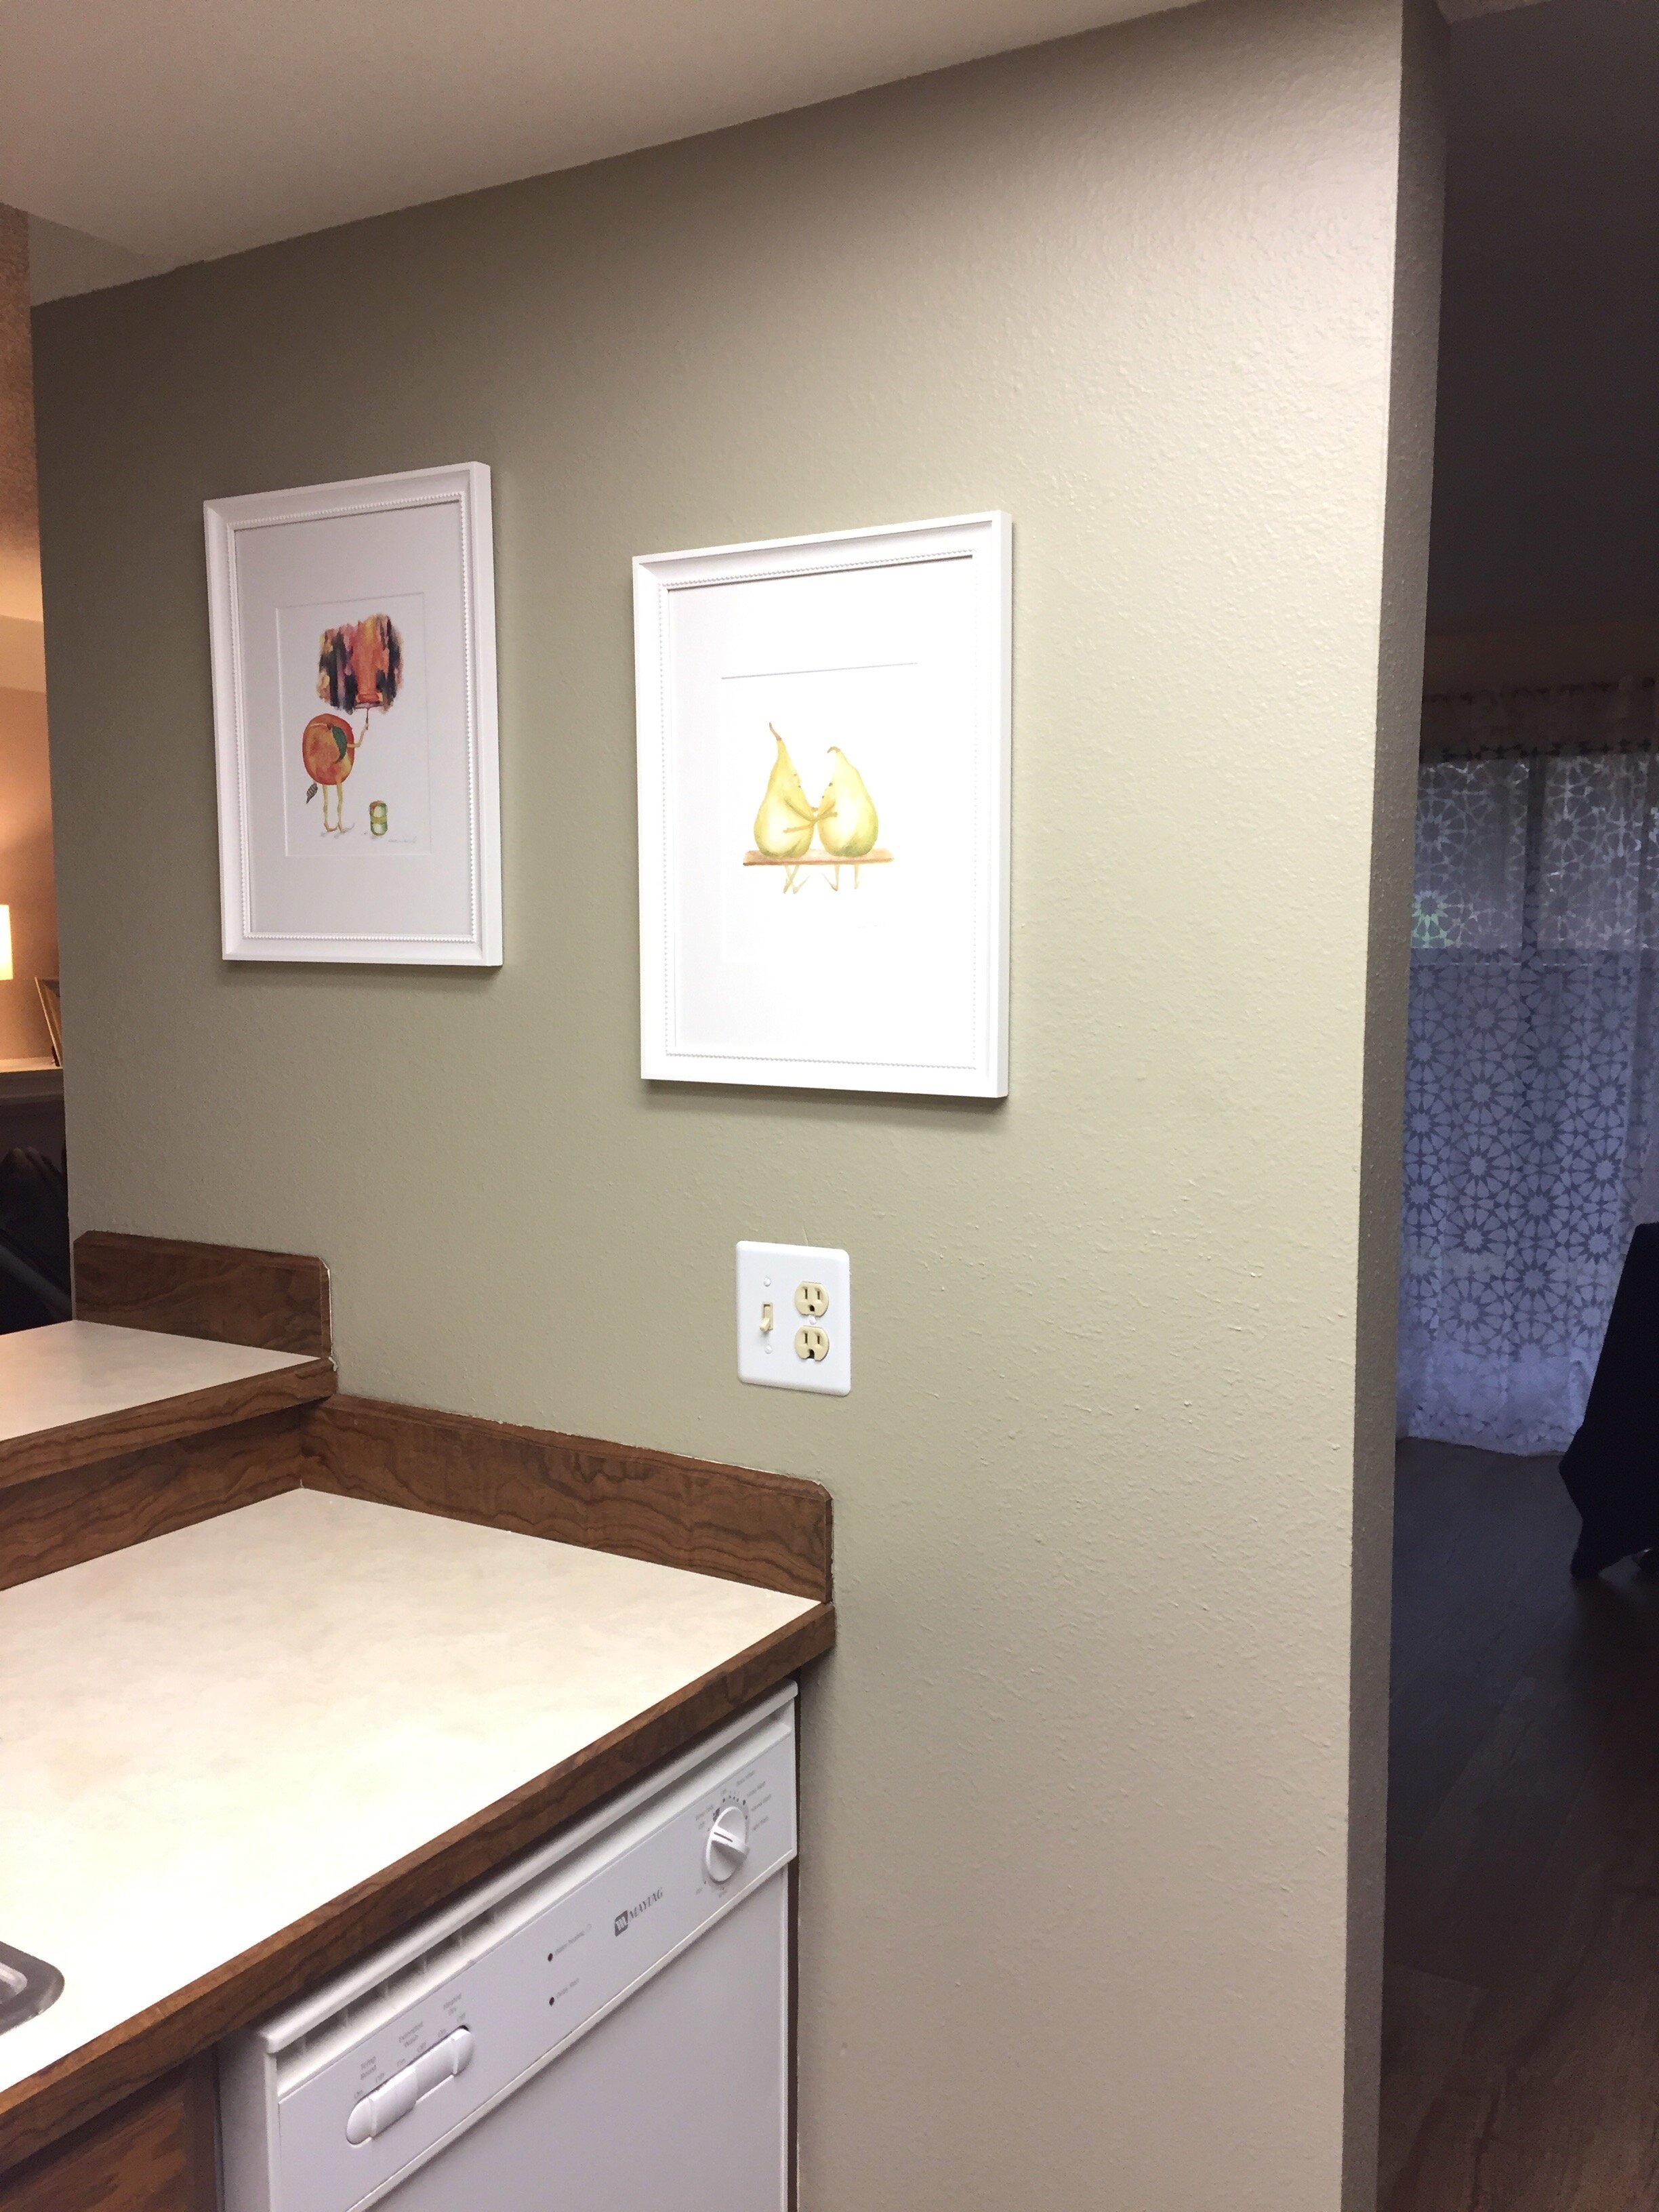
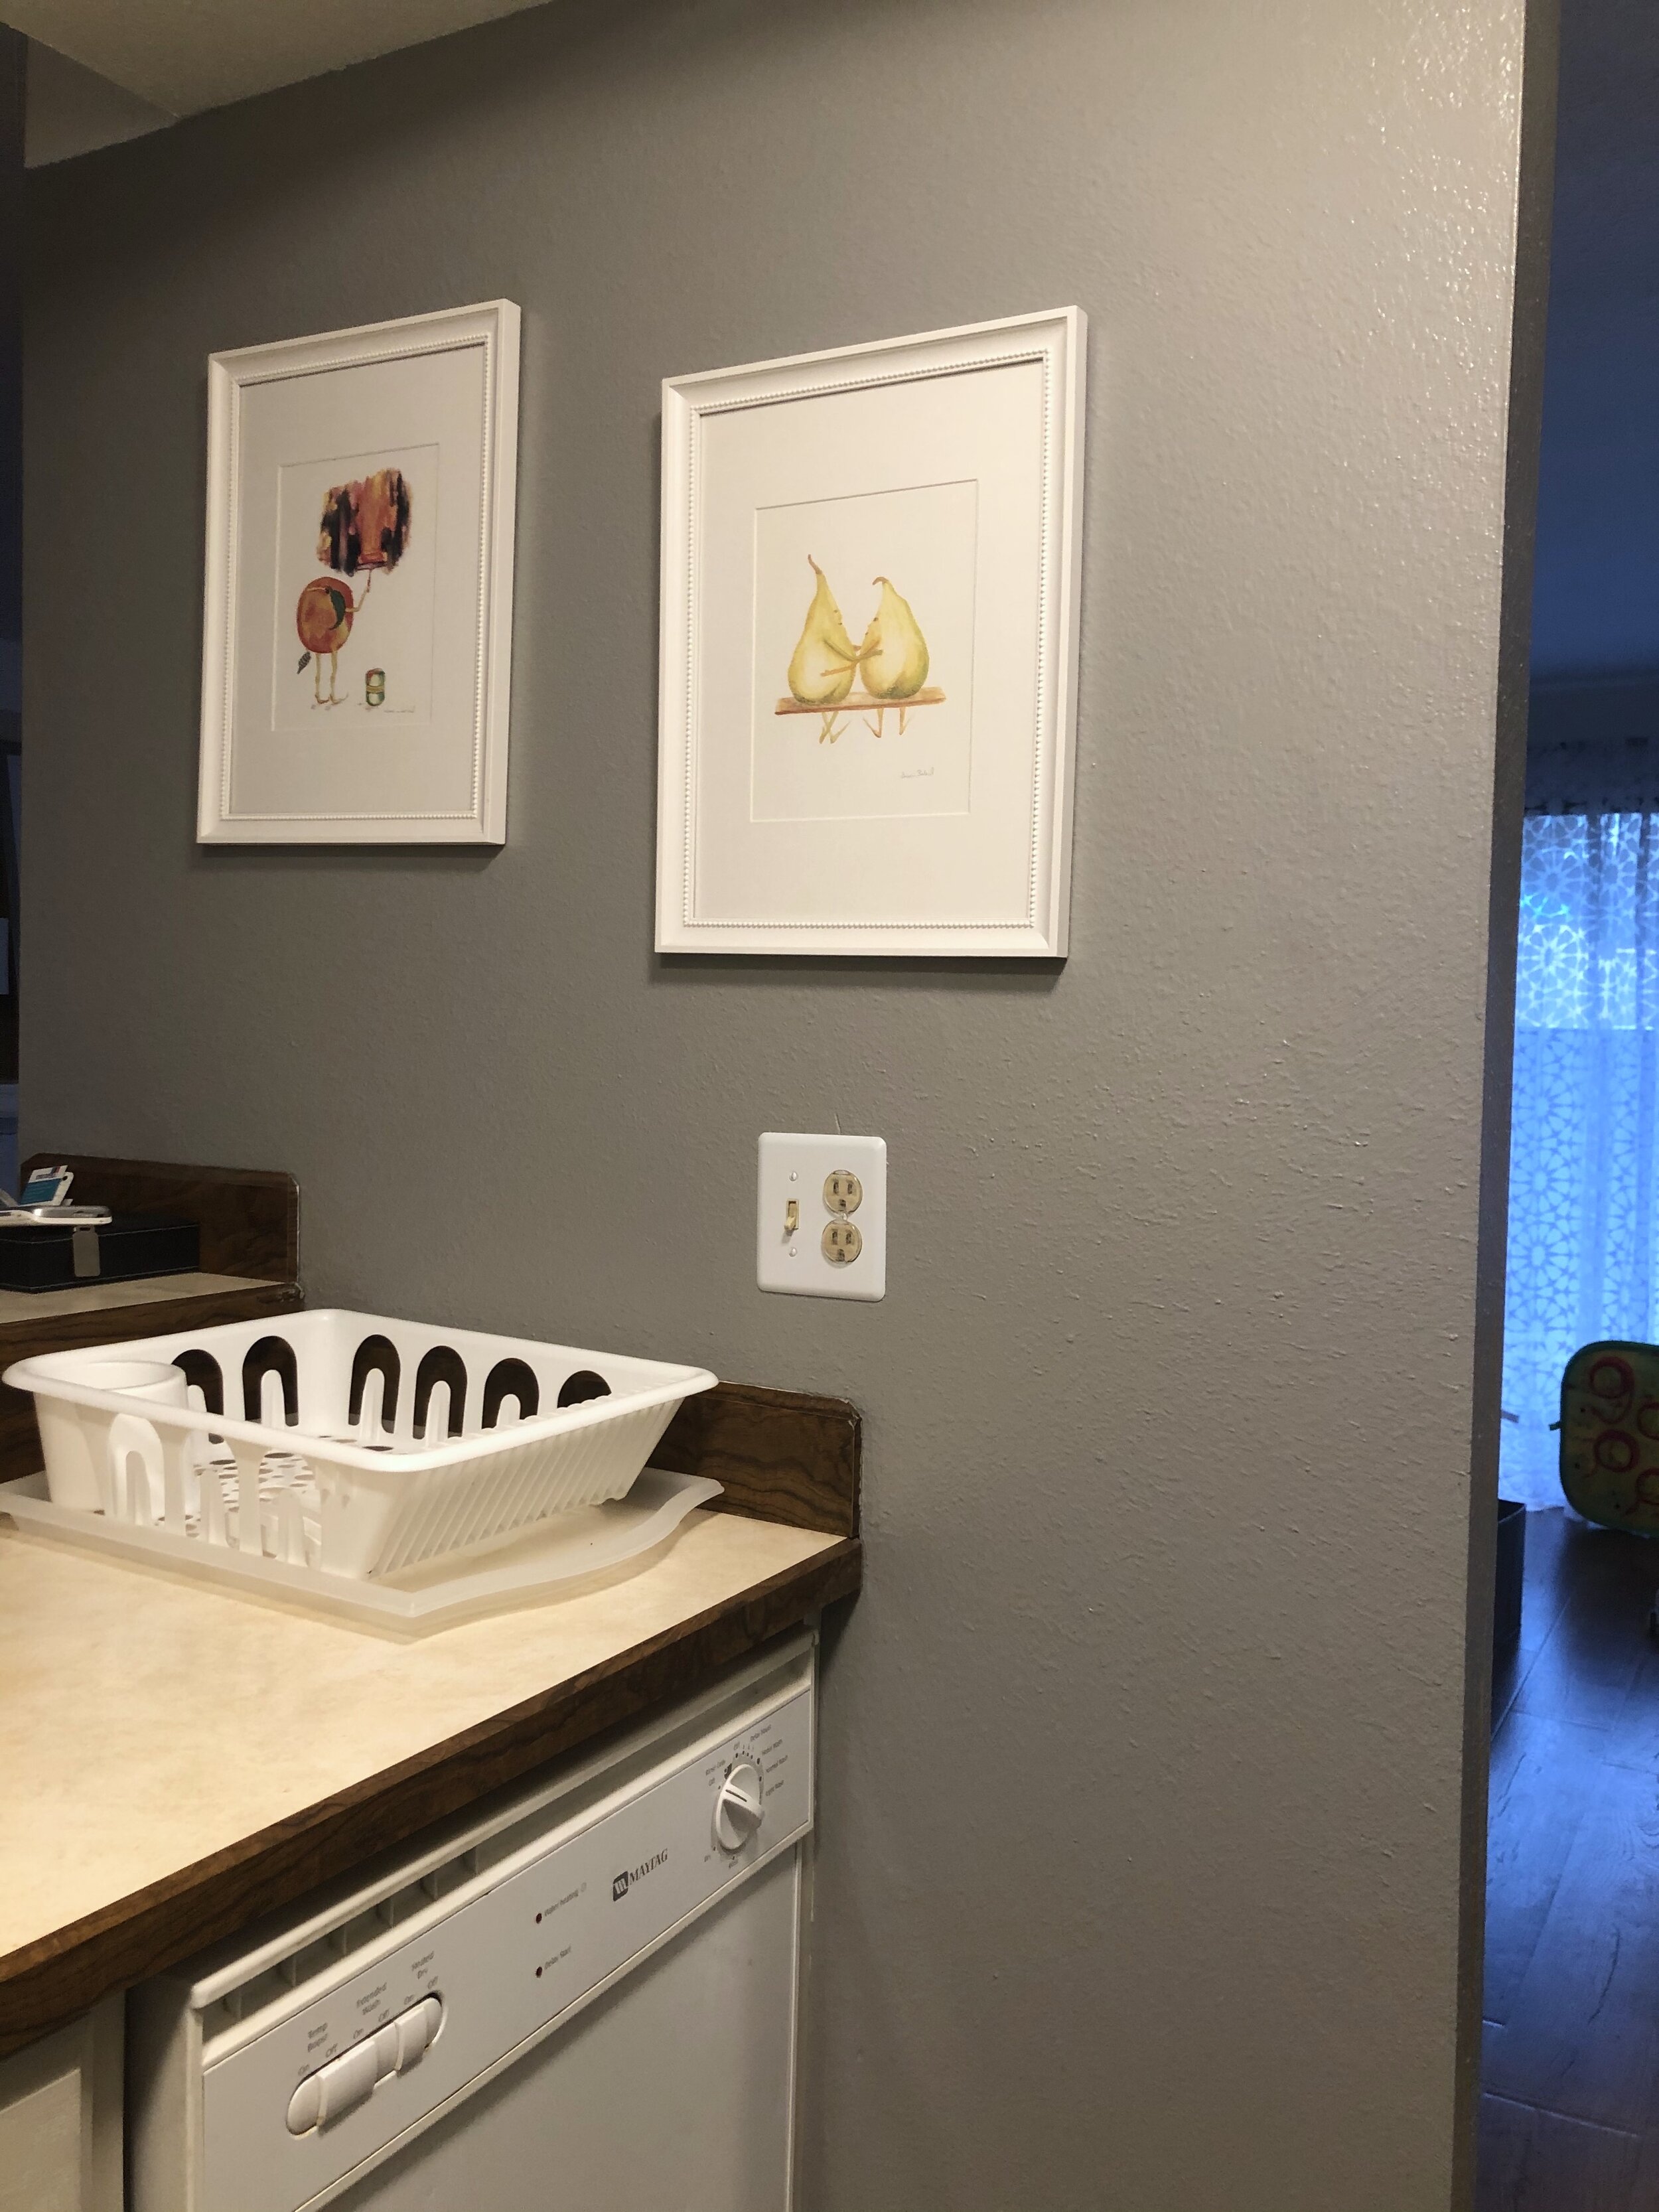
I was a bit sad to see my green partition wall and hallway go, but I’m also loving Behr- Great Graphite. This cool grey looks crisp against all the white cabinets and really makes our artwork POP. It is also a great backdrop for our family photos in the adjacent hallway. (FYI- yes we will be replacing the switch and sockets later on)
These are the cabinets next to our pass-through (breakfast bar). Do I have to say more?
This is the view walking in from my front door. Our great room just increased in size by 25%. The room even feels larger when the lights are off!
Painting my kitchen cabinets for Phase 1 of our kitchen redesign is probably the most rewarding part of the entire project. I spent $82.62 on sandpaper, paint, and painting supplies. My hubby logged in about 65 hours of labor between the both of us. While we were exhausted having painting parties each night for the last two weeks, after we put the kids to bed, we saved ourselves several thousand dollars prepping and painting the kitchen cabinets ourselves. Quotes I received ranged from $4,000 - $8,000, which is not in our budget on one income, while I’m a SAHM.

This challenge did not allow me to get crafty with DIY art projects, but our DIY painted cabinets were a HUGE challenge without a garage/workspace, a paint sprayer, and having 2 little ones sleeping 5 feet from our kitchen- Lol. I do have to say, we did get creative with creating “drying racks” around our home! (If you remember from Week 4 )
I have to give a huge THANK YOU to my incredible hubby. He sanded the heck out of our cabinets while I was sick and keeping our boys out of the house. He hung in there with me, and we had a great time working together. Love you <3

And of course, thank you to Erin @lemonslavenderlaundry for hosting the $100 Room Challenge. We have been wanting to redesign our kitchen since we first viewed our home, almost 4 years ago. And who would’ve known that a 5 week challenge/deadline was all we needed to get the ball rolling (or paint rollers rolling?- haha).
I’ll be posting behind-the-scenes on my InstaStories and Highlights under 100RC-W20, so be sure to follow me and check it out! @decoranddiapers . And remember to see the room reveals of the other participants #oneroomchallenge . There are some beautiful and clever transformations to out there!!