
$100 Room Challenge, Wk 1: My Kitchen- Before Photos
/Here we go again- WHEW. I’m pretty sure I was sick for the last week or two of the last #100roomchallenge on Instagram, and here I am trying to get over a 3 week cold at the start of this round. With less than 24 hours left to enter, I’m writing my Week 1 blog post to make it official.

Sometimes it’s hard to see so many beautiful rooms on Pinterest, but it doesn’t mean you can’t do anything to your home on a budget. What can you do with $100? Probably more than we think! (Read more about it HERE from the host @lemonslavendarlaundry ) The challenge is pretty simple: 5 posts in 5 weeks (Thanks for the extra week, January), and makeover a room in your home for under $100. Challenge accepted- AGAIN.
My kitchen, my little dark hole, dungeon of a kitchen… This is the view of my kitchen when you walk in my front door. It’s just a wall of dark cabinetry, a black refrigerator, and totally lack of any personality. Needless to say, it has LOADS of potential.
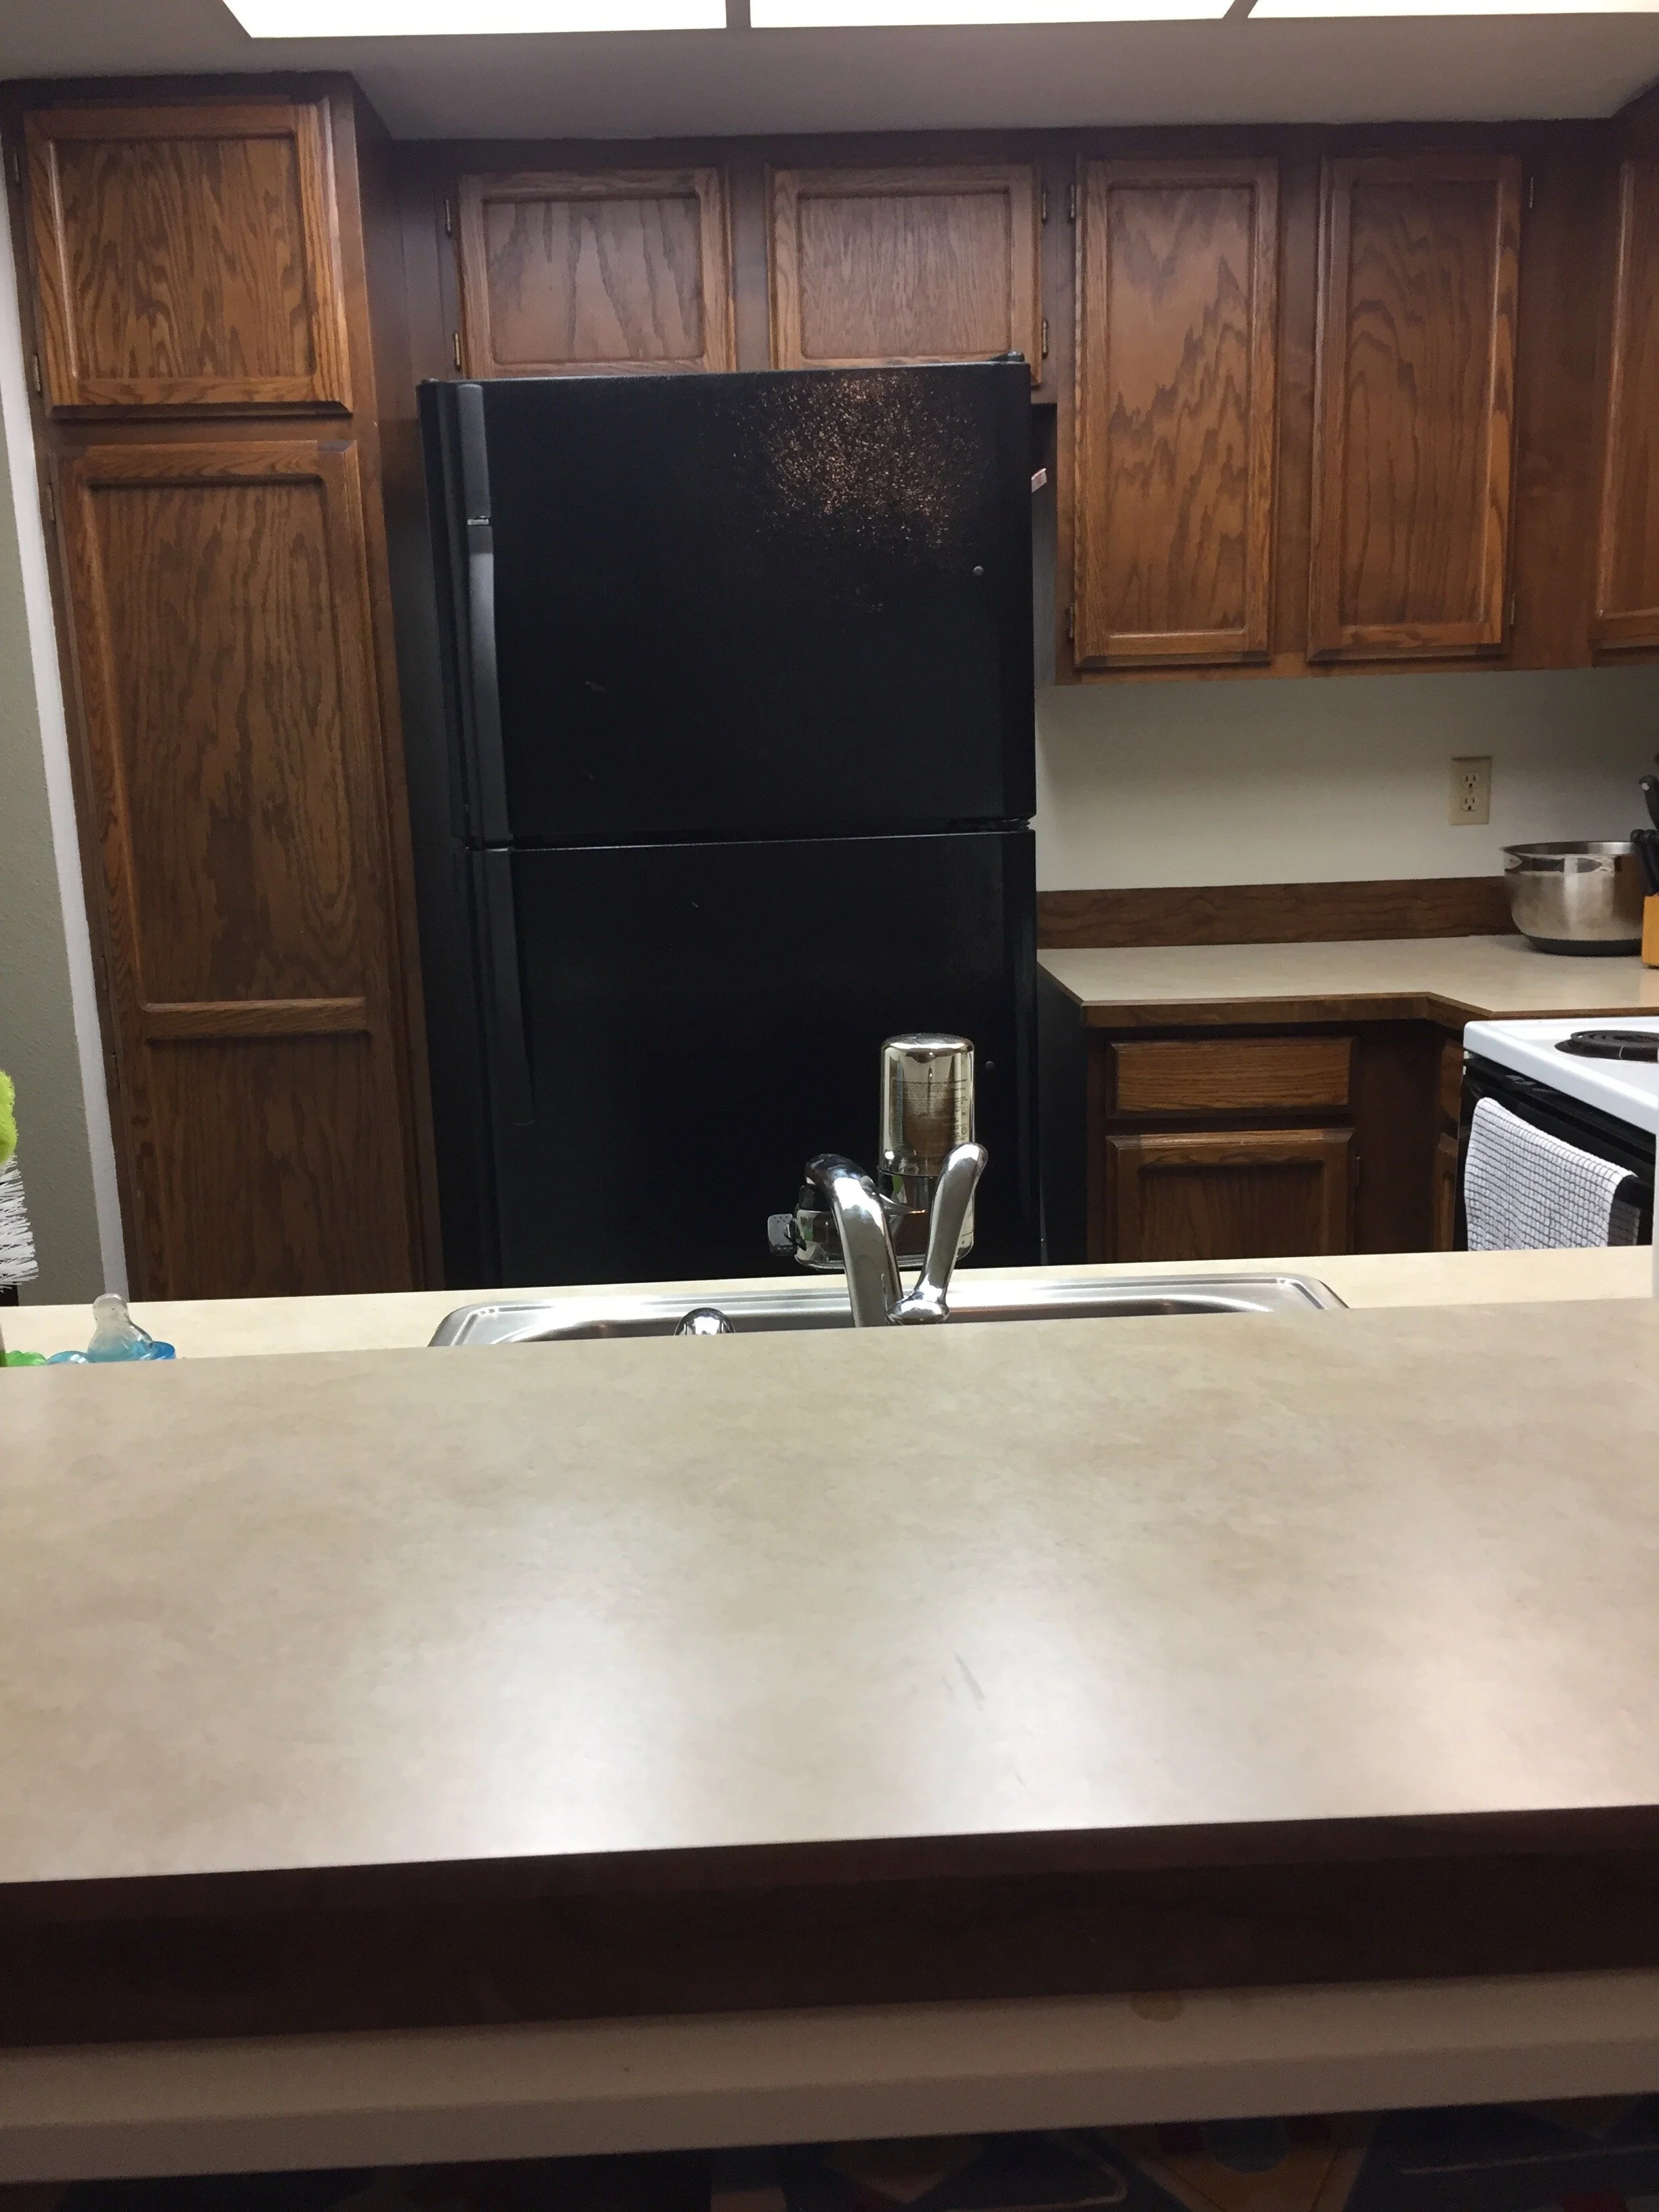
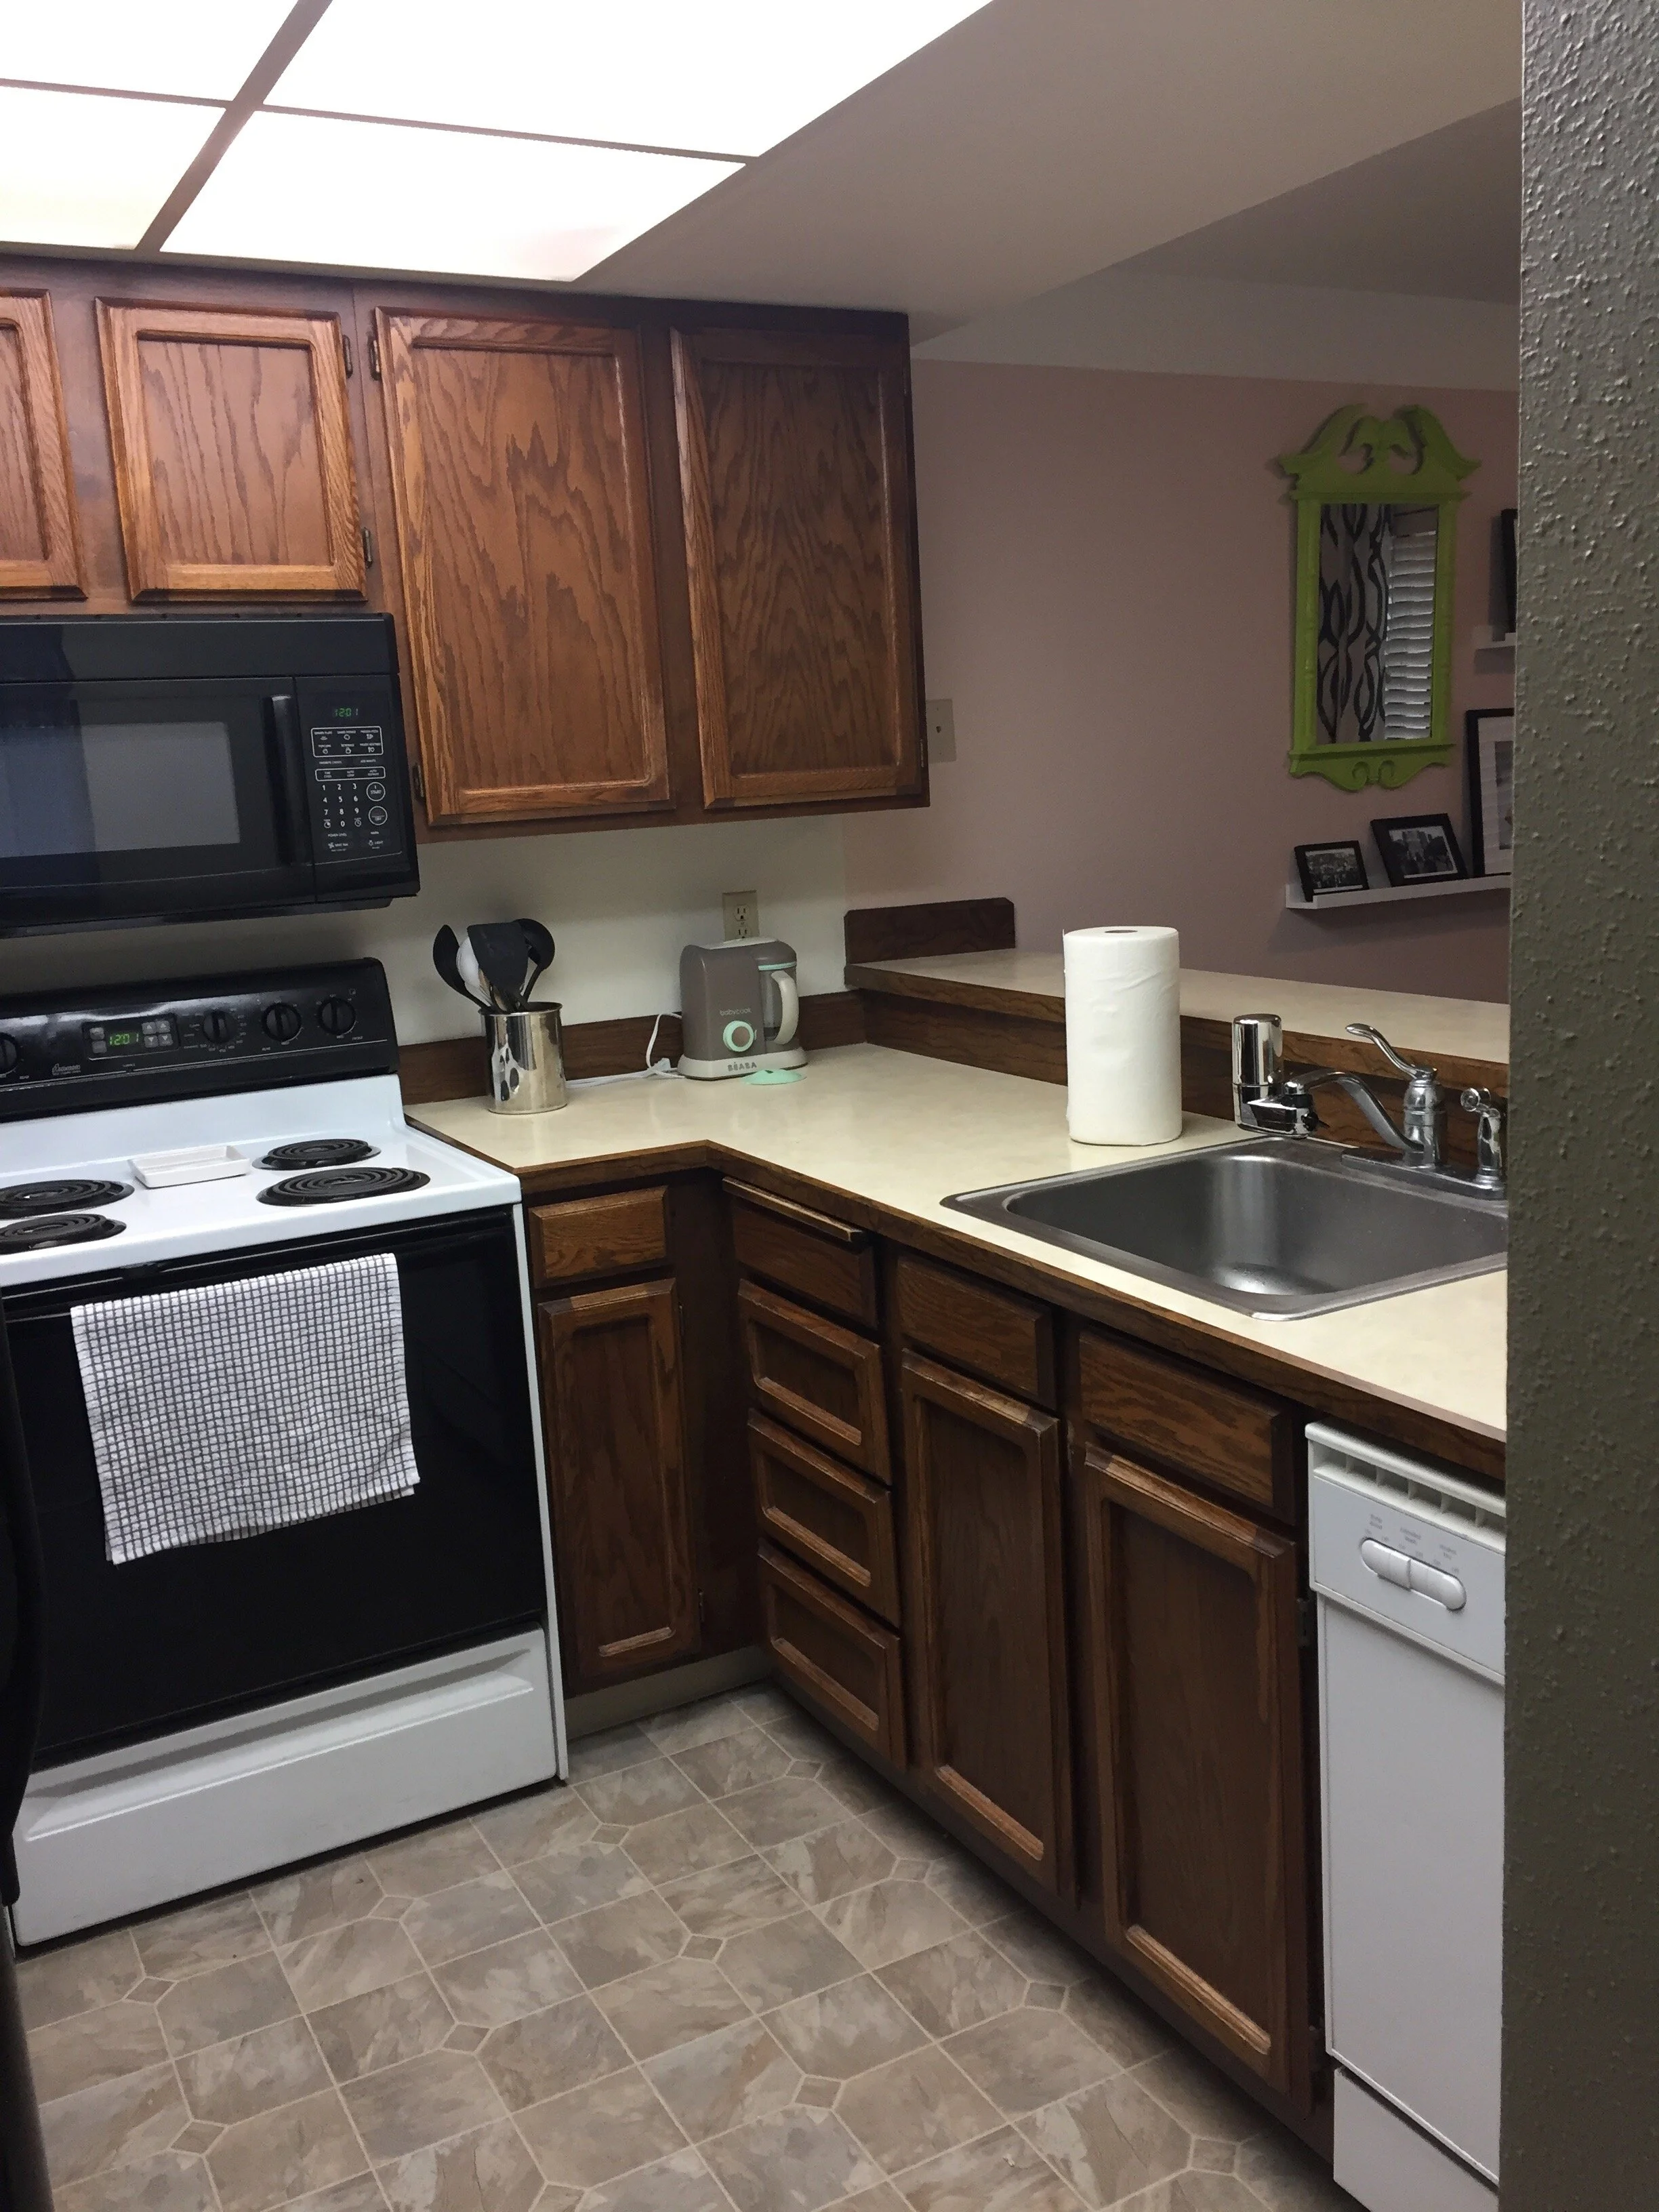
Now this is the view as you enter my kitchen. I suppose you could say the mix of white and black appliances adds a nice contrast to the design…Nope- can’t even joke about. This kitchen is the definition of blah. I will definitely be matching the finishes on the appliances and hardware for a cohesive design. I’m thinking to go all white on the appliances to brighten the space. I’ll be going white down on the floor as well. Not that I don’t love this terribly outdated pattern on the vinyl floors, but I will be refinishing the floors with the same faux marble tiles I have used in my laundry room and boys’ bathroom.
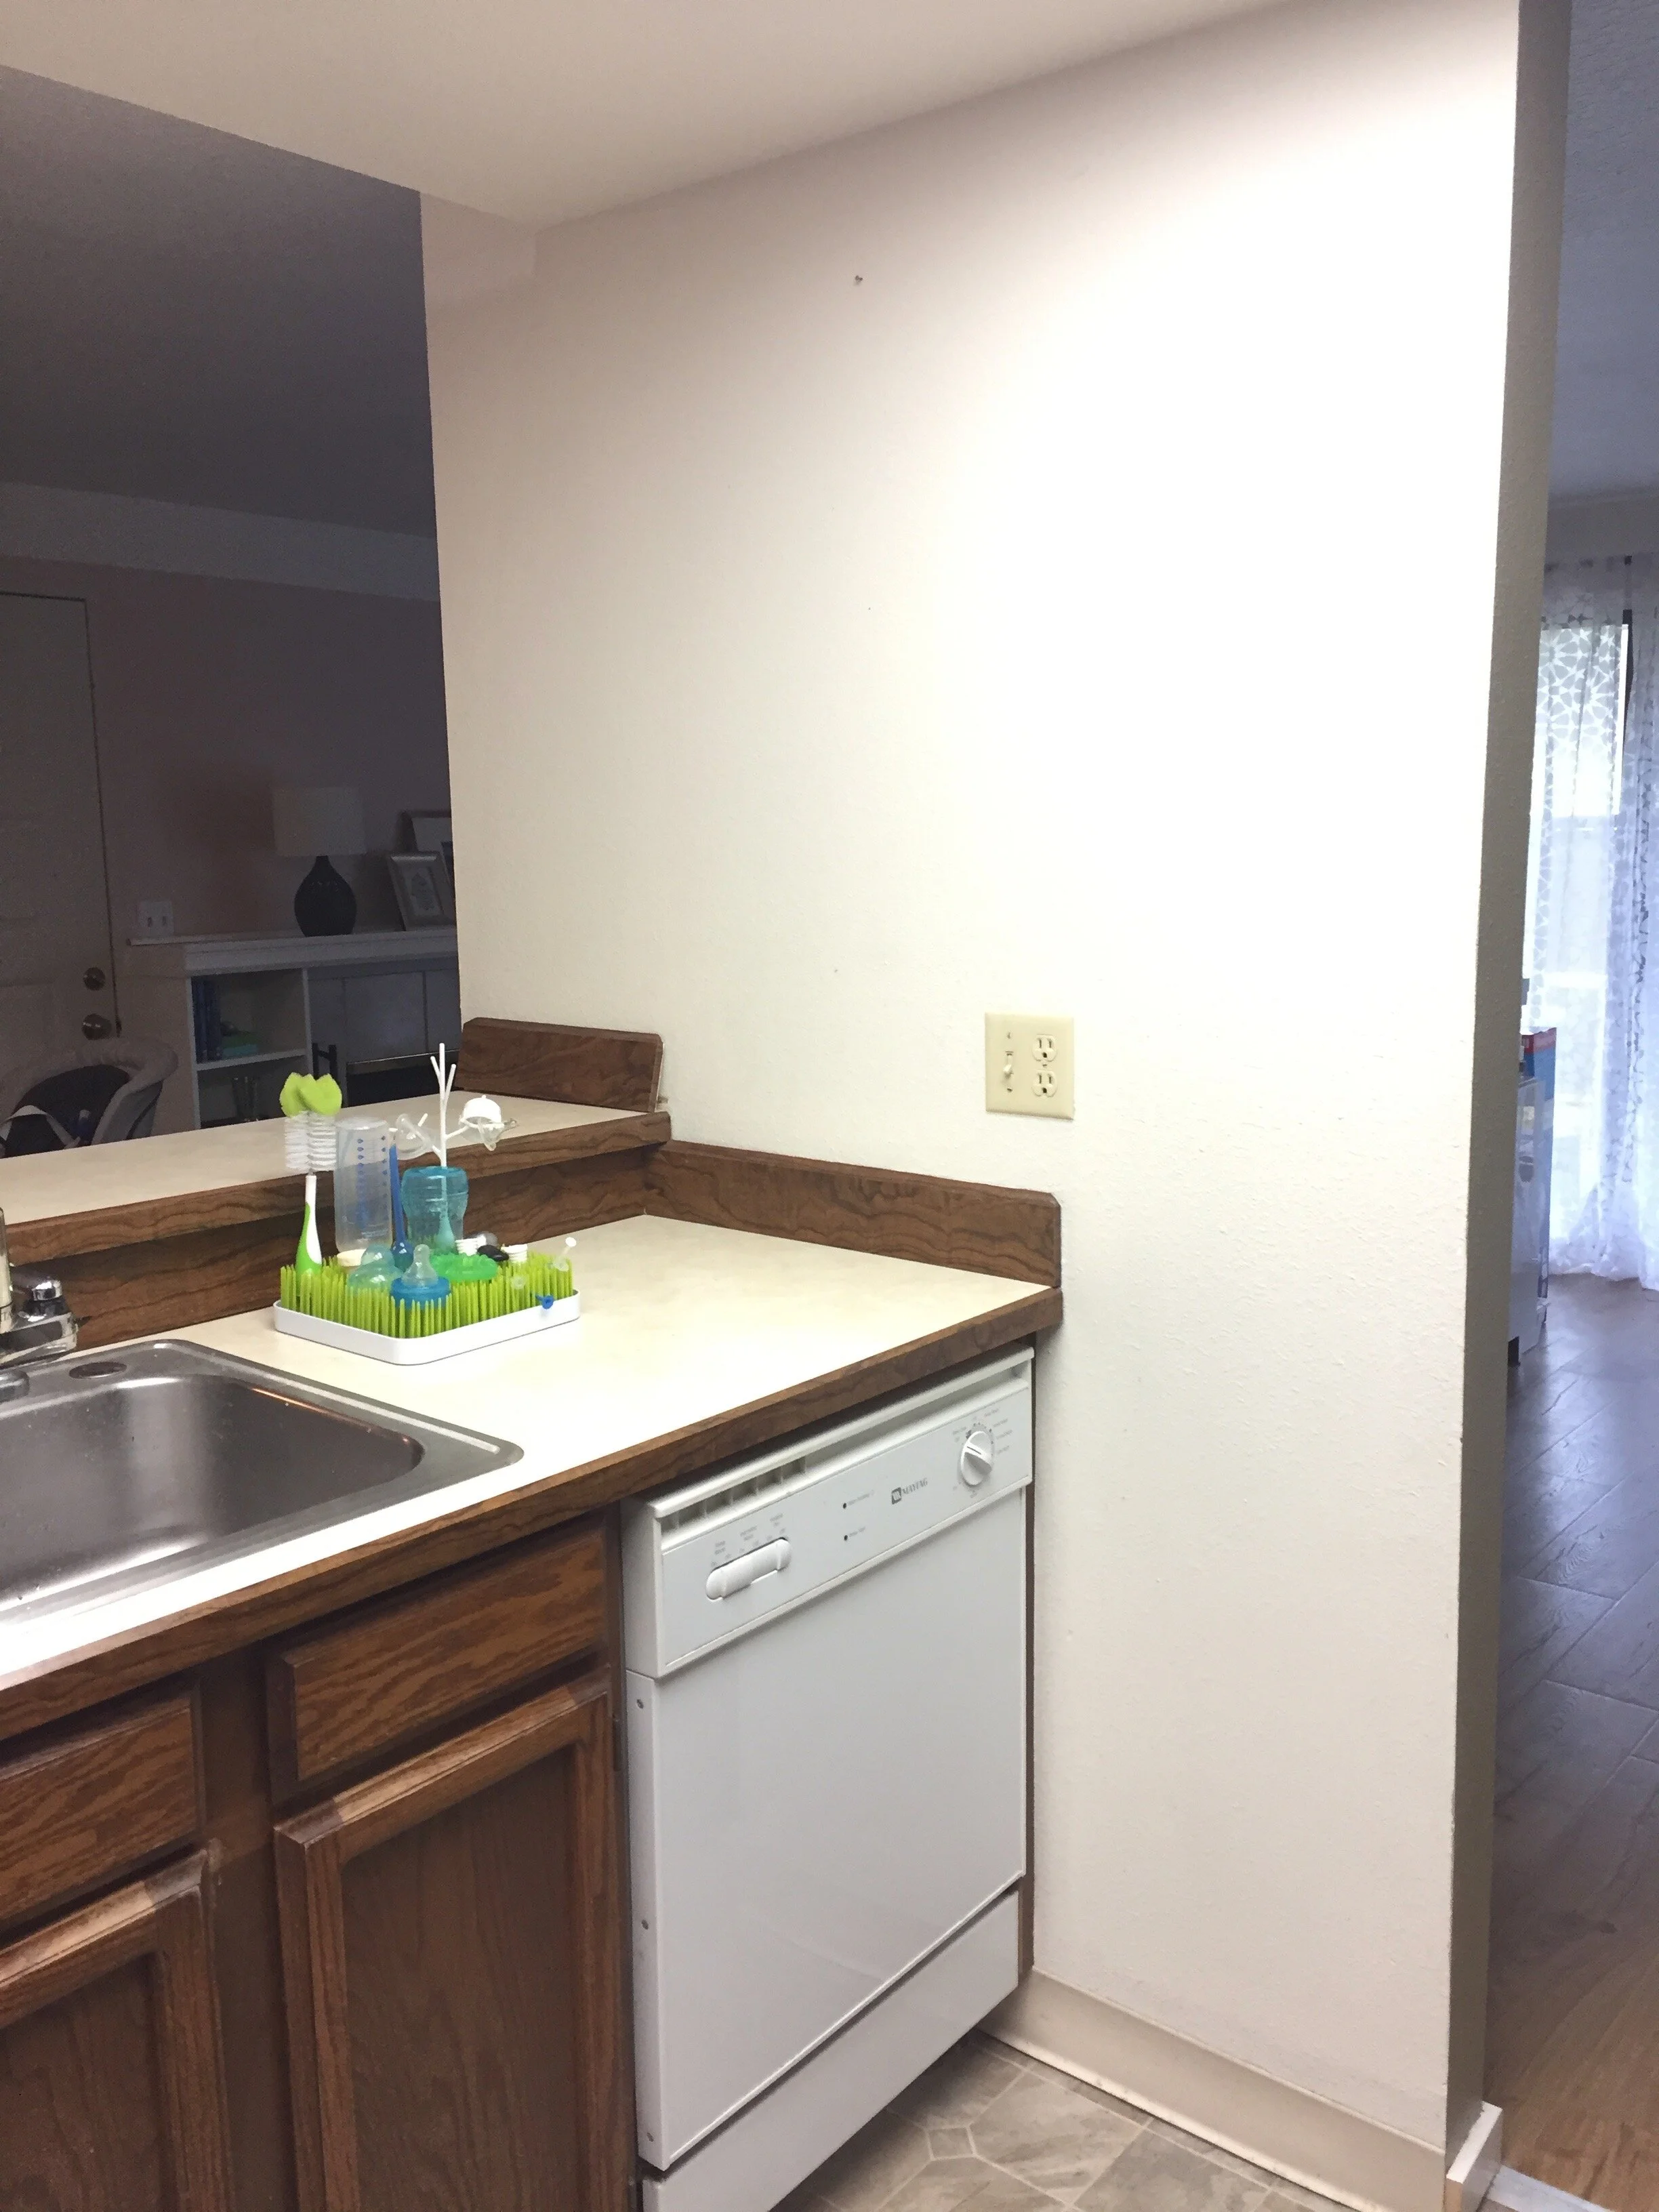
This partition wall divides the kitchen from the living room, and we have been advised not to remove it. It’s not the best photo, but it does offer perspective on the pass-through (breakfast bar) and the kitchen entry. I’m sure the raised surface was intended to be a breakfast bar, but with the dining table literally 2ft away, it felt redundant. We installed bookcases under the breakfast bar for additional storage, and now use the raised counter as a pass-through. It is my favorite feature of the kitchen!
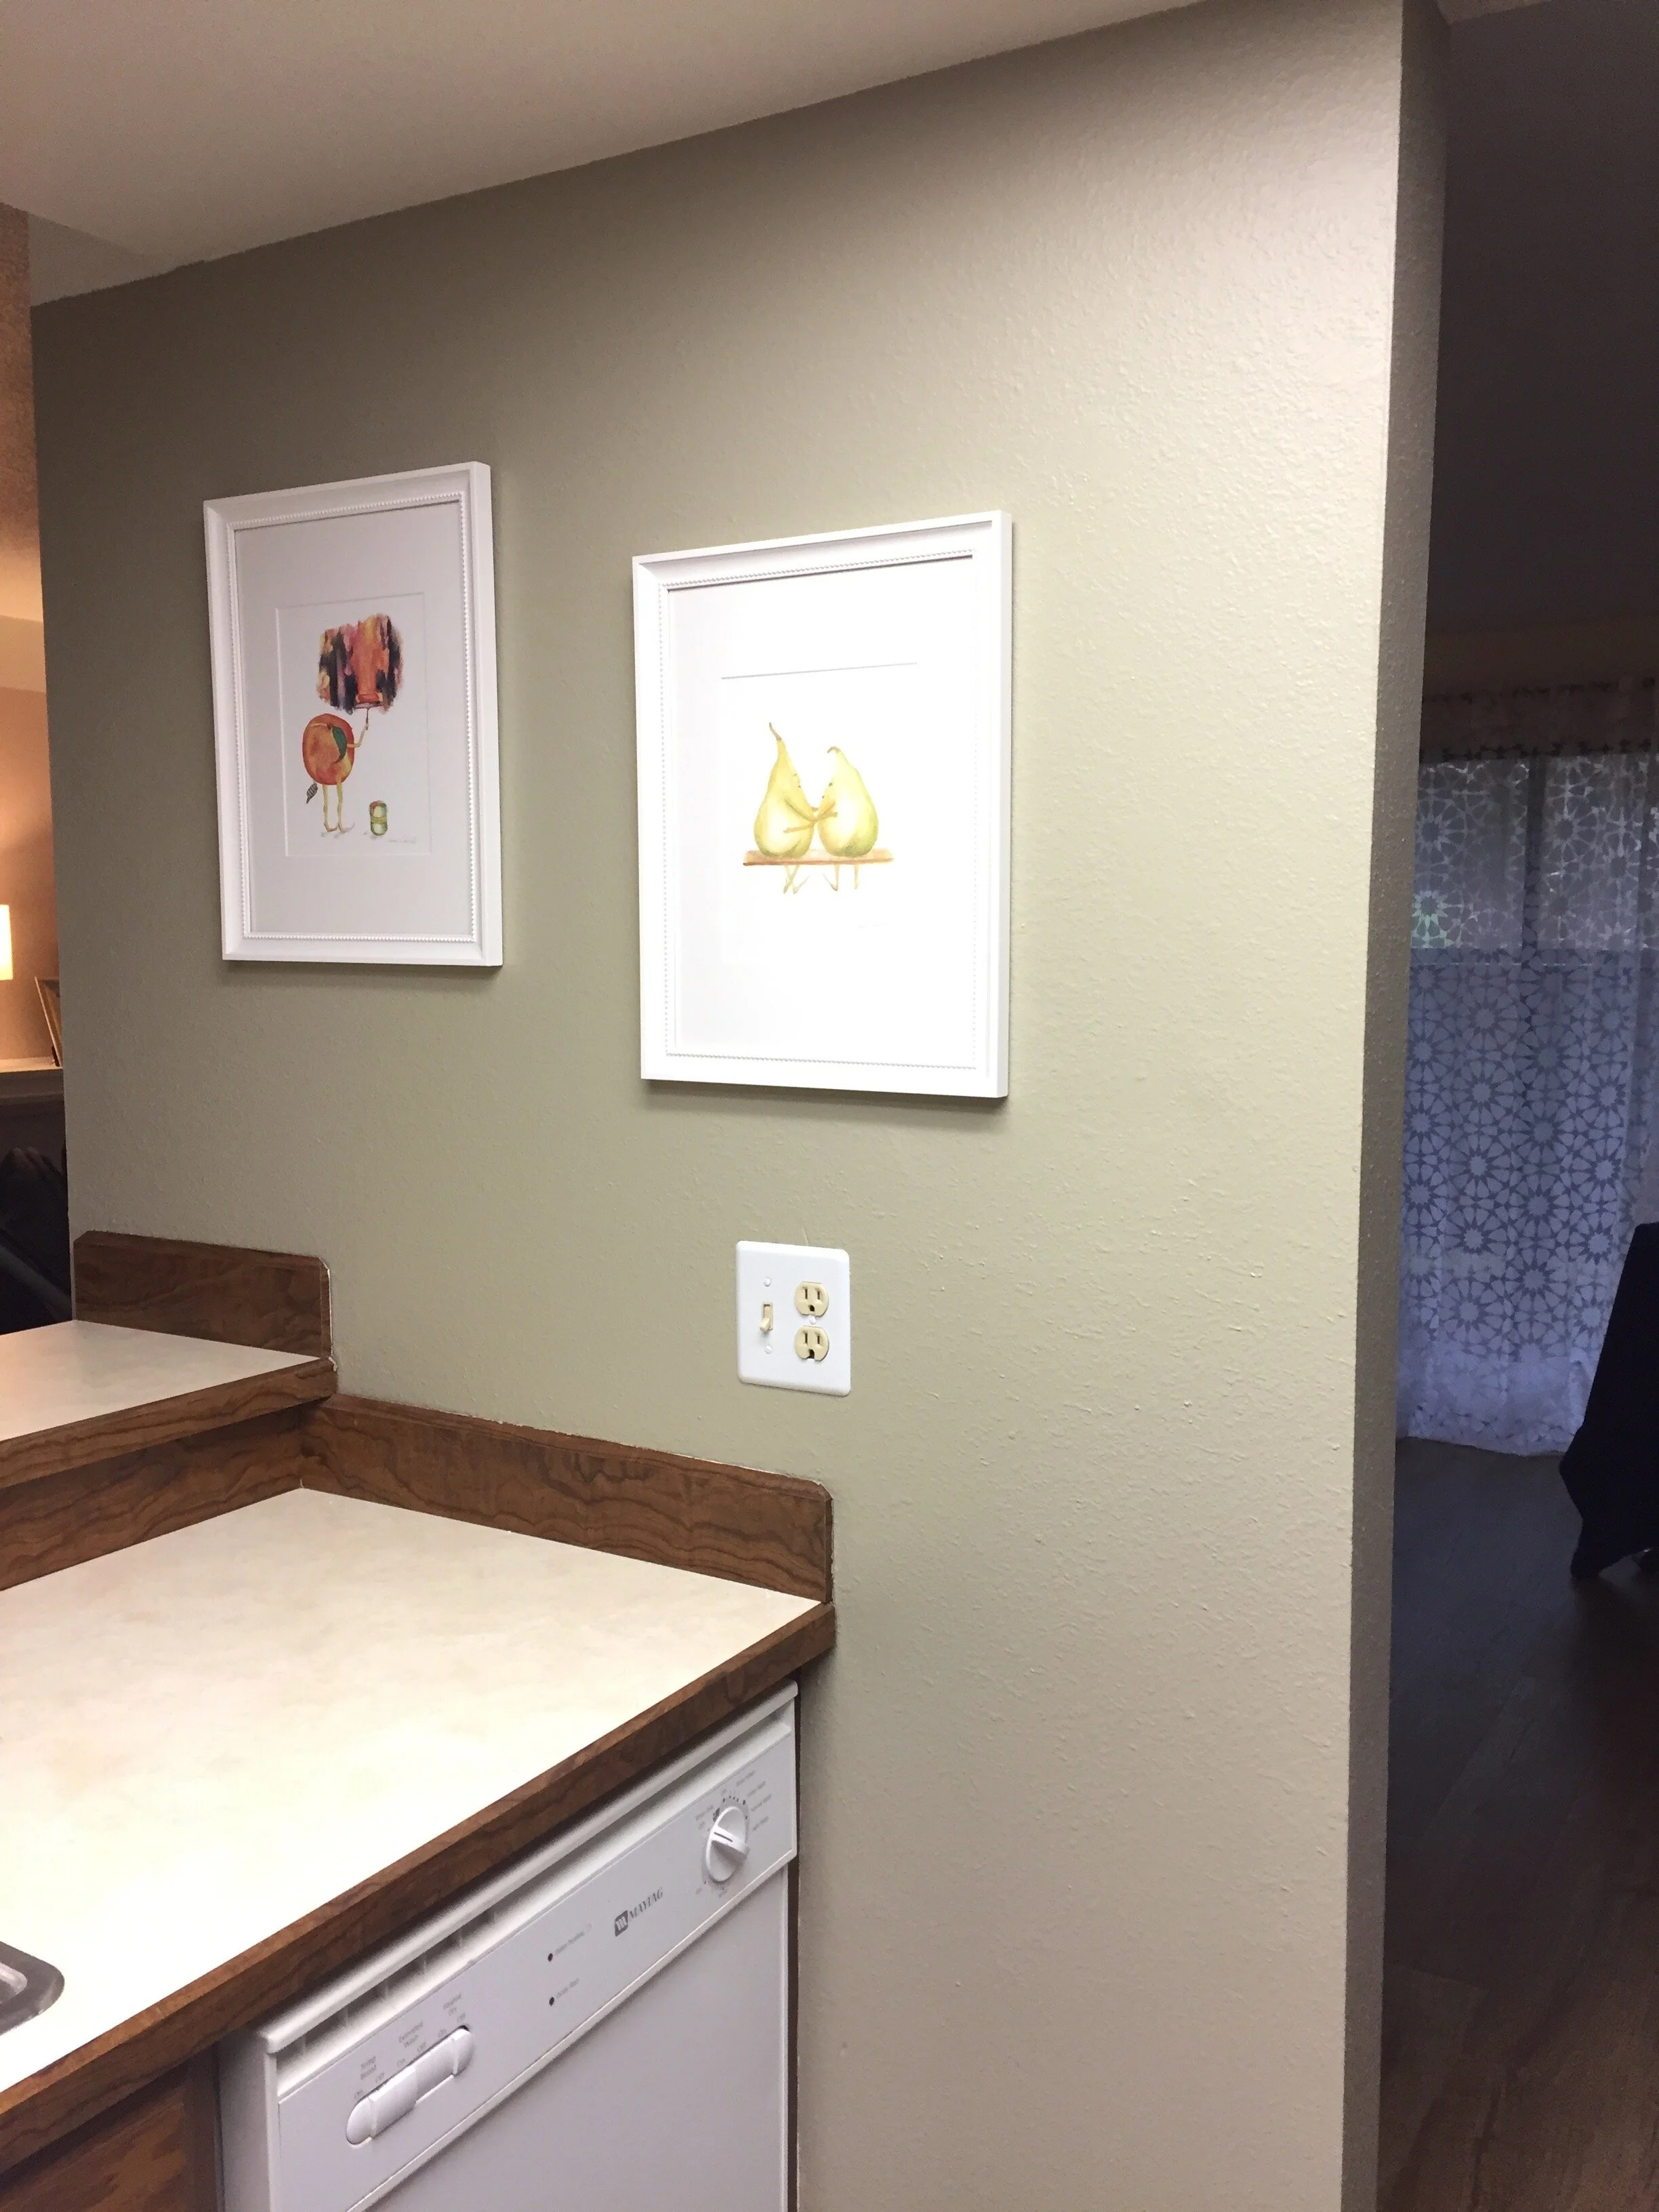
One year after we moved in, we painted this wall since it is part of the hallway. It is currently a neutral, khaki green color. I love the color, but it no longer matches the color scheme I have honed in on over the last 3 years, so I will be repainting it. The color is still TBD, but not for long.
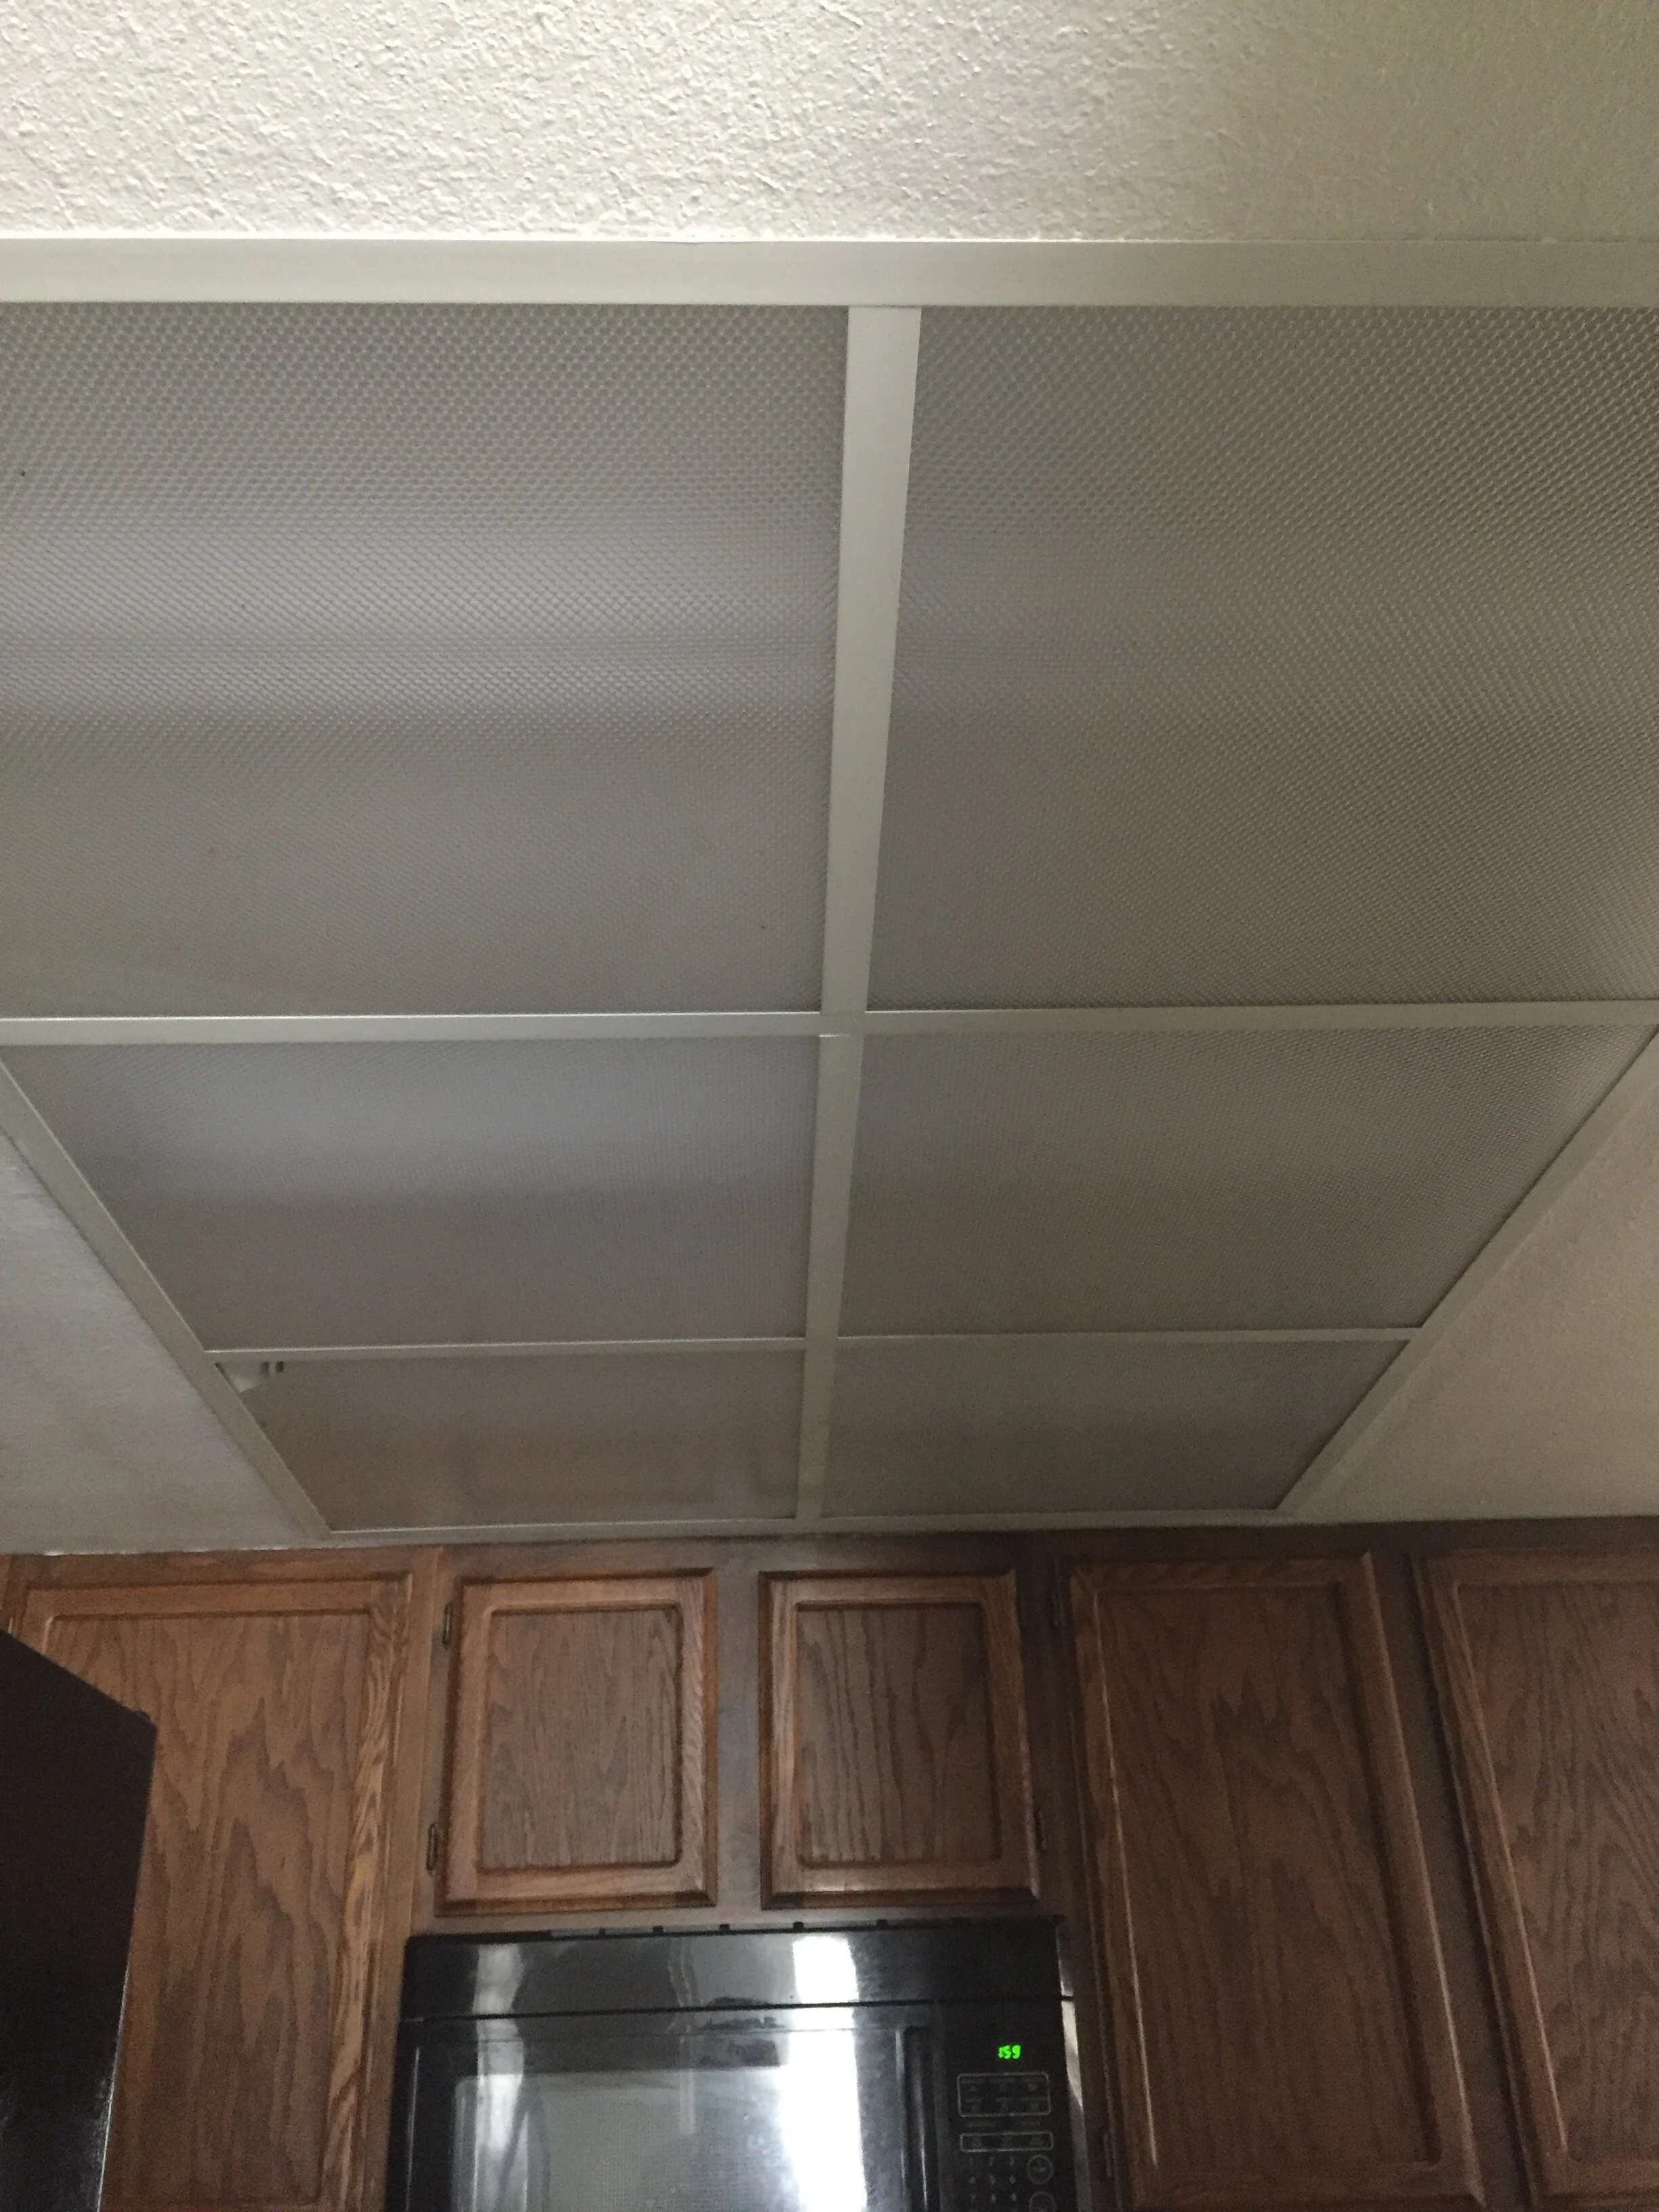
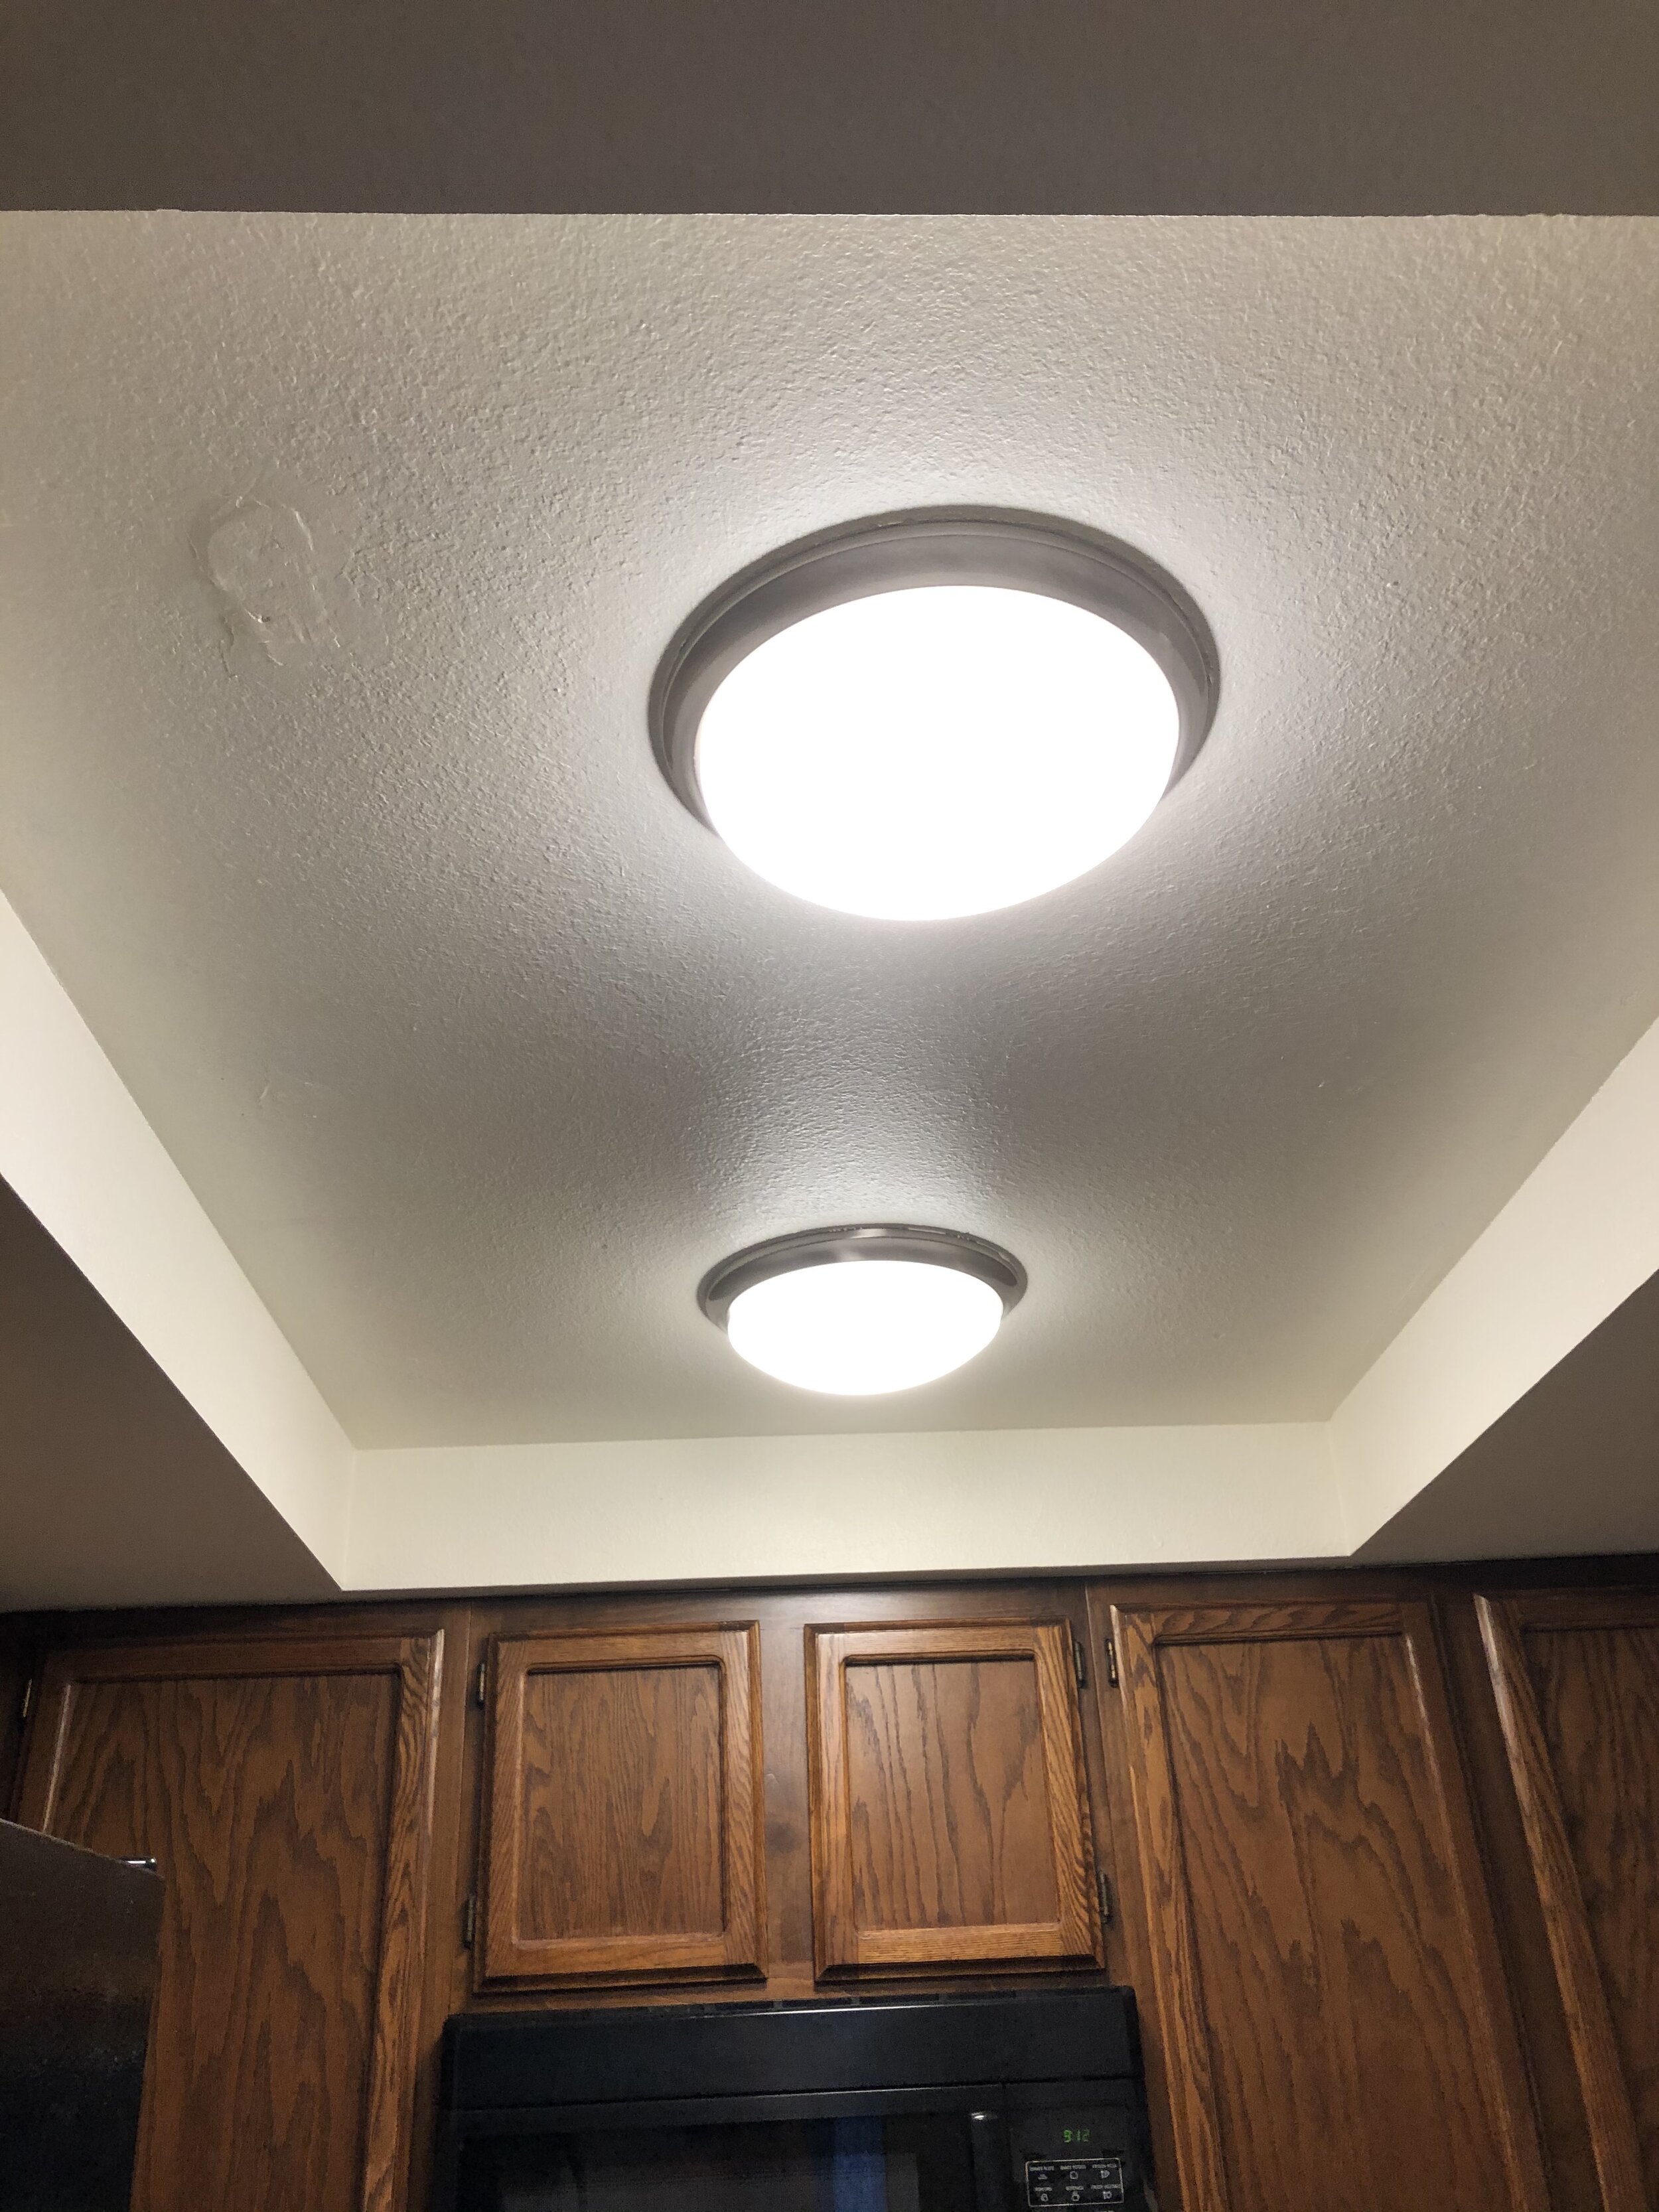
The only other thing we updated in the kitchen is the overhead lighting. We hated the dropped ceiling grid of fluorescent lights the moment we first saw the place. We never had a chance to update it when we moved in 3 years ago. (FYI- My first son surprised us 8 weeks early. We actually signed for the condo the day we brought him home from a 3 week stay in the NICU.) Then, when I was about 37 weeks pregnant with our 2nd baby, I all of a sudden felt the need to update the lights before family arrived for our son-to-be’s bris. I scheduled the electrician to install the lights a week later, and my husband tore out the current lights to keep costs down. The only thing we weren’t expecting was for me to go into labor two days later- Oy vey!
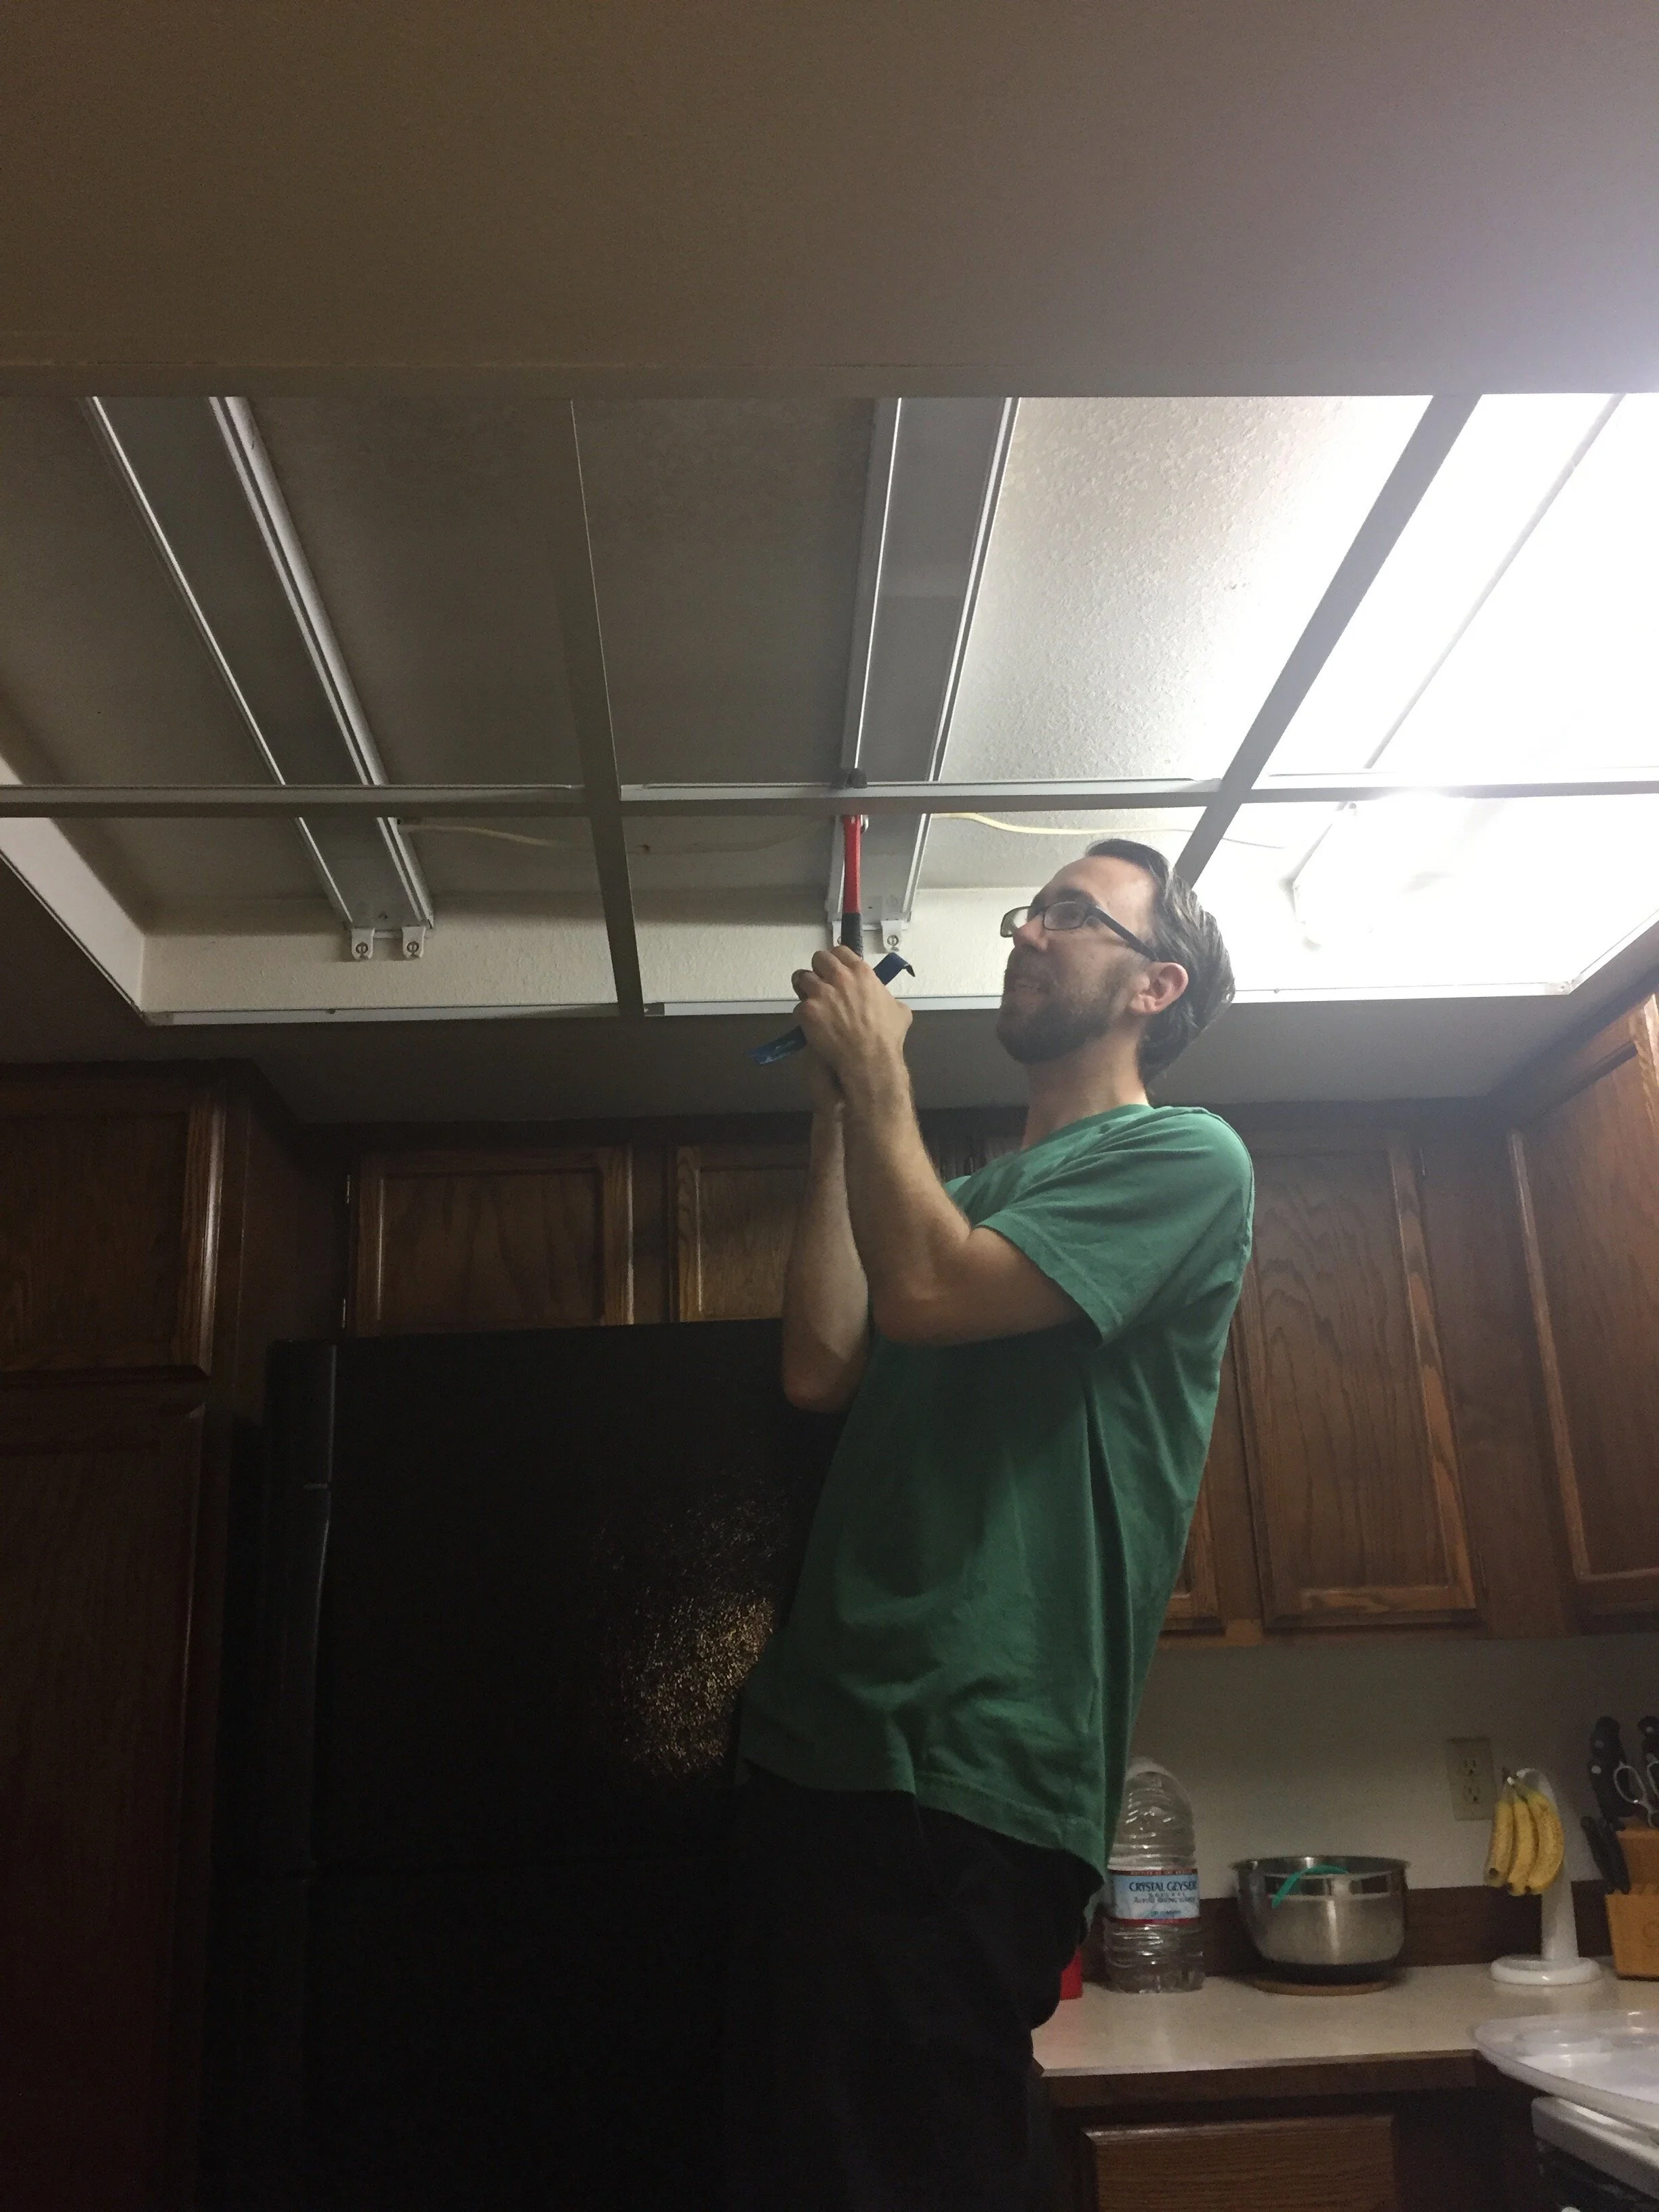
We were literally on our way home with our new baby boy and texting the electrician that we’re running a few minutes late, but we’ll be home in time for our appointment. It was completely bananas, but it was totally worth it. (Yup, I was hiding in the bedroom nursing my newborn during the installation…) I only wish we had done it sooner. It took us from the 80’s to this millennium in about an hour!
This has been the state of my kitchen for the last 20 months. My husband just starting sanding the kitchen cabinets 2 weeks ago while I was out of town during the holidays. Then I saw @hilltownhouse mention her project for the $100 Room Challenge, and panicked because I was planning to do my dining room for the next challenge. My hubby was not thrilled with the idea of 2 room redesigns at once, so we’re splitting the kitchen redesign into 2 phases to make this work- YAY.

My Goals for Kitchen Reno:
Brighten the room with white finishes: cabinetry, appliances, flooring, countertops, (and backsplash?)
Create a cohesive design with matching appliances and new hardware
Add personality with 2-tone cabinetry and backsplash design
Increase resale value
Design a kitchen that makes my husband and I HAPPY to be there
For Phase 1 of my Kitchen Redesign for the #100roomchallenge my husband and I will be tackling the cabinets, hardware, and the floors (if time allows). While I cannot complete this whole project for under $100, I do think these labor intensive DIYs will make a huge impact on the redesign of my kitchen. This challenge is a great motivator to get this done. We’ve waited so long, and this will keep us moving forward. As a busy SAHM of 2 boys under 3, I need all the motivation I can get!
I’ll be posting behind-the-scenes on my InstaStories, so be sure to follow me and tag along! @decoranddiapers . And remember to follow along with the other participants. Let’s get ready for some clever design transformations!!